Use this chart for getting your wooden projects to measure out correctly. Very handy, if you’ve forgotten most of what they taught you in Woodshop class in junior high:
June 2, 2016 by admin
Use this chart for getting your wooden projects to measure out correctly. Very handy, if you’ve forgotten most of what they taught you in Woodshop class in junior high:
Category Get Crafty! | Tags: crafts,Creativity,Home Life,woodworking | Comments Off on Project Time
April 19, 2015 by admin
 Our Plum recently went to a science fair hosted by our local University. Among the various exhibits and presentations, Plum discovered Oobleck. It’s fun to say and even more of a good time to manipulate!
The recipe is super simple:
Mix all of the above together until you have a consistency that works for you.
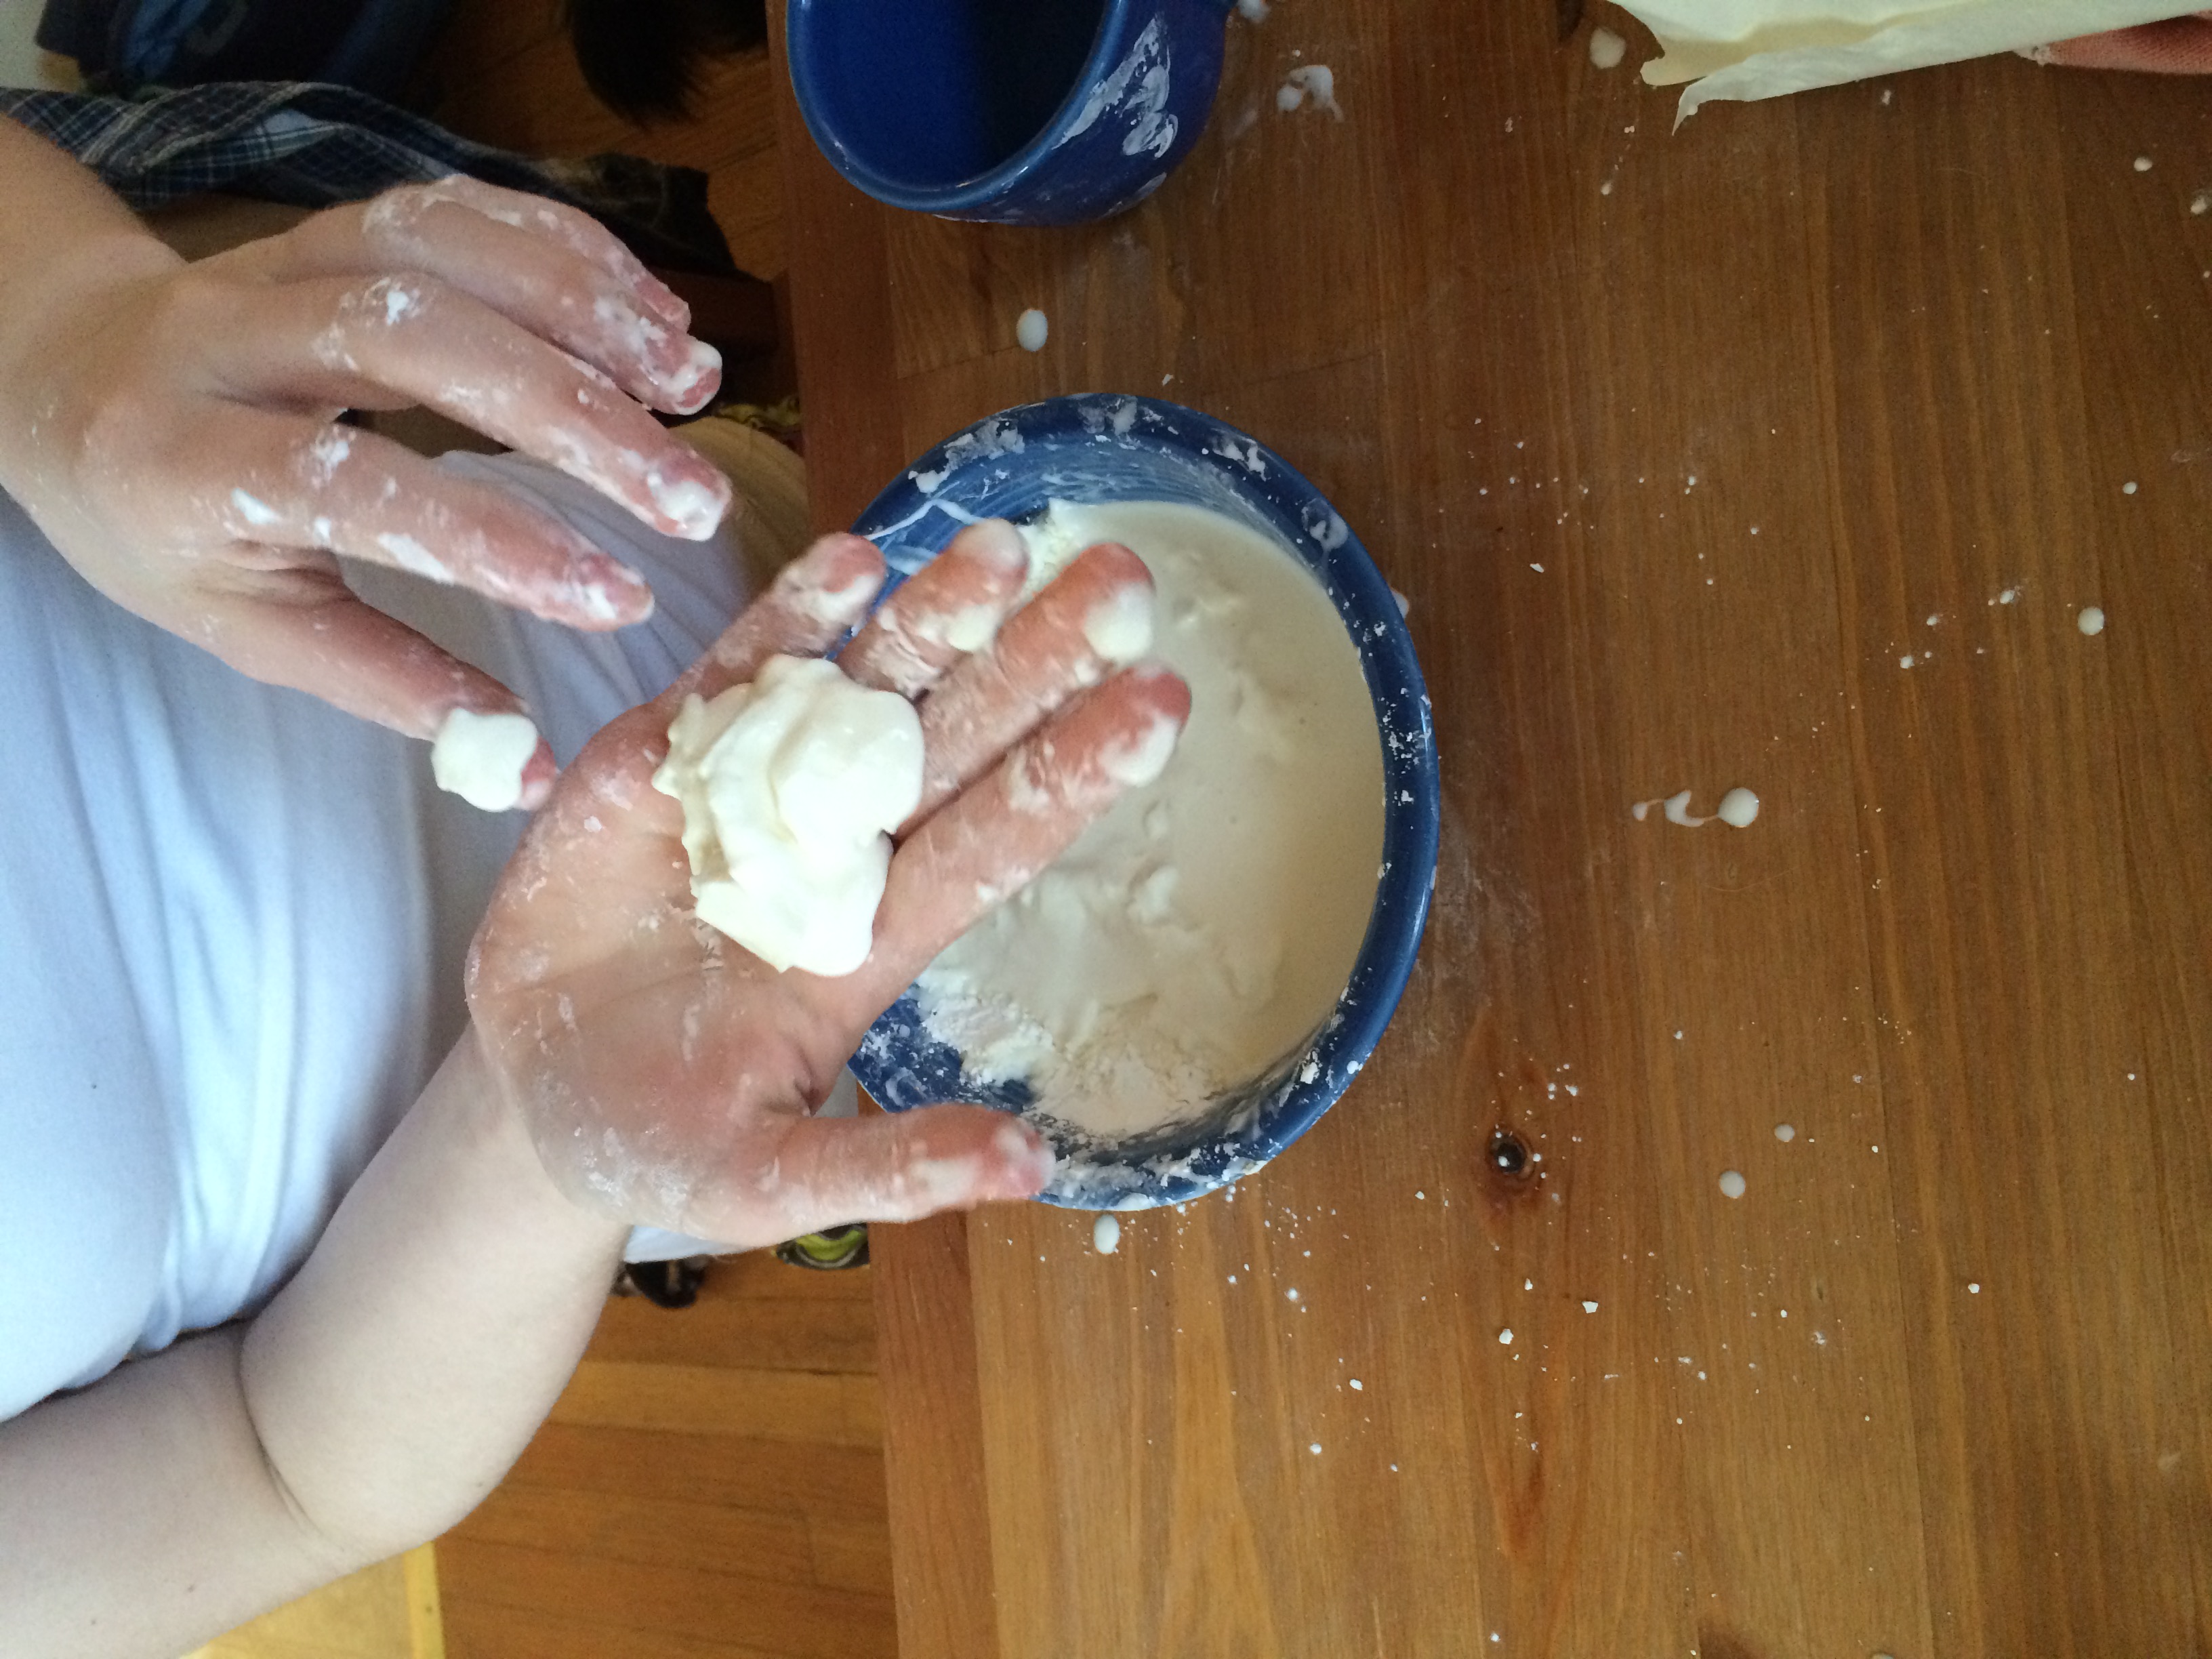
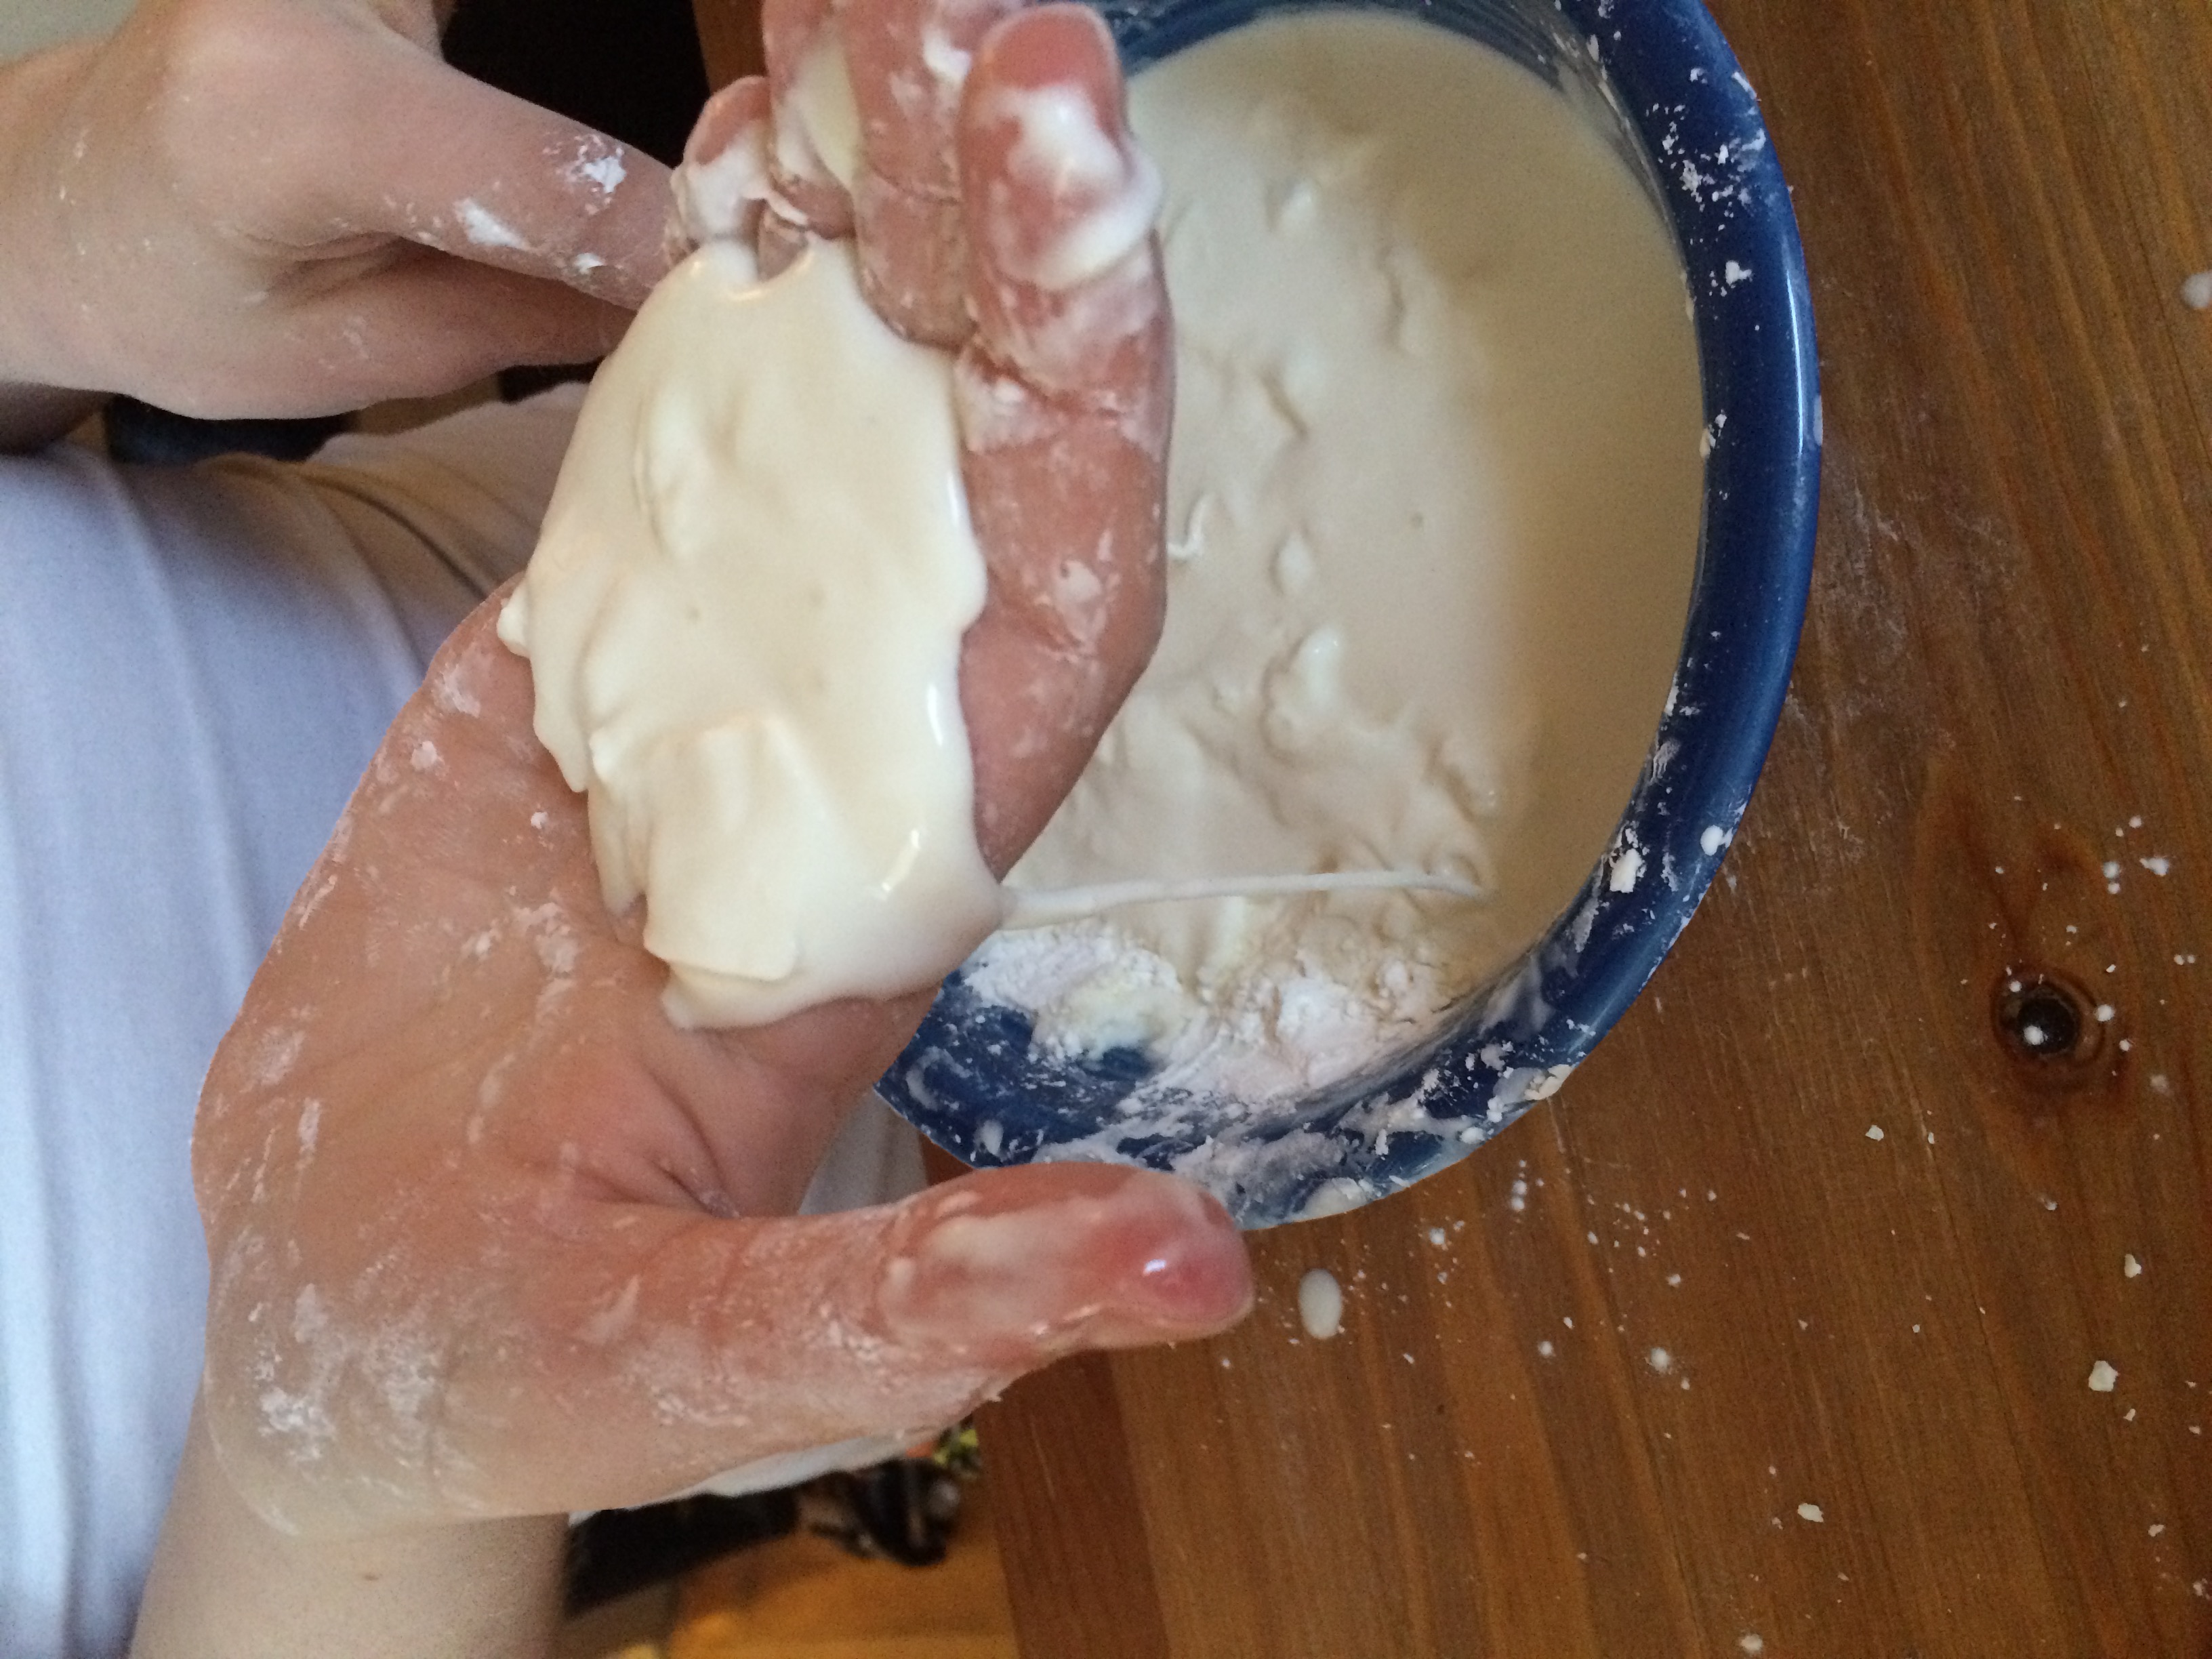 Your kids will be fascinated by the Oobleck. You can punch it and it will resist penetration. You can scoop some up and form a ball. But if you flatten your hand while holding the ball, the Ooobleck will slowly ooze from its original shape and drip back into your bowl.
Let your kids explore and learn from this neat mass. The clean up is a breeze as Oobleck dissolves in water.
Category Get Crafty! | Tags: Art,Creativity,kids,Learning,Science,simple solutions | Comments Off on Science Is Fun
April 12, 2015 by admin
 Our Bluey recently had a rough go of racing our slot-cars one afternoon.
Of our two cars, he could only get one to go around the track much at all. It would stop periodically and need an adjustment. The other car hardly moved on the track.
We were so excited to do some racing so it was a real disappointing time while we tried repeatedly to adjust the track and wiggle the wires trying to figure out why the cars wouldn’t work.
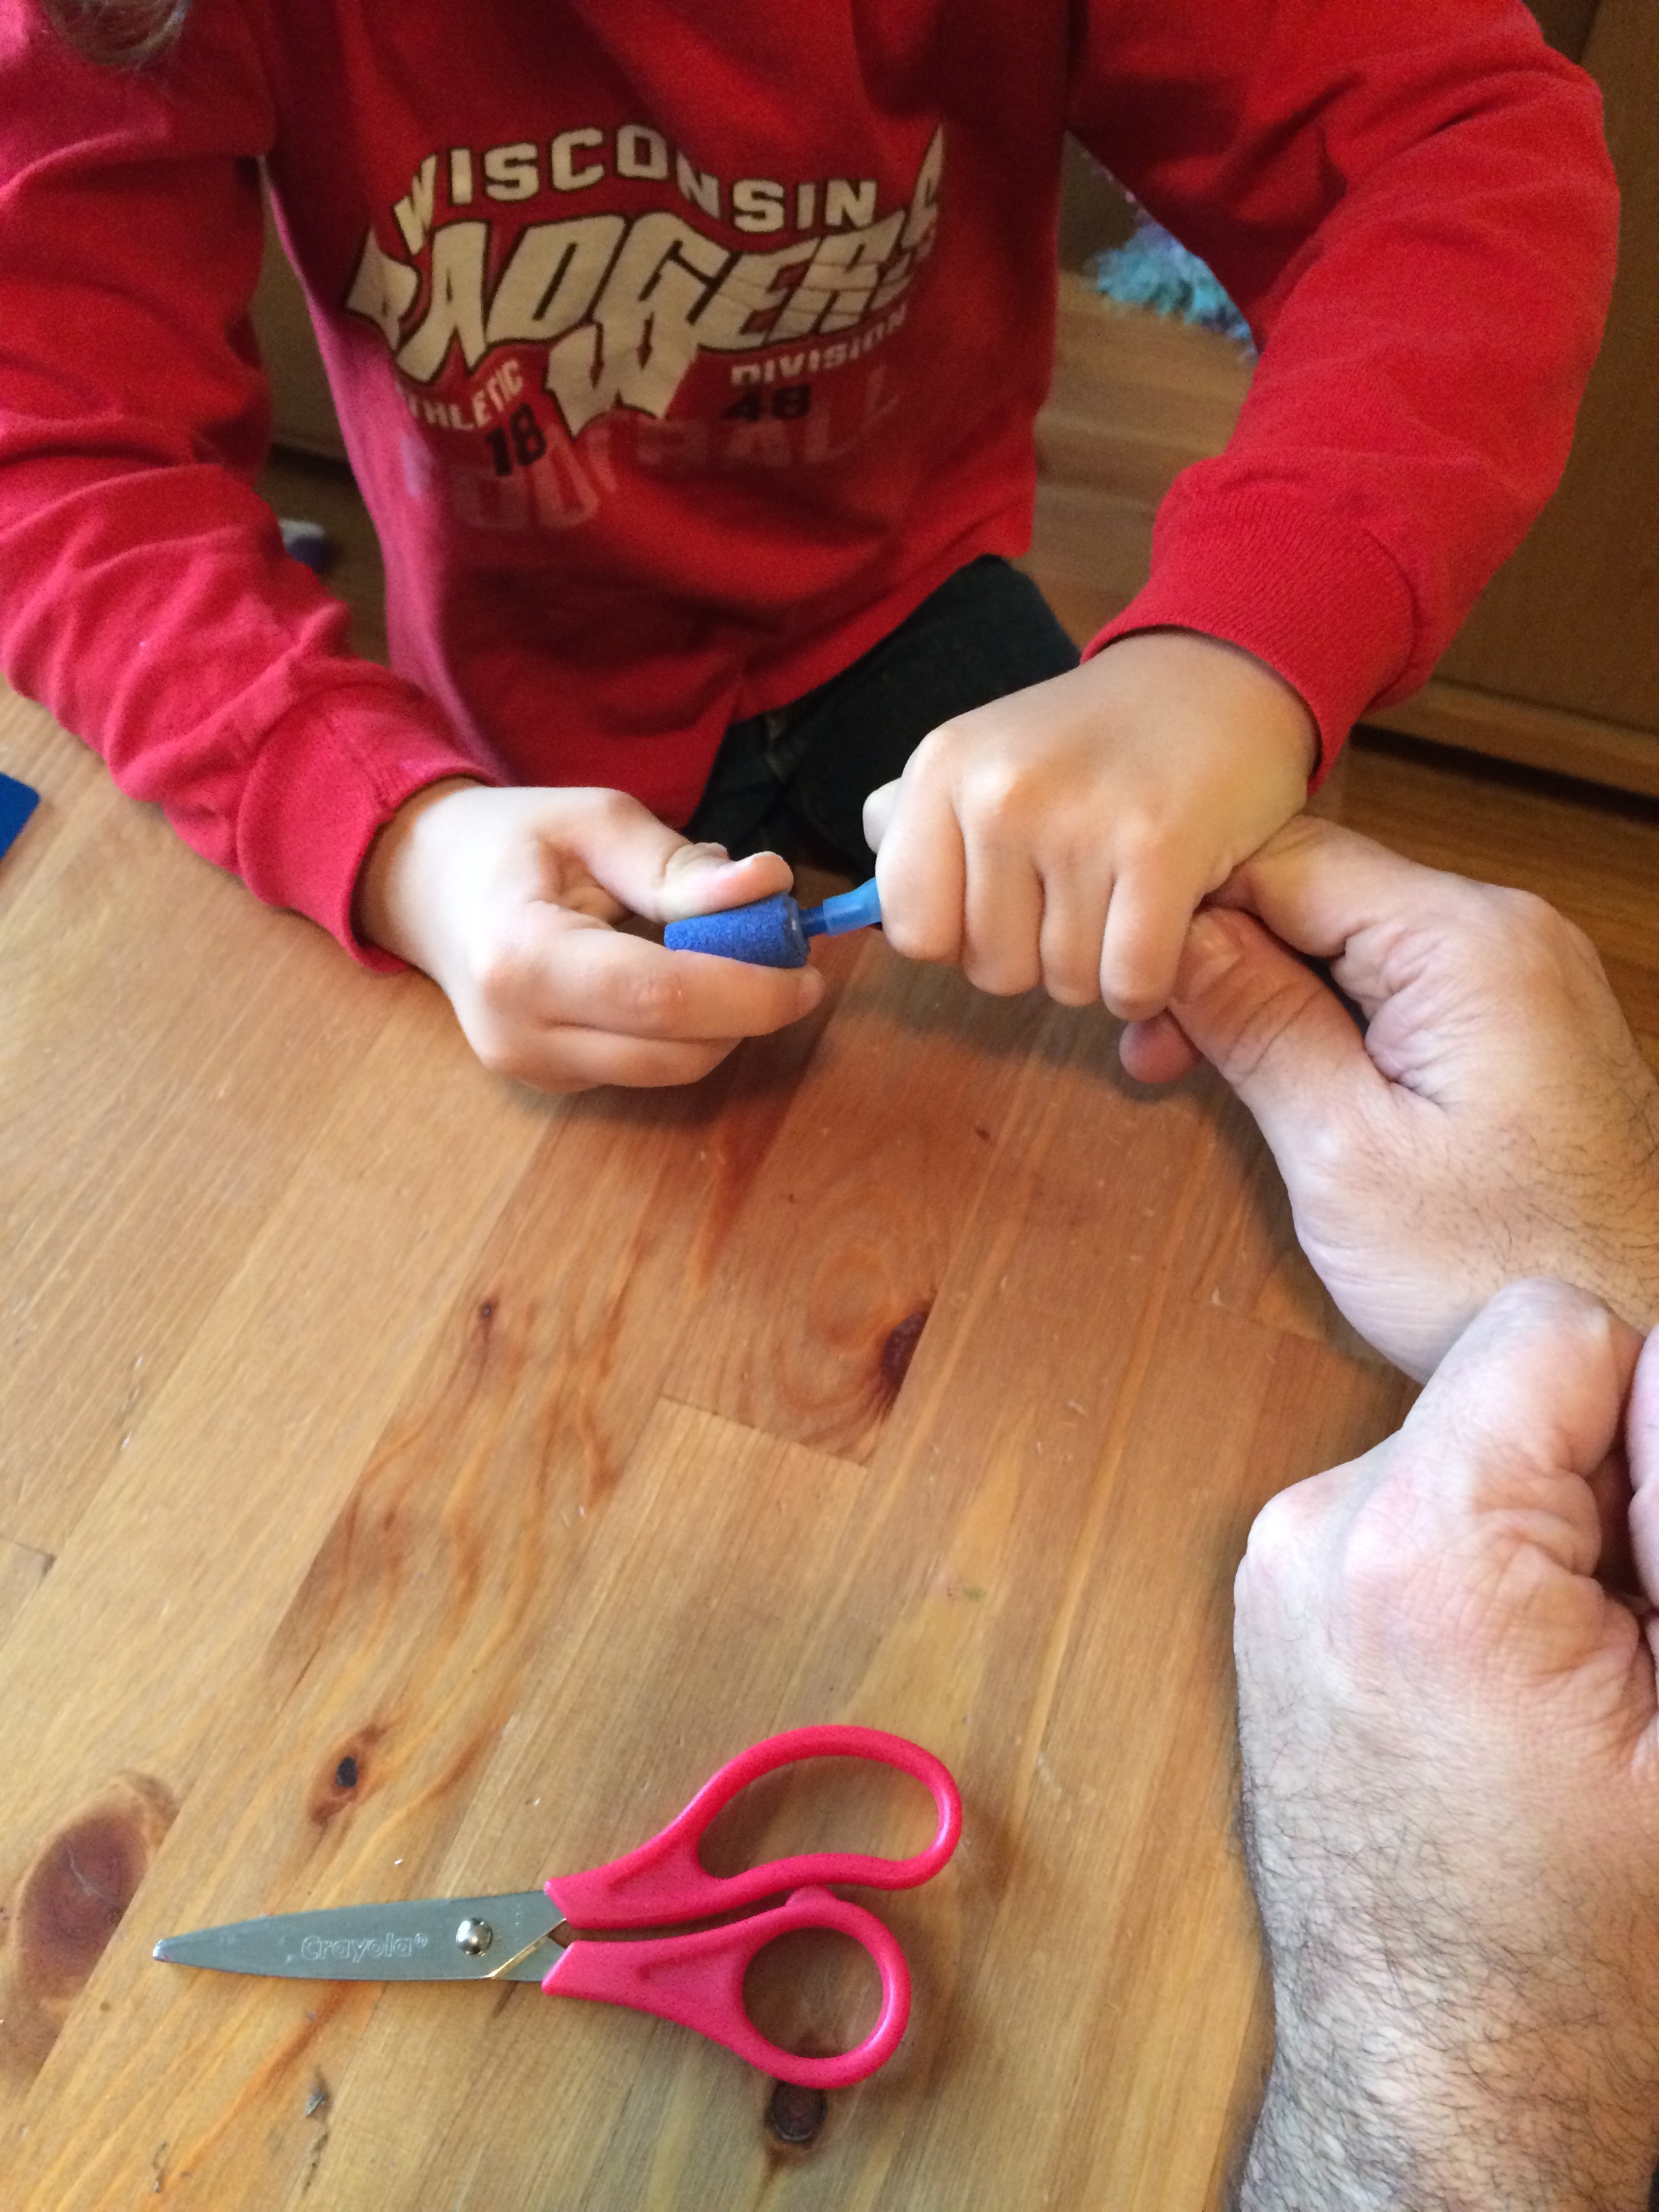
Finally, while trying to clean the bottoms of the cars, we noticed that the contacts (where the cars touch the copper strips imbedded in the track) had holes worn through them.
We didn’t know what to do, so we headed to our local hobby store thinking maybe we could buy new cars to race.
Instead, we found out that if you’re willing, you can replace these worn out parts yourself. Rather than spending $20 or more on new cars- as much fun as that would be!- we were able to get replacement contacts and springs for just $3.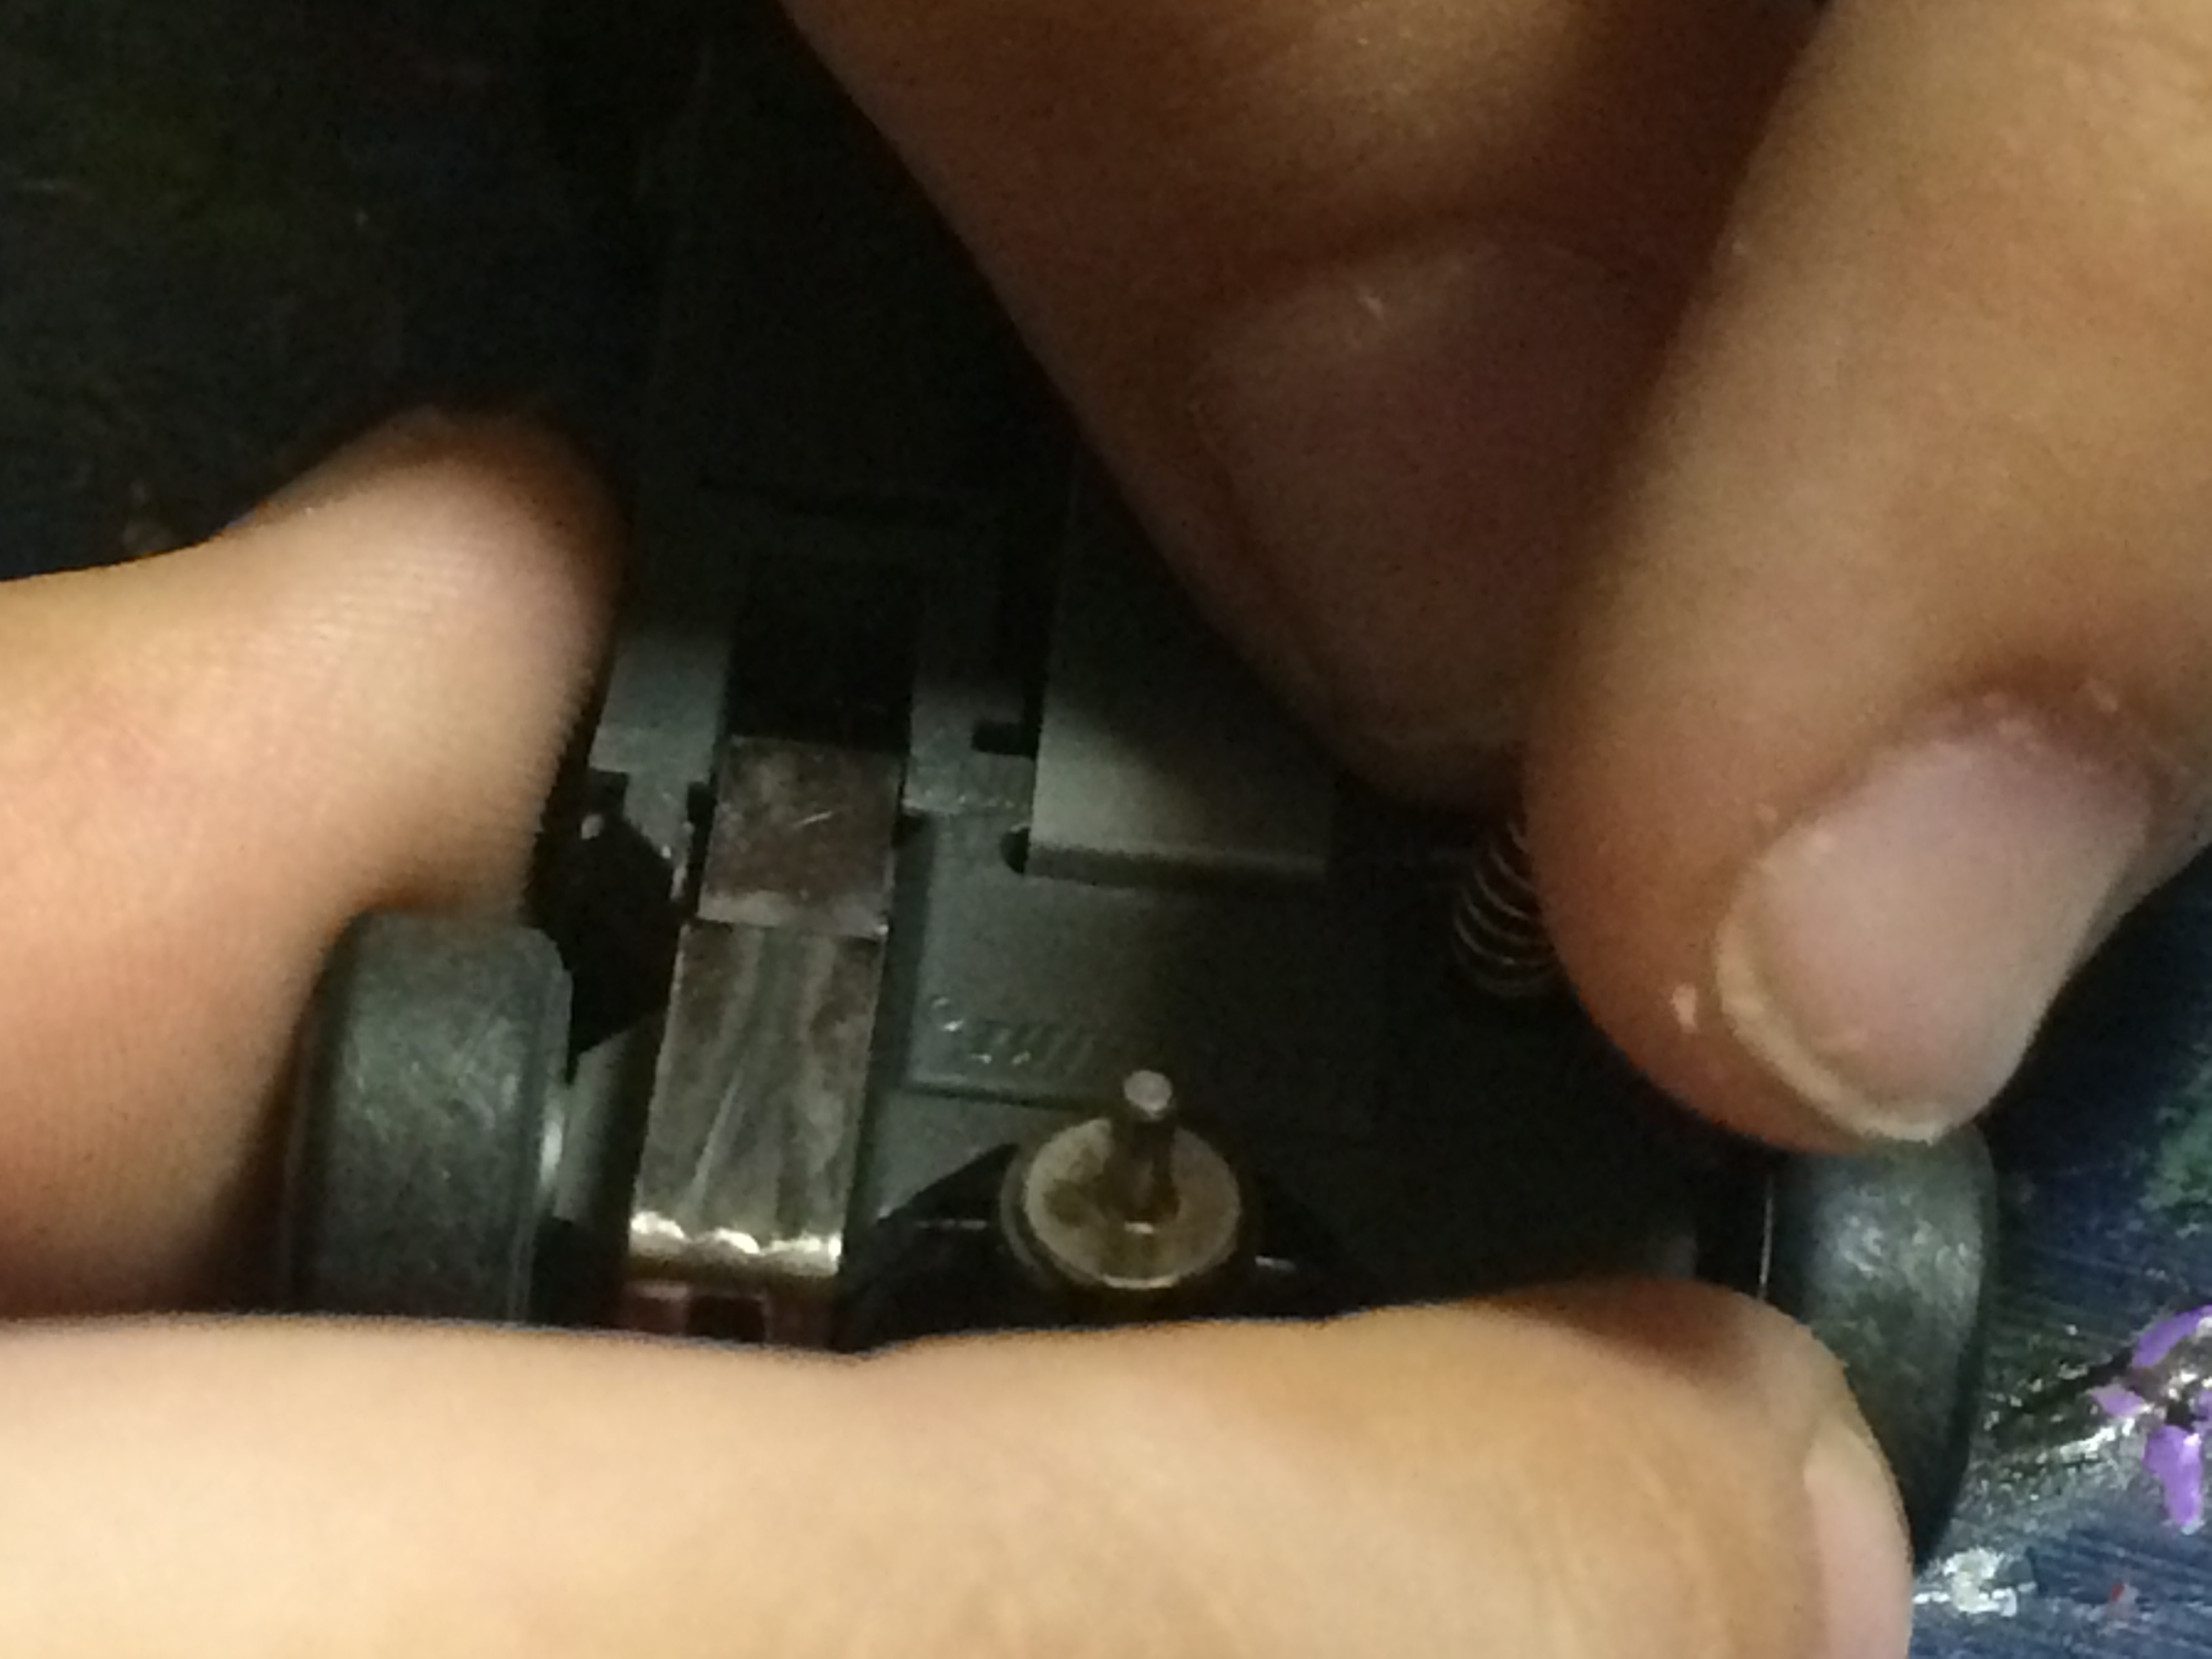
In a few minutes of repair time back at home, we were in business and tearing up the track! The process of repairing the cars was fun for our Bluey, who loves to know how mechanical things work. Even though he lost part of a day of racing, he still had a great time.
So here are some tips:
1. When in doubt, ask the experts for advice.
2. Many things, even your toys, can be repaired rather than replaced.
Category Get Crafty! | Tags: kids,play,simple solutions | Comments Off on Hit The Highway!
March 31, 2015 by admin
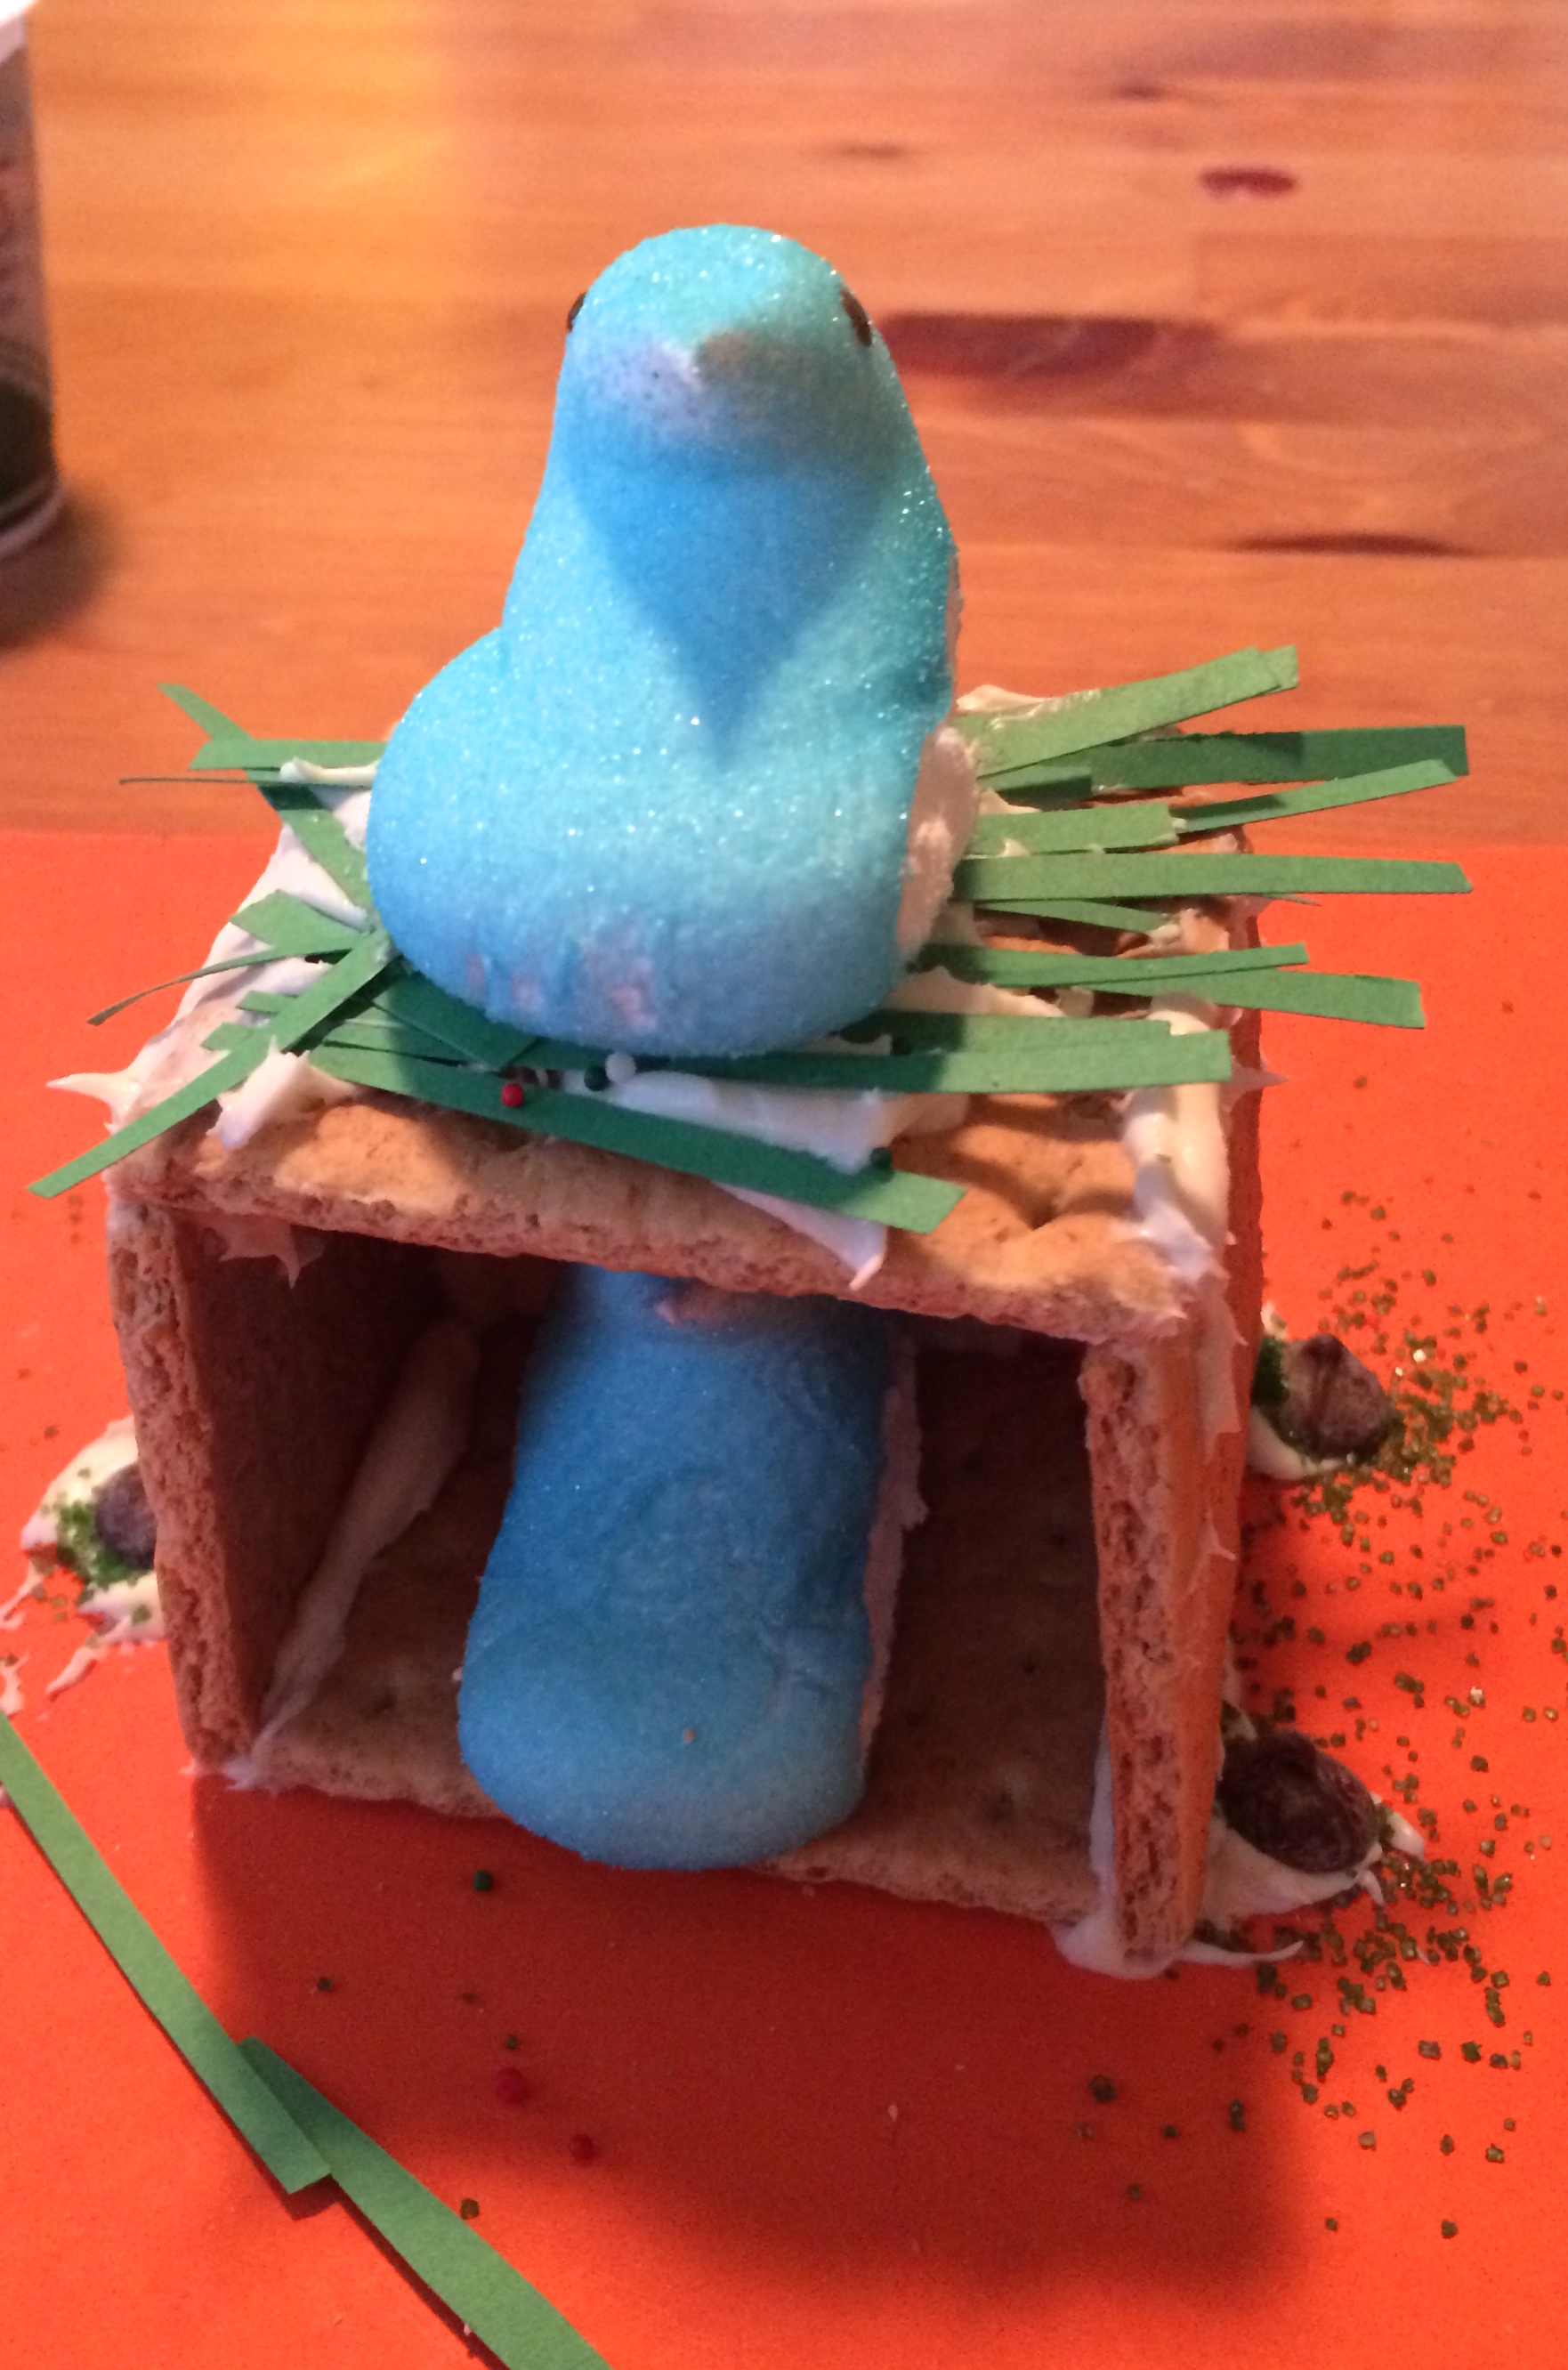 We recently stumbled upon a pinterest post on making Peep houses for Easter. Inspired by the pin, we gathered up some materials to make our own version of a Spring Peep home.
We used:
We cut our green construction paper into long thin strips that we then further cut into 3rd. This would be our Peep grass. We used the orange construction paper as our house base.
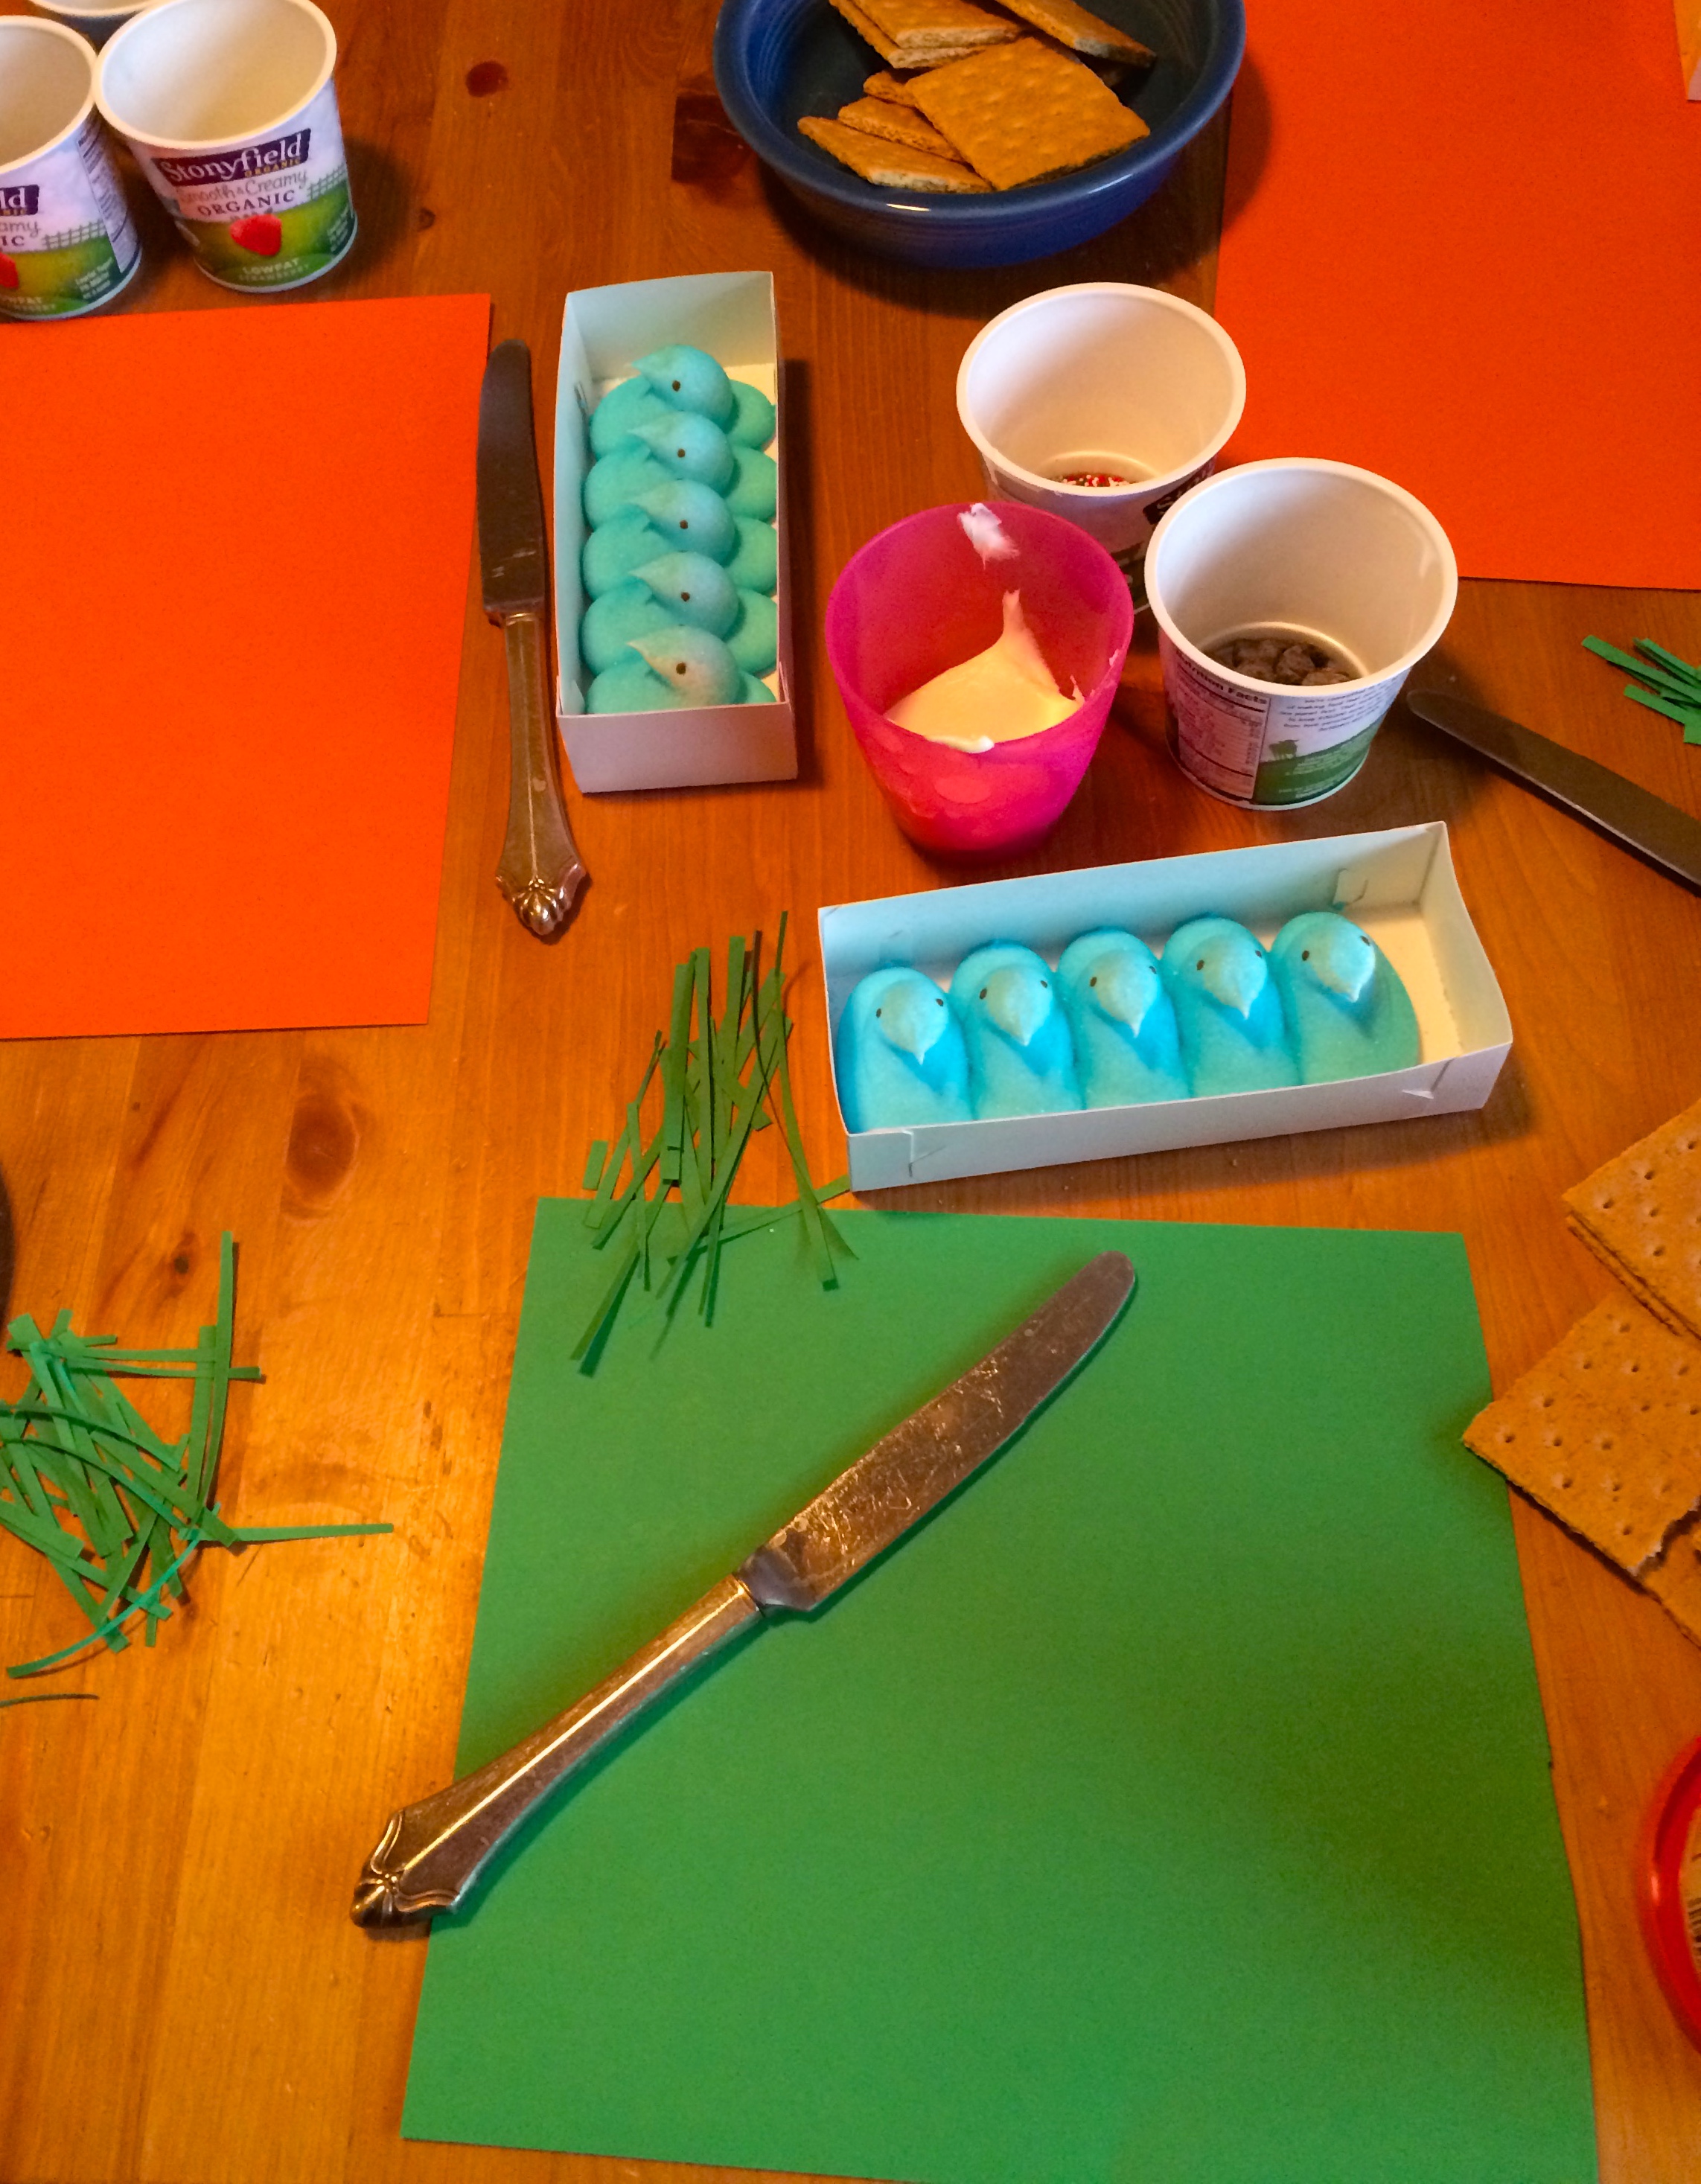
Plum and Bluey each had their own equal amount of supplies for construction and a butter knife for the icing. They got to work executing their vision of the perfect Peep house.
Tip: An angled roof was quite the challenge and needed two people working together to make it work. A flat roof is much easier and required no adult assistance.
Plum and Bluey had a fantastic time and were more than happy to sample the supplies as they worked.
Category Get Crafty! | Tags: Art,Creativity,Holidays,kids | Comments Off on Spring Crafts
February 4, 2015 by admin
 Valentine’s Day is quickly approaching and our Bluey is very excited. We don’t really go out of our way for this holiday. But when our kids are jazzed about something in particular, we like to support their enthusiasm.
Bluey is determined to create Valentine’s cards and to decorate for February 14th. But unlike our stock of Christmas and Halloween supplies, we don’t have a lot of love themed, sparkly heart stuff. So we decided that we’d try to make most of our Valentine’s Day stuff from scratch.
This fun project combines Bluey’s desire to make Valentine’s decorations and his love of science!
Tip1: Even though we made these decorations for Valentine’s Day, you can have fun creating them for any holiday or event! Think of snowflake or star structures, to name just a few variations.
Shimmery Shapes (adult supervision required):
3 cups boiling water
½ cup Borax
Pipe Cleaners
Ribbon or String
Popsicle sticks or pencils (something stable that can extend over the lid of your container while supporting minimal weight)
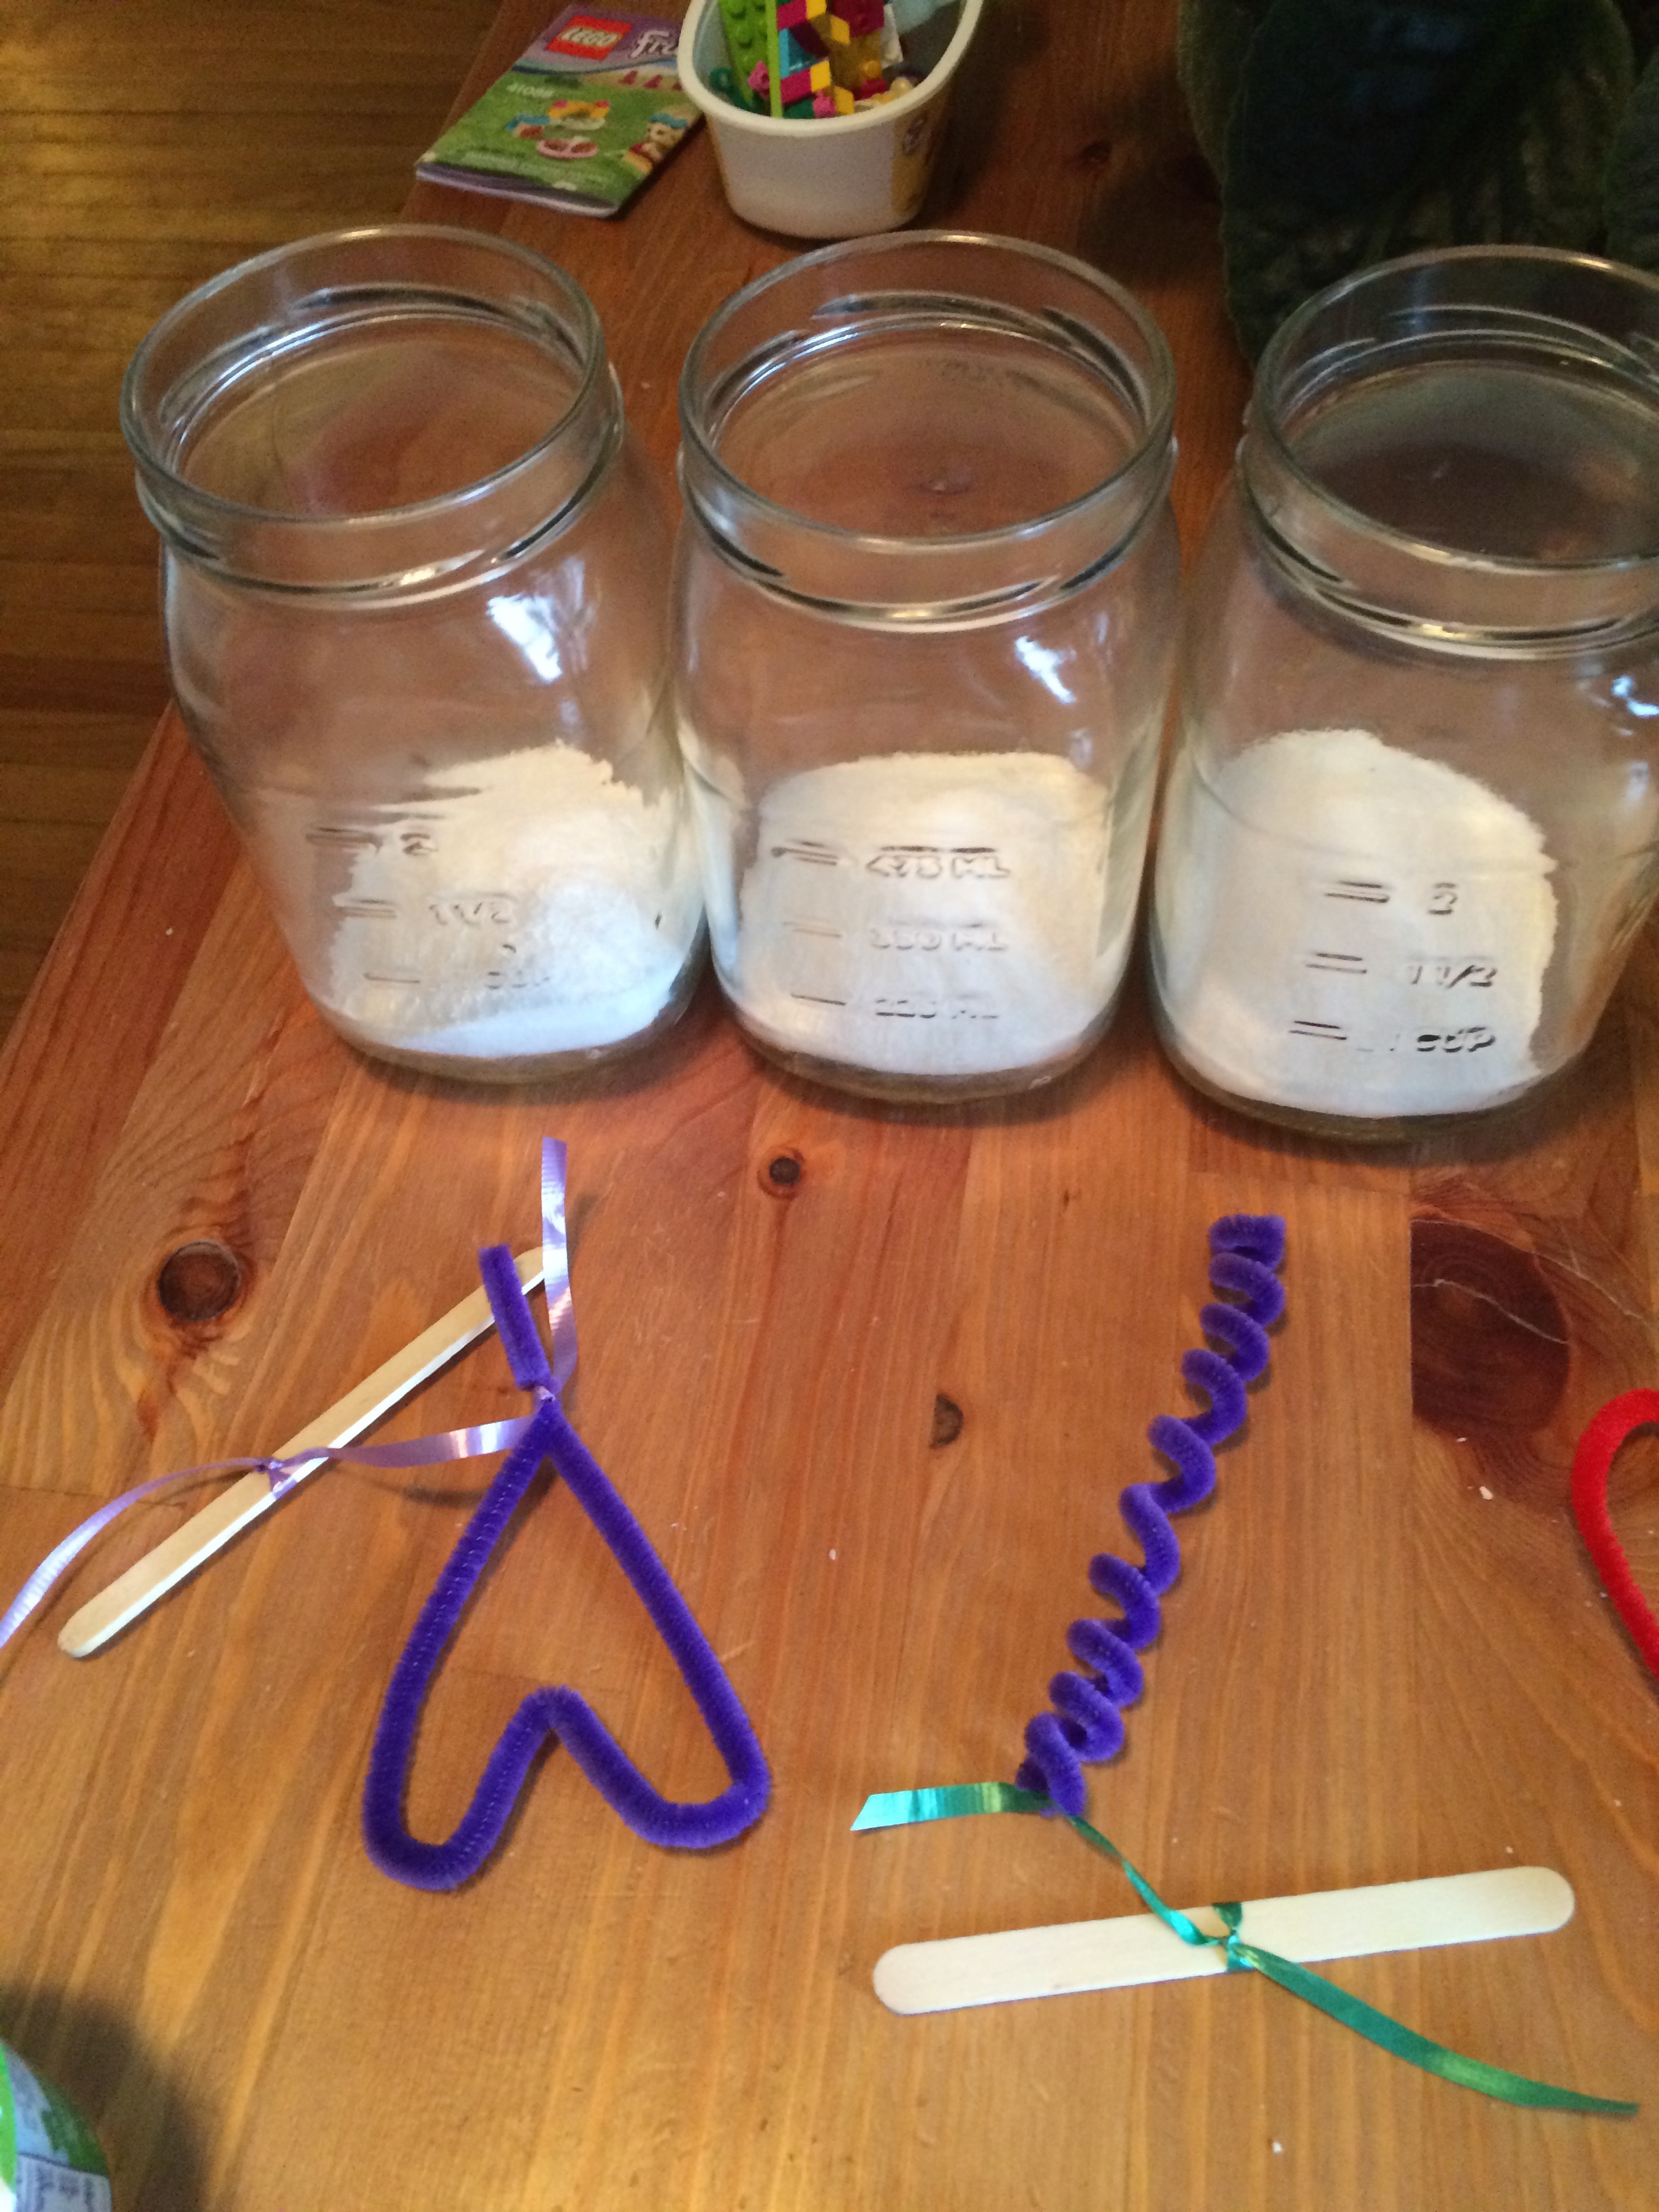 Manipulate your pipe cleaners into any desired shape.
Tie one end of a string to your shape and then attach the other end of the string to the center of a popsicle stick.
Add Borax and boiling water to a mason jar or other heat proof clear container. You want to utilize a container that you can see through as part of the fun of this project is witnessing the crystallization.
Mix the borax and water if necessary. A lot of the borax will settle to the bottom of the jar and that is okay.
Place your shape into the hot mixture and secure with the stick lying across the jar’s opening.
Leave undisturbed for at least 8 hours.
Tip2: You can create colored crystals by adding food coloring to the mixture before you hang your shapes.
This experiment/craft project gave us a chance to talk about crystals and how they are formed. The boiling water holds more Borax than cold water would. As the mixture cools, it can’t hold as much Borax. As the Borax molecules group together, they form these beautiful crystals. It’s related to what happens when it snows: warm clouds of water vapor get cooled, and become supersaturated. The water molecules group together and make snowflakes!
Tip3: Once your shape has crystalized, you may have to chip away at the bottom or the sides to release it from the container. And to clean your jars, you may have to add hot water to the hardened borax that has settled to the bottom.
We hope that you enjoy your shimmery shapes as much as our family. We plan to add some to home decorating and the rest will be gifted during Valentine card deliveries.
Category Get Crafty! | Tags: Art,Creativity,Holidays,kids,Science | Comments Off on Crafting And Science
January 4, 2015 by admin
 We love creating around here. We are constantly building new things, working on new projects, and talking about what we’ll make next. And we understand fully that pure creation doesn’t always follow a clearly marked path. It’s unpredictable and we like that about it.
Yet we also find that an environment too chaotic can hinder creativity. It’s hard to focus when everything is messy. And it can stop experimentation in its tracks.
“Where did we put the baking soda and scrap cardboard?”
So when our (ever-growing) collection of Legos got a bit out of control, we spent some time trying to figure out the best solution. Our play had been hindered by constantly digging through a big vat of bricks to find the one needed piece.
Our first try was to sort by color. We divided our Lego table into six or so sections, each one filled with a color, or related group of colors. This was a step in the right direction. We saw immediately that it helped a little- to have a smaller amount of pieces to sort through when trying to finish a build.
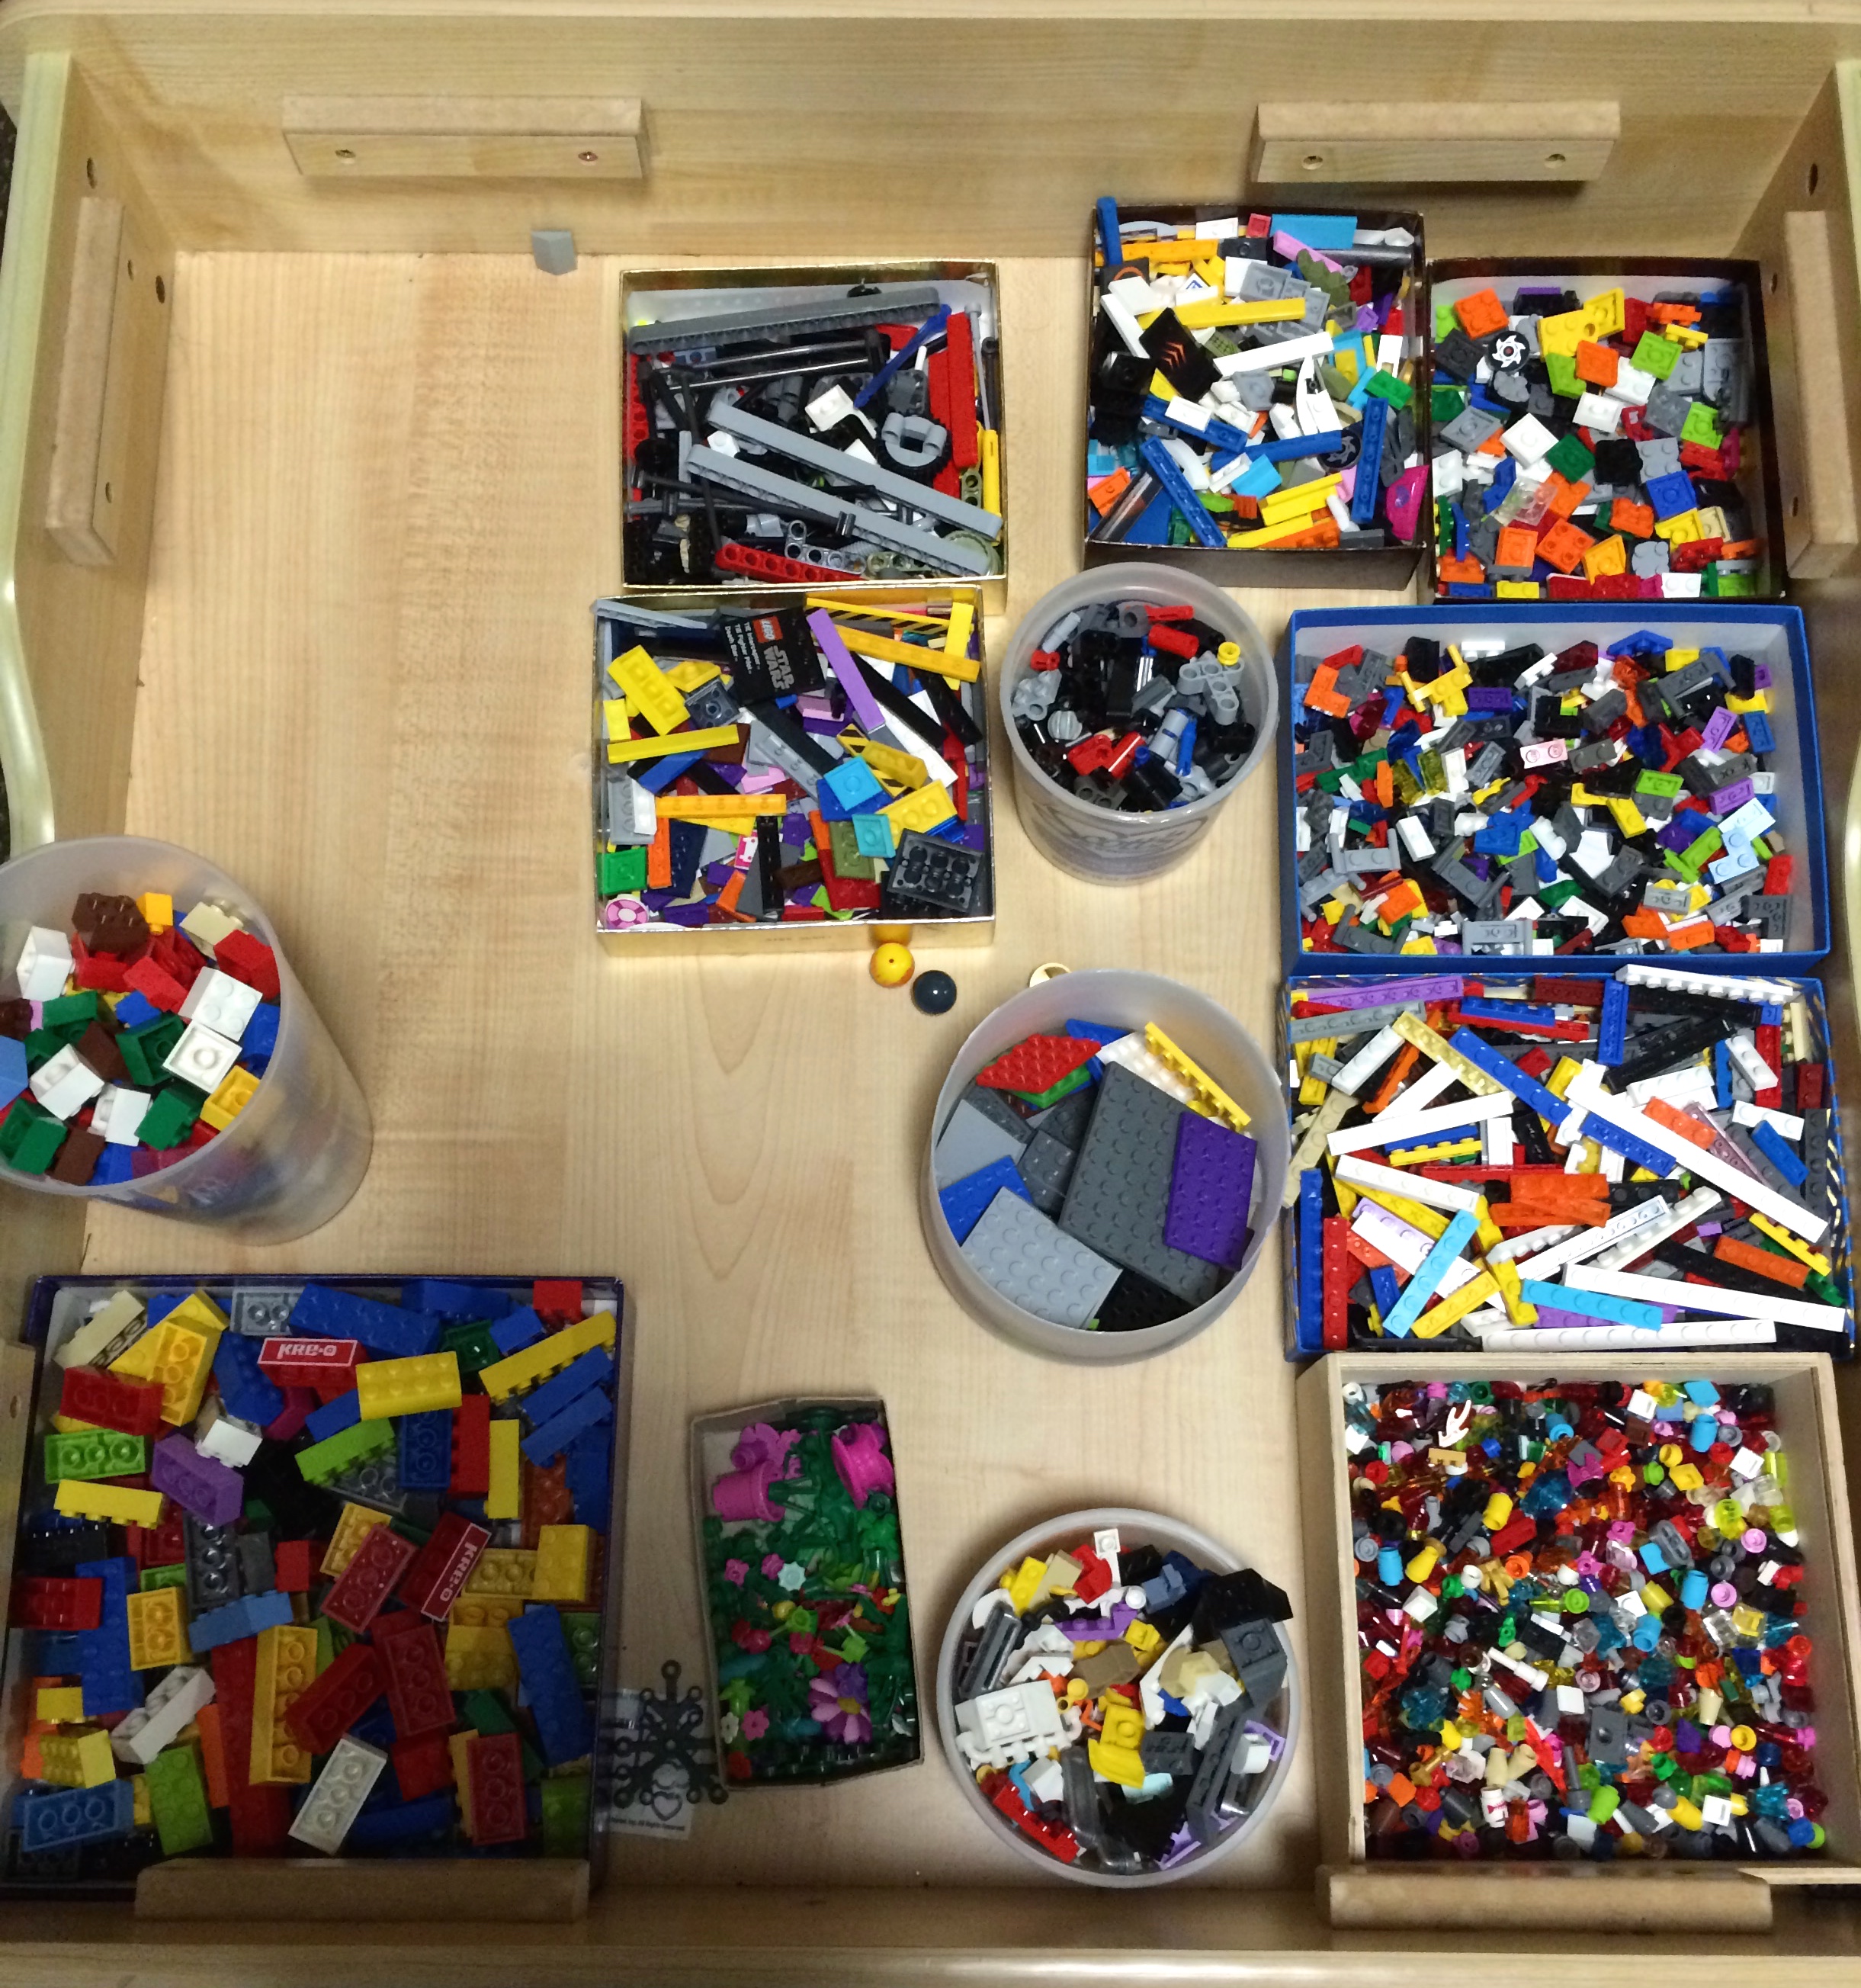
But it didn’t really work right. For one thing, Legos come in so many colors, we quickly ran into questions about which section certain colors went. But more importantly, we found that when building and trying to complete a particular project it was more important to find the right SHAPED piece, rather than the right COLOR. It was too difficult to find a tiny 2×1 flat piece buried at the bottom of the entire spectrum of red section. It’s much simpler to find a 2×1 red piece in a bin full of 2×1 flat pieces.
So we reset our table with a series of smaller bins to hold different shaped pieces: 2×2 bricks here, long flat pieces there, windows and doors in a section all together.
It works great!
We find now that creativity is flowing strong at the Lego table. When we think about the Legos based on shapes, it is easier to see how they might all fit together. And easier to build say, a trap door by sorting through the different hinge options in the hinge bin and finding what works, than sorting through a huge mass of pieces, hoping to randomly stumble upon one that works.
Bring some order to your Lego collection and watch the creative juices flow!
Category Get Crafty! | Tags: Art,Creativity,kids,simple solutions,unplugged | Comments Off on Organizing For Creativity
December 21, 2014 by admin
 As new hermit crab owners, we’ve been preoccupied with making sure our little friends are happy and comfortable.
Maintaining the preferred level of humidity in their sandy crabitat is one piece that has proved difficult for us.
We tried various ideas from misting the tank regularly, to making sure the sand was well moistened. Nothing seemed the right solution for keeping the humidity steady. And to the extent any of our methods helped, they all required a very hands-on, all day approach. What if we went away on a day trip? Surely, there just had to be an easier way.
So we started shopping for alternatives. When we saw the prices for crab tank humidifiers, we balked. After all we have already invested in our crustacean friends, there had to be a more affordable option.
We returned to our YouTube sources and saw various ideas for ways you could make your own humidifier for much less than any store brought option. So we took on this DIY task.
Building our own humidifier turned out to be quick, easy and only a few dollars investment.
Supplies:
Fish tank air pump
Length of air pump tubing
Air Stone
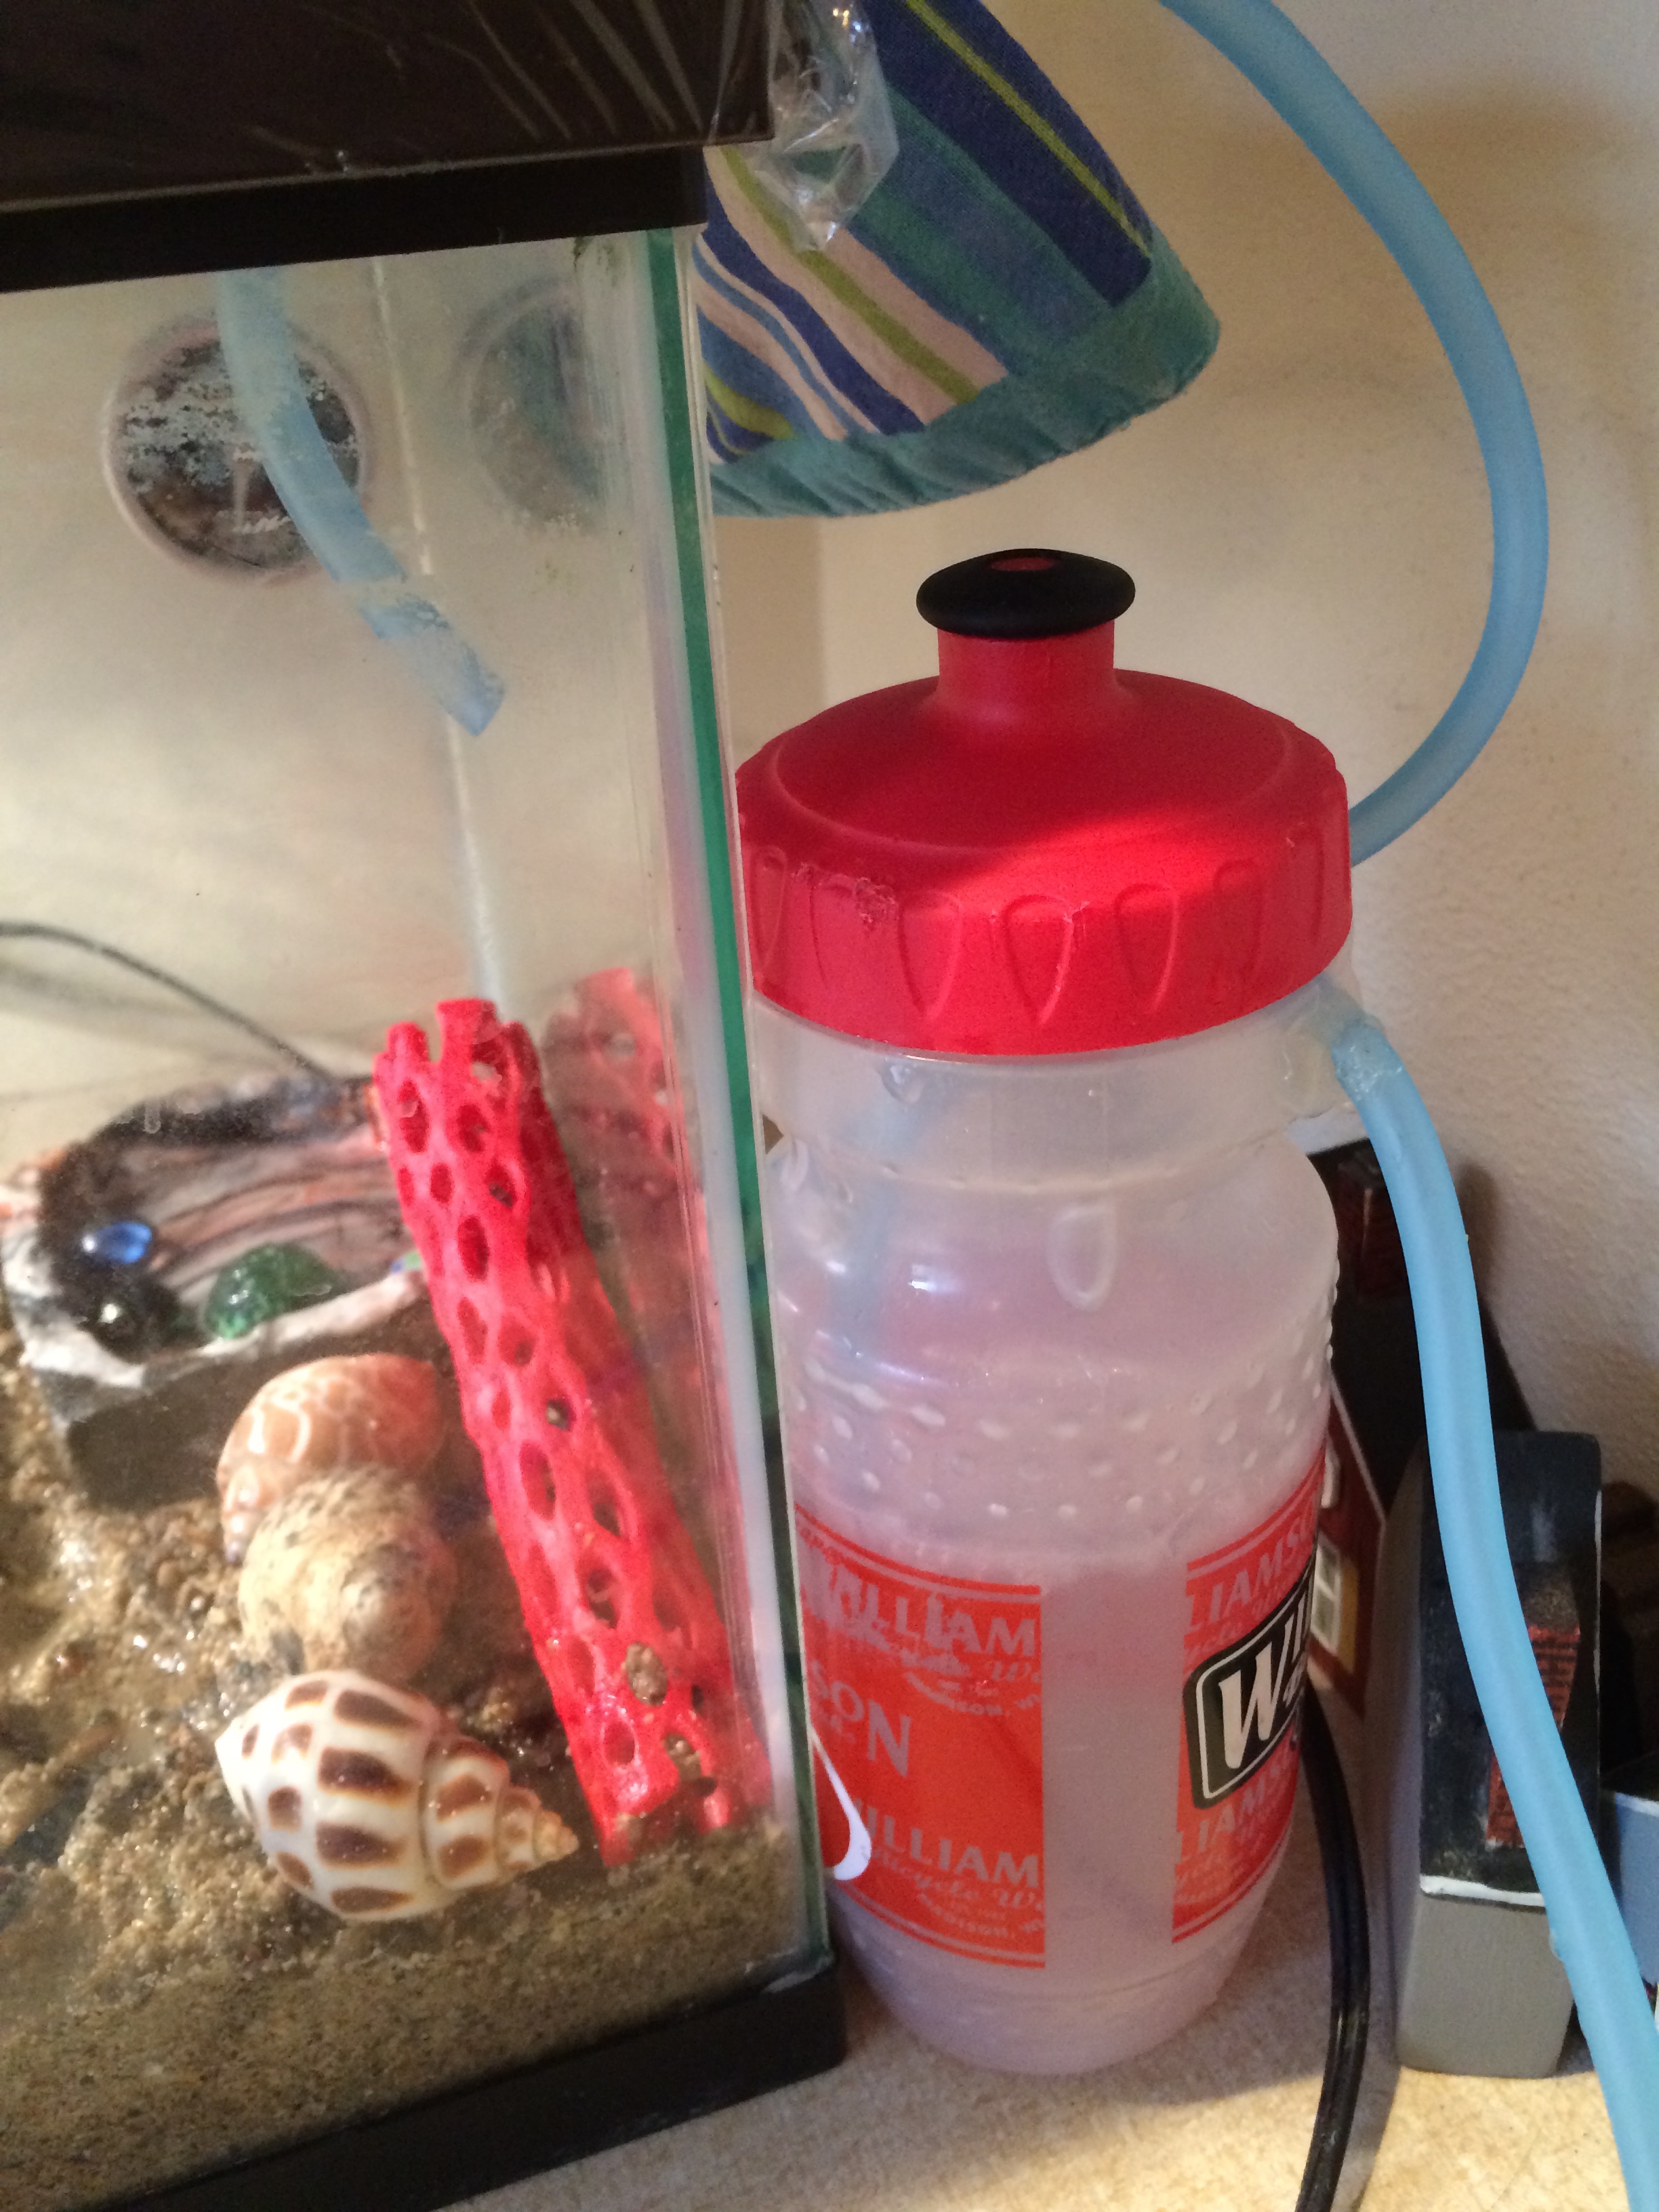
Plastic Bicycle Water Bottle
Glue Gun
Wire Cutters
Technique:
We first used a screwdriver to punch two small holes in the top side of the water bottle. We placed these holes just under the rim of the lid. This way, refilling the bottle wouldn’t require disassembling the whole system.
Next we cut a length of tube to go from the pump to the bottom of the bottle. We attached the air stone to this tube.
Another tube went from the top of the bottle, up into the tank. We used wire cutters to cut through the wire mesh removable top of the crabitat, just enough to let the tub fit through.
We used a glue gun to seal the the tubes at the edge of the bike bottle.
Then, all we had to do was wait for the glue to dry, and put some water in the bottle.
How It Works:
The air stone creates bubbles, which rise to the top of the water, creating super-humid air at the top of the bottle. The second hose then leads this humid air to the tank. Presto! A nice, humidity boost to the air of the crabitat.
 We were so pleased that we could make this on our own, with only a purchase of a few materials! Our Bluey helped with the whole project (a great home lesson!) and was suitably proud of how well it all worked out.
Category Get Crafty! | Tags: Animals,Creativity,kids,Learning,Science,simple solutions | Comments Off on The MacGyver Solution
December 10, 2014 by admin
 Now that we are deep into the holiday season, gift buying and gift making are well underway in this TR home.
We have a generous supply of wrapping paper. But our kids find wrapping gifts more of a hassle than fun. The tape usually fights back and ends up in an unusable sticky crumple. And the cut paper is either too big or too small and refuses to bend into neat folds.
So what to do? Make your own gift bags!
Tip1: Gift bags aren’t just for the holidays. Make them for birthdays, cookie exchanges, etc.
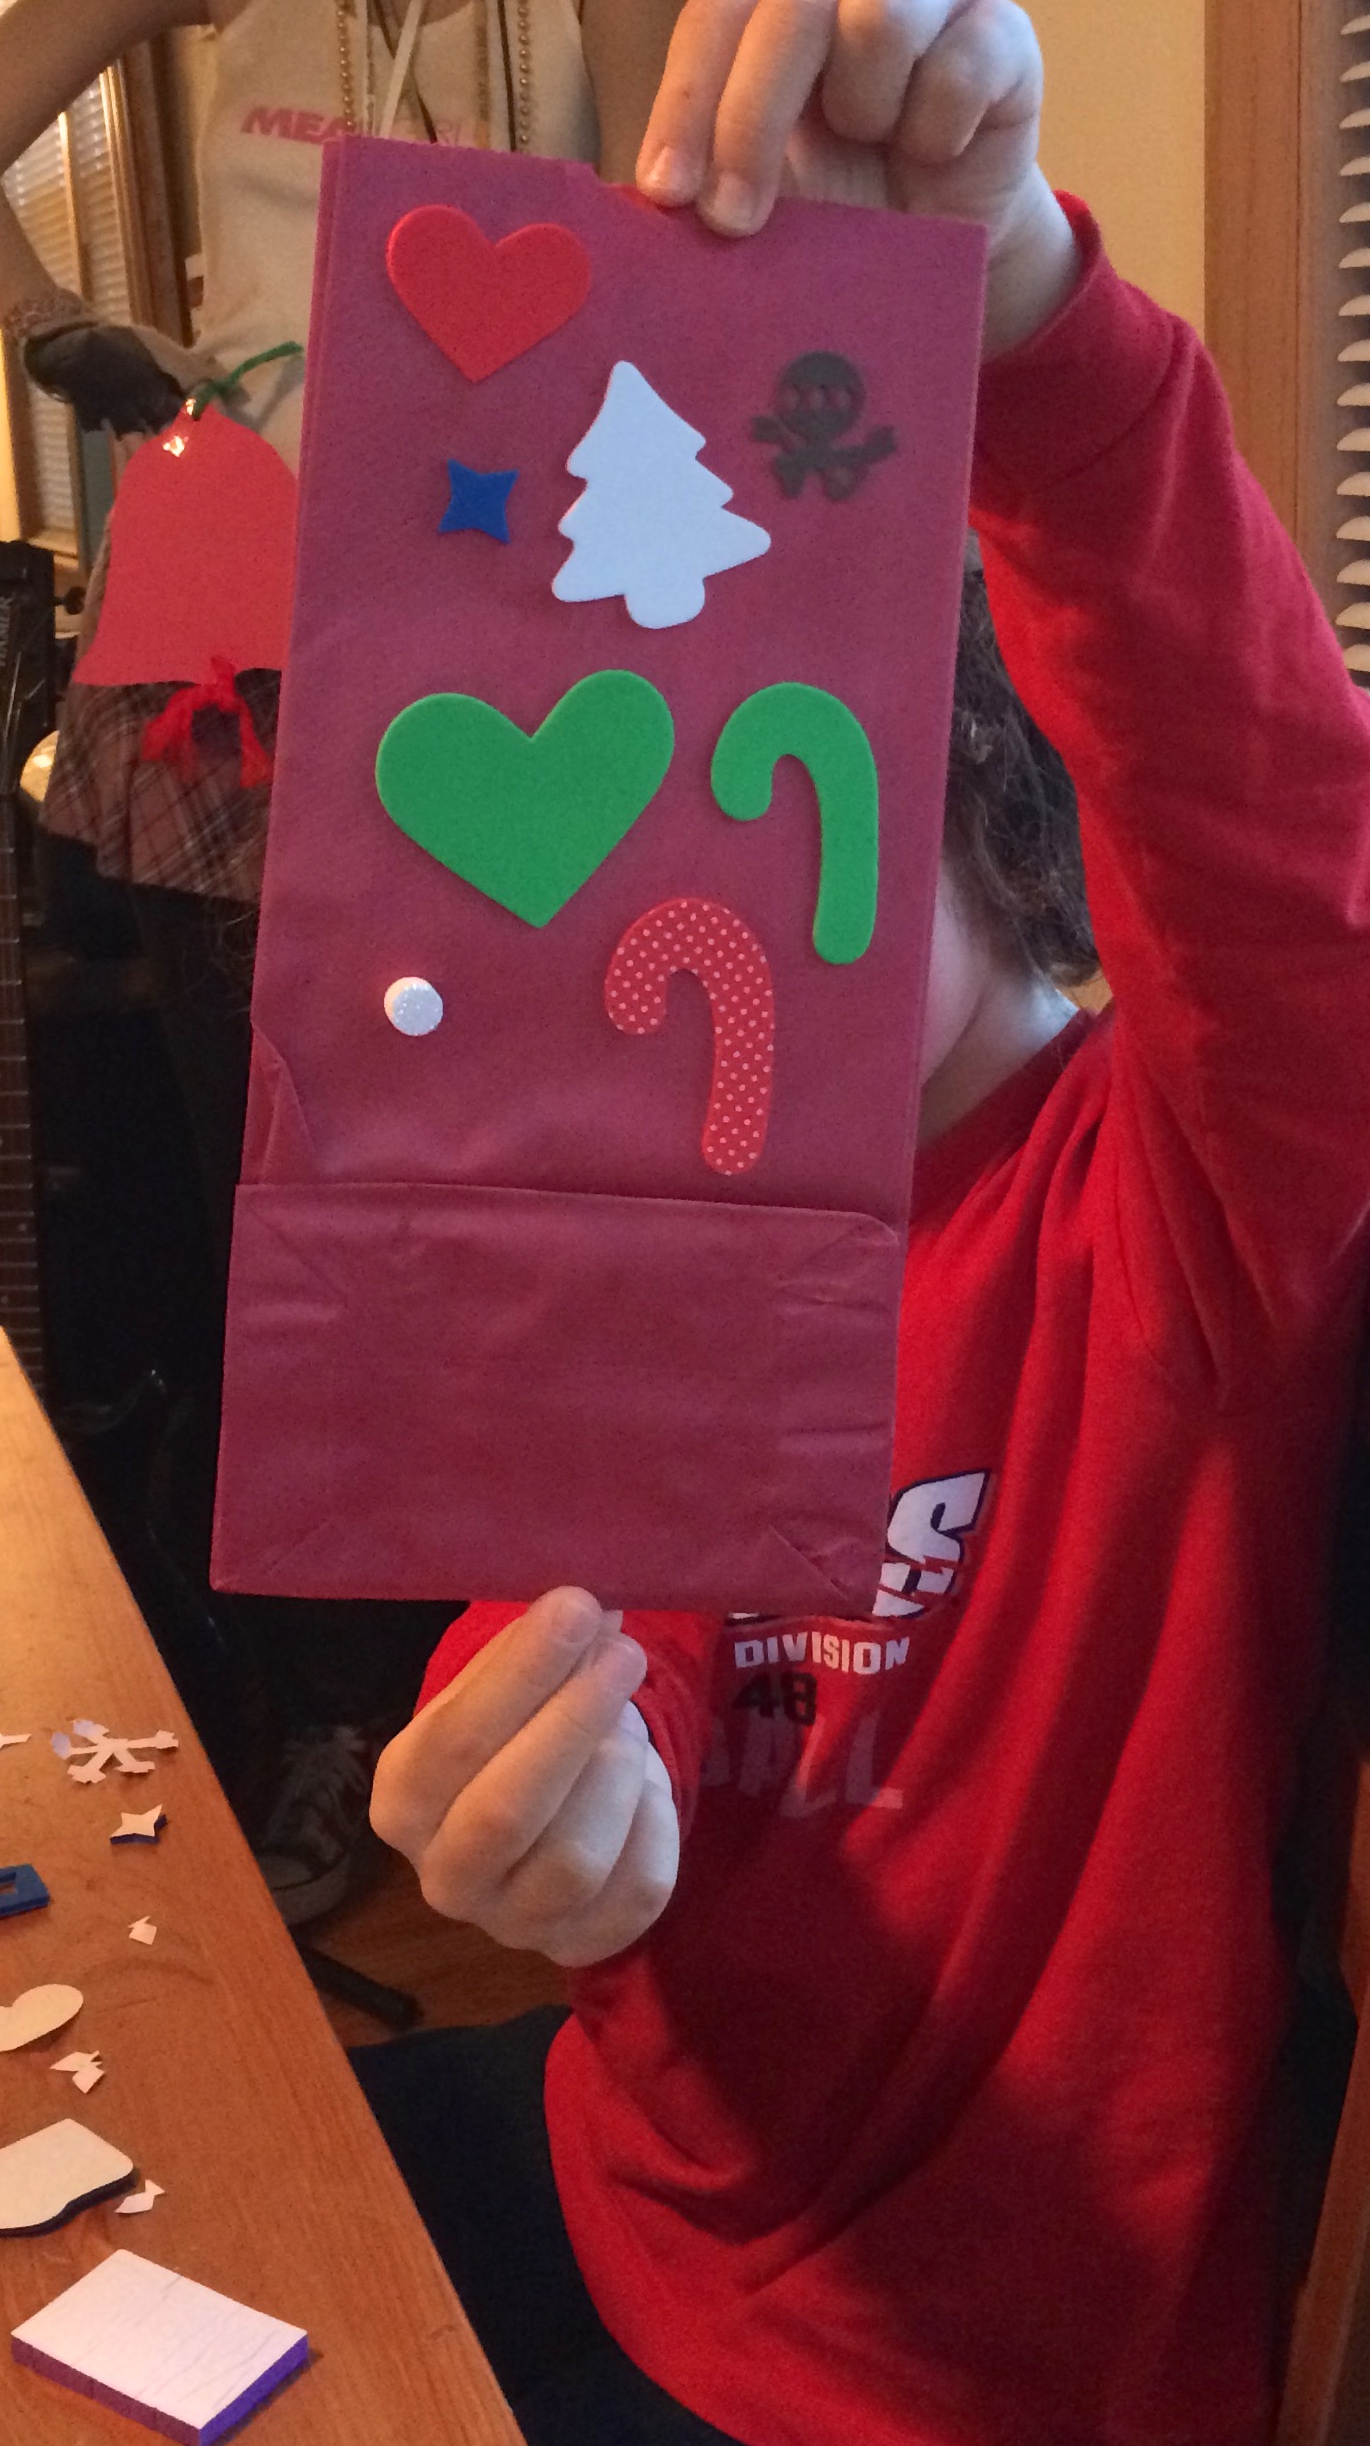
We picked up a pack of 40 red paper lunch bags at a local box store for under $2.00. We thought red was fitting for Christmas but you can easily find an assortment of colors.
Once home, we got out our supply of winter and holiday themed foam stickers. Our kids got right to work decorating bags for all of their friends and family.
Tip2: A container of foam stickers from the box stores runs about $8 but you can usually find them on deep discount after each holiday. We’ve never paid more than $2 per container.
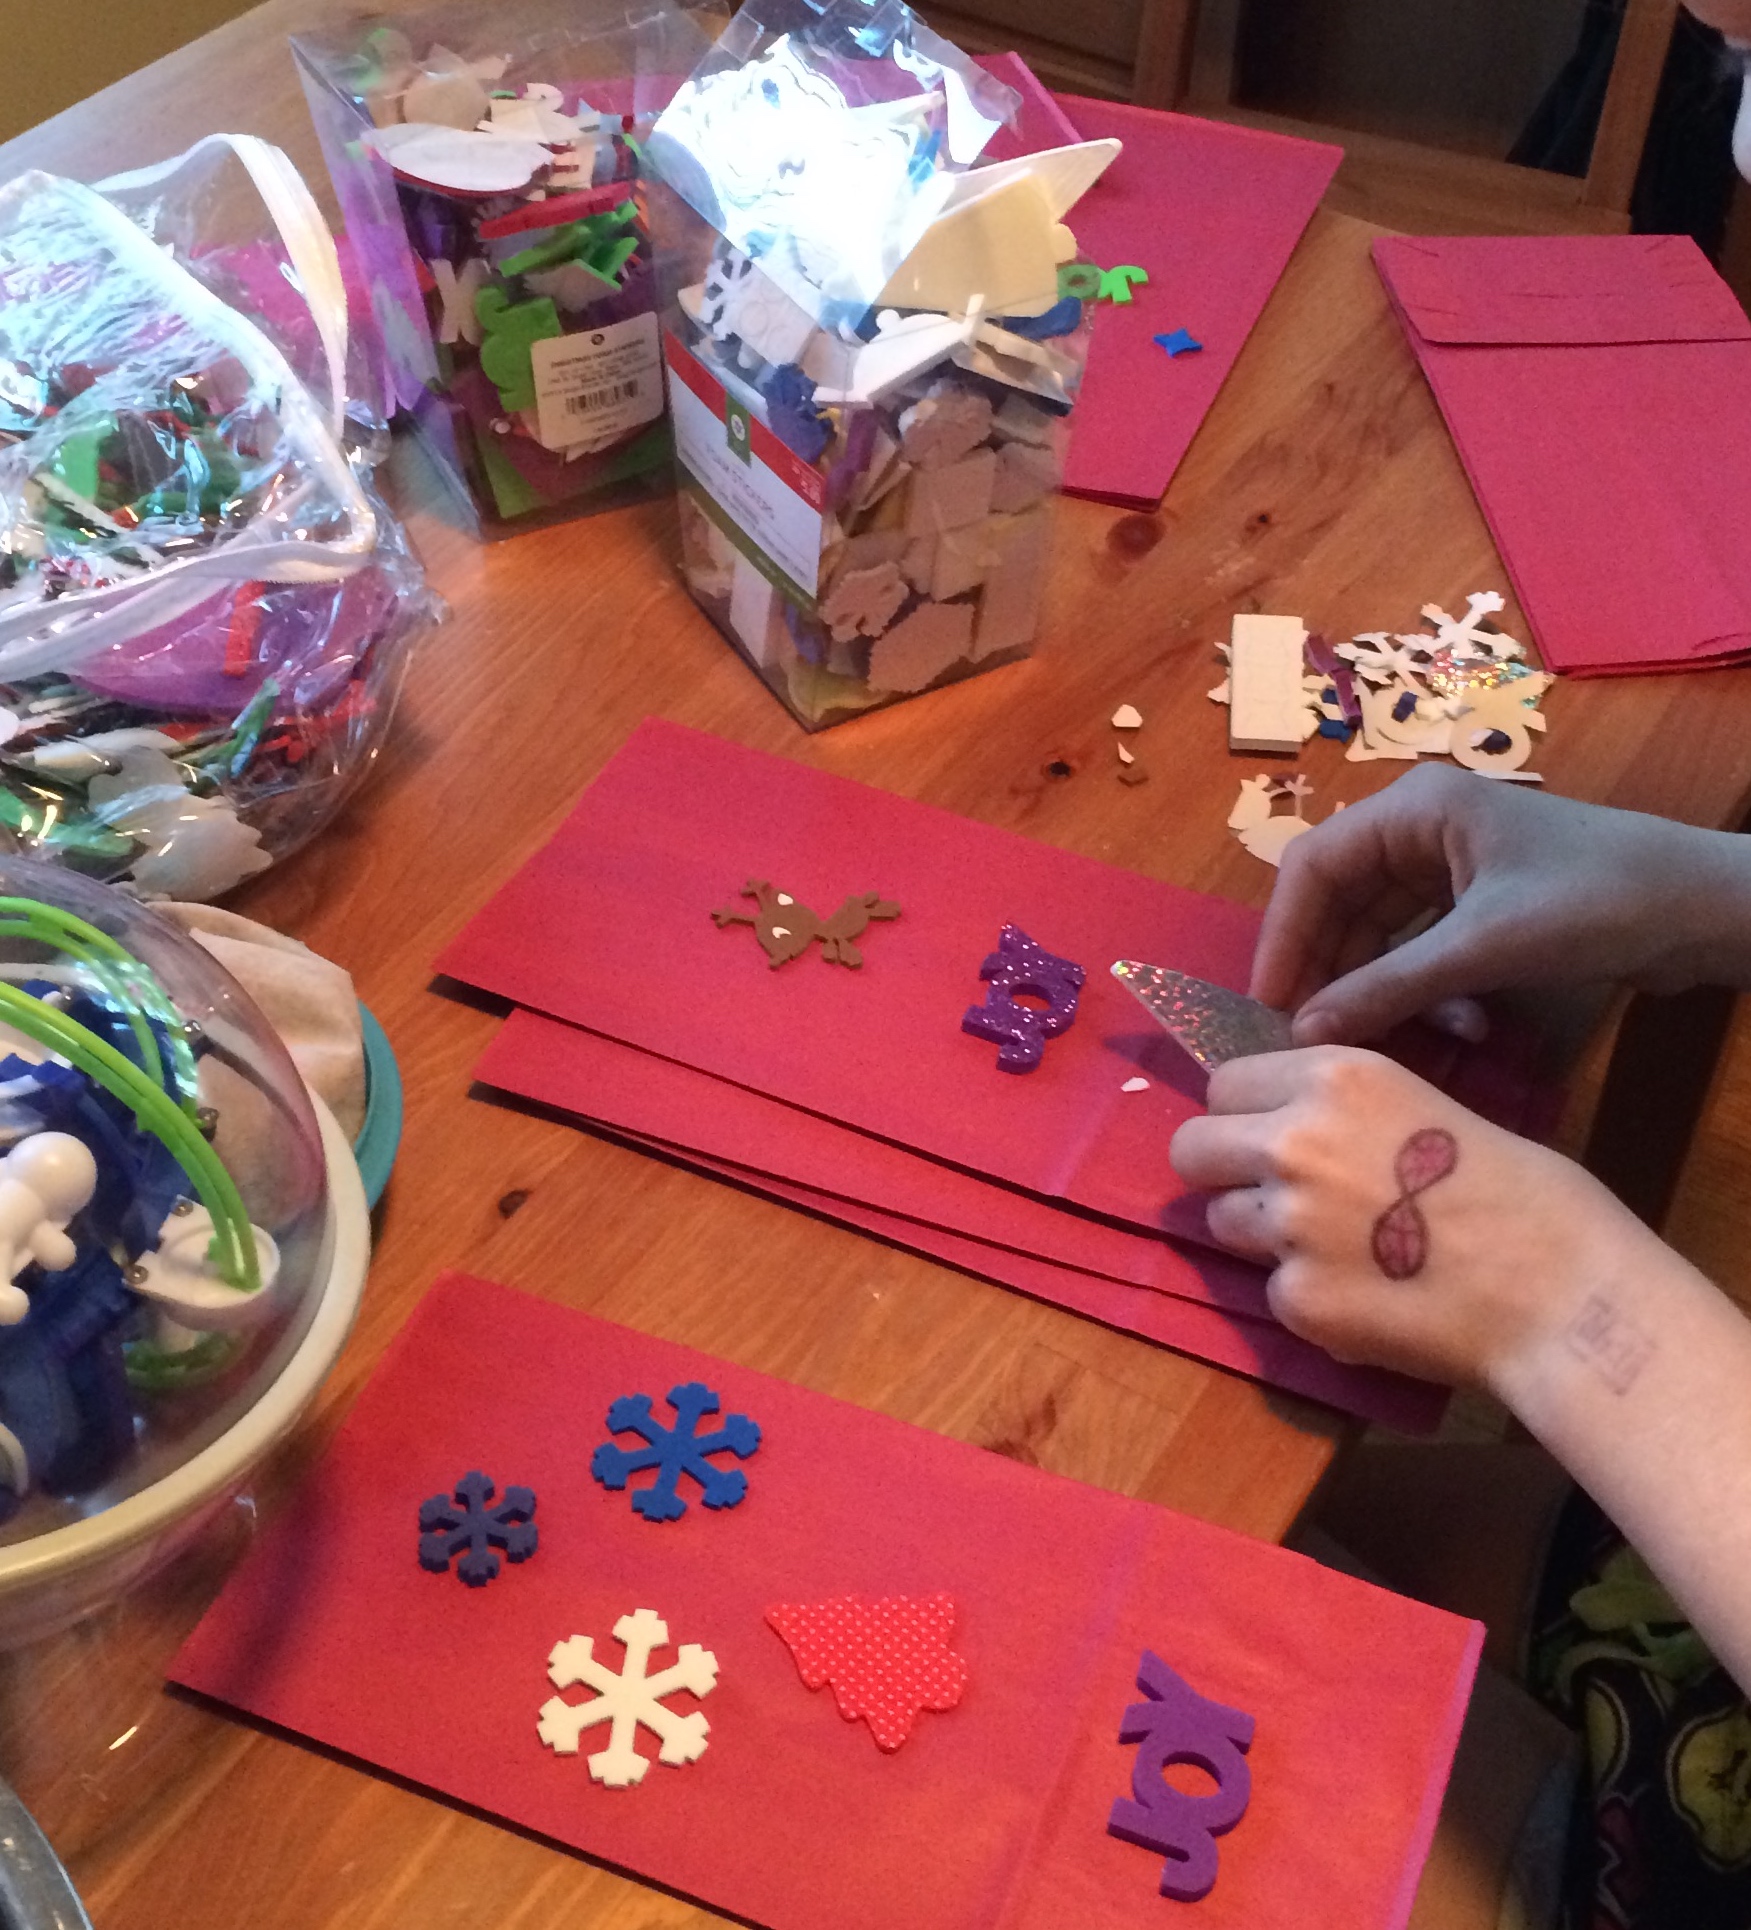 You can make the bags as fancy as you wish. Punch out holes along the top and weave ribbon through the circles. Jazz the gift bags up with glitter or coloring. The possibilities are numerous.
Bluey and Plum had a great time and were very proud of their creations. Adding a personal touch to any gift is always a move in the right direction!
Category Get Crafty! | Tags: Art,Creativity,Holidays,simple solutions | Comments Off on It’s In The Bag!
December 7, 2014 by admin
This TRFamily loves the holidays. And we greatly enjoy spreading the holiday spirit with handmade gifts to our friends and family. There is something special about the love and effort that goes into handmade gifts. And our children take great pride in creating gifts for the special folks that impact their lives.
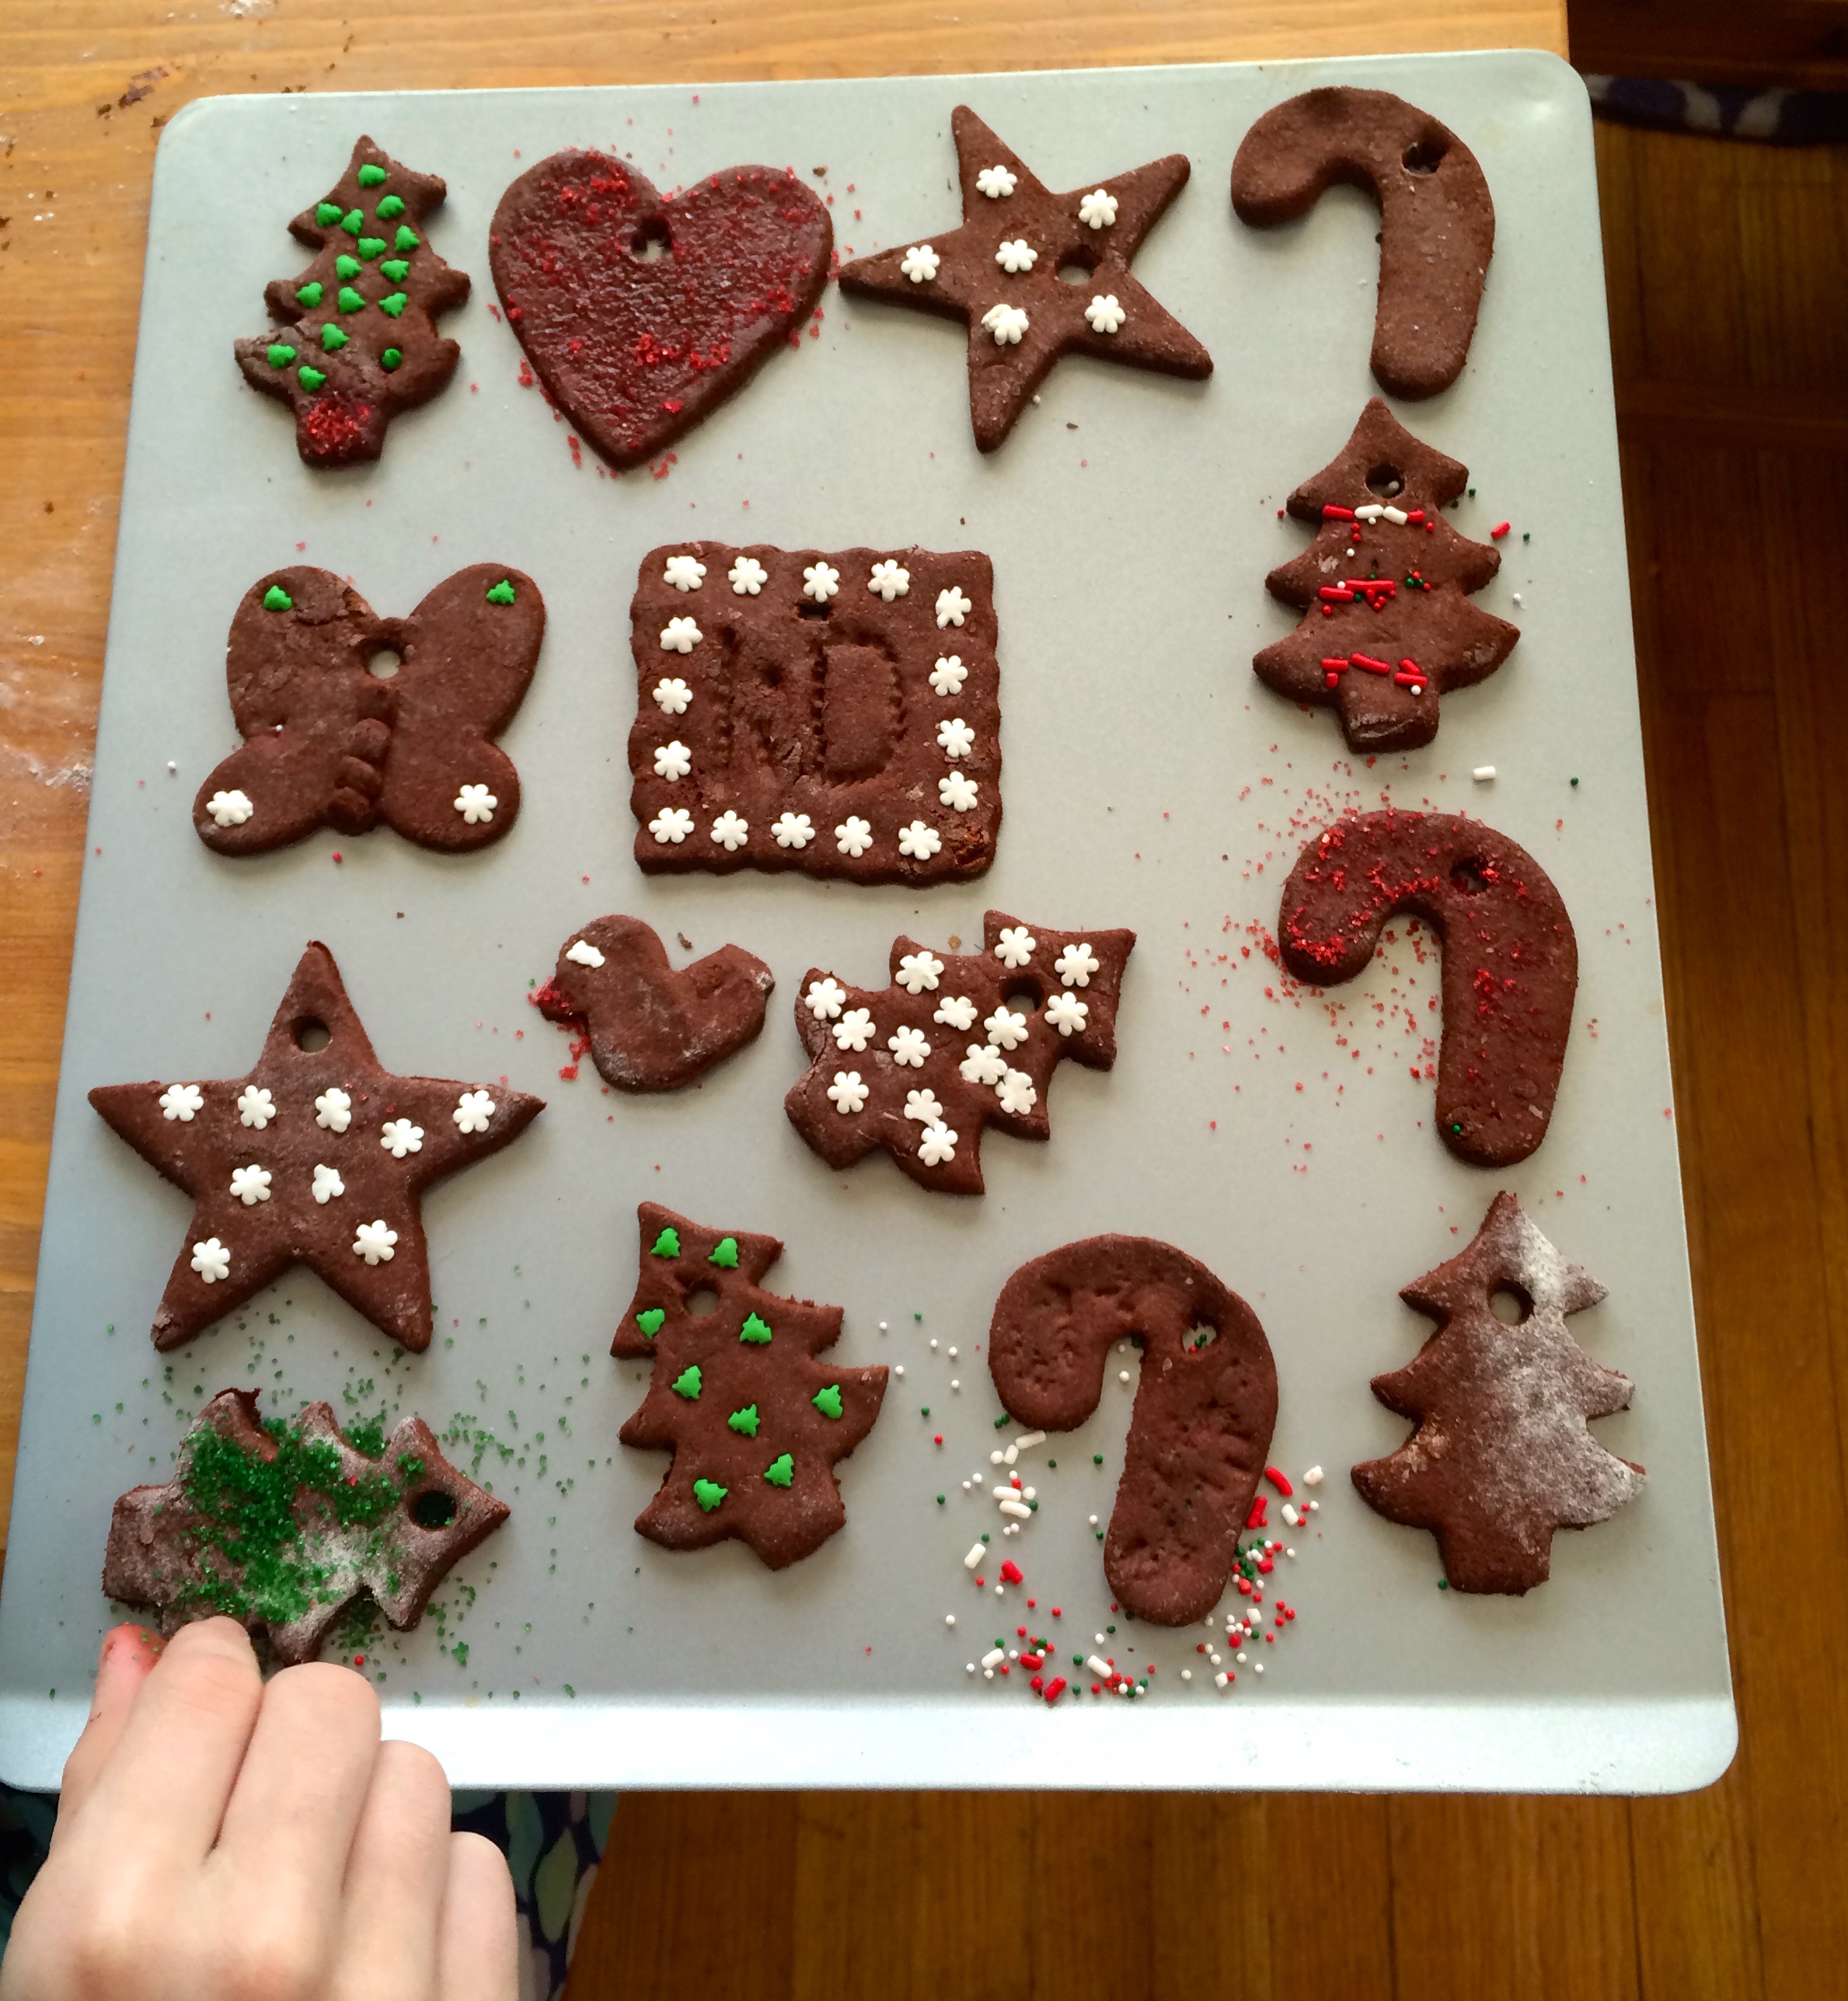
Last Christmas, we made fantastic salt dough ornaments. But even though that was fun and successful, we wanted to do something different this holiday season. We decided to make cinnamon ornaments!
Recipe:
Tip: Your batch will yield about 15 ornaments
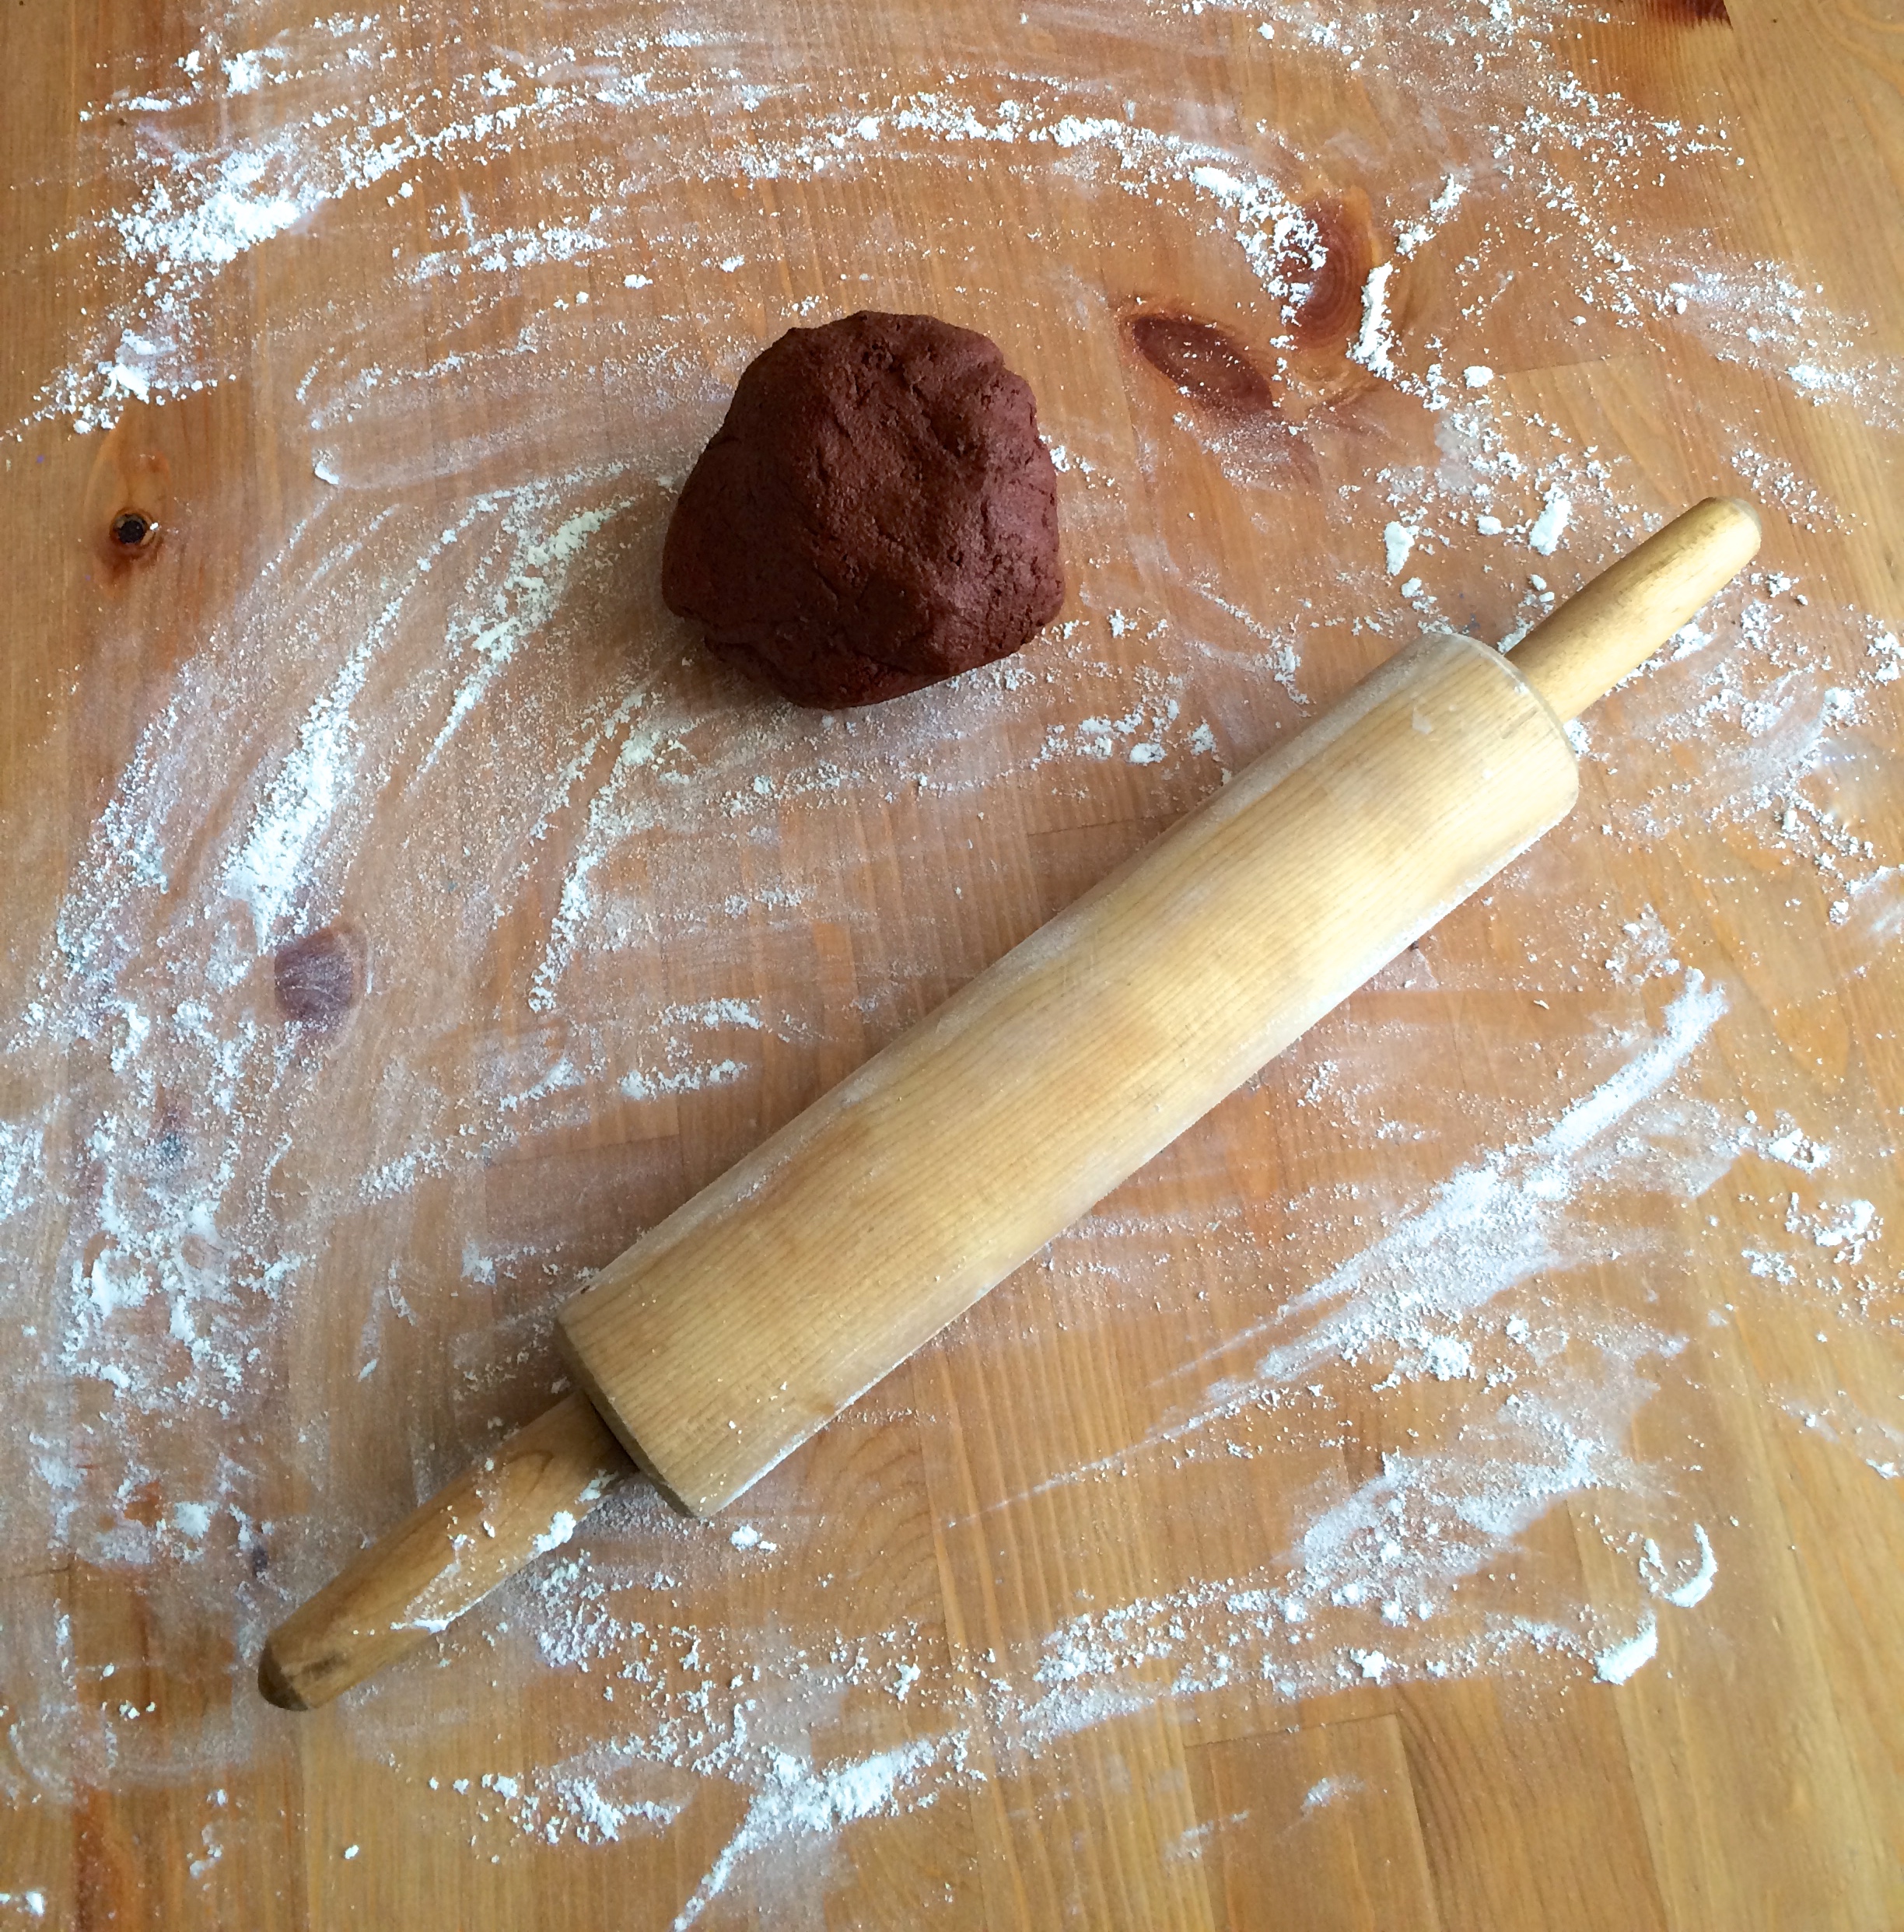
Combine the cinnamon and applesauce, mixing until clumpy. Then pour in the glue and continue mixing. Dough will be incredibly sticky. We found it necessary to mix by hand and add liberal amounts of flour until we could roll out our ornament dough. Add decorations if you’d like. Punch out a hole in the ornament with a plastic straw and then bake at 200F for 1 hour. Let cool for at least 3 hours.
Bonus – You’re entire house will smell like cinnamon!
Category Get Crafty! | Tags: Art,Creativity,Holidays,kids,kindness,unplugged | Comments Off on Cinnamon Ornaments
November 28, 2014 by admin
 Does your kiddo like to cook? It’s a great thing at any age- having a young helper in the kitchen. They learn so much and you get to bond with them while mixing, stirring and measuring.
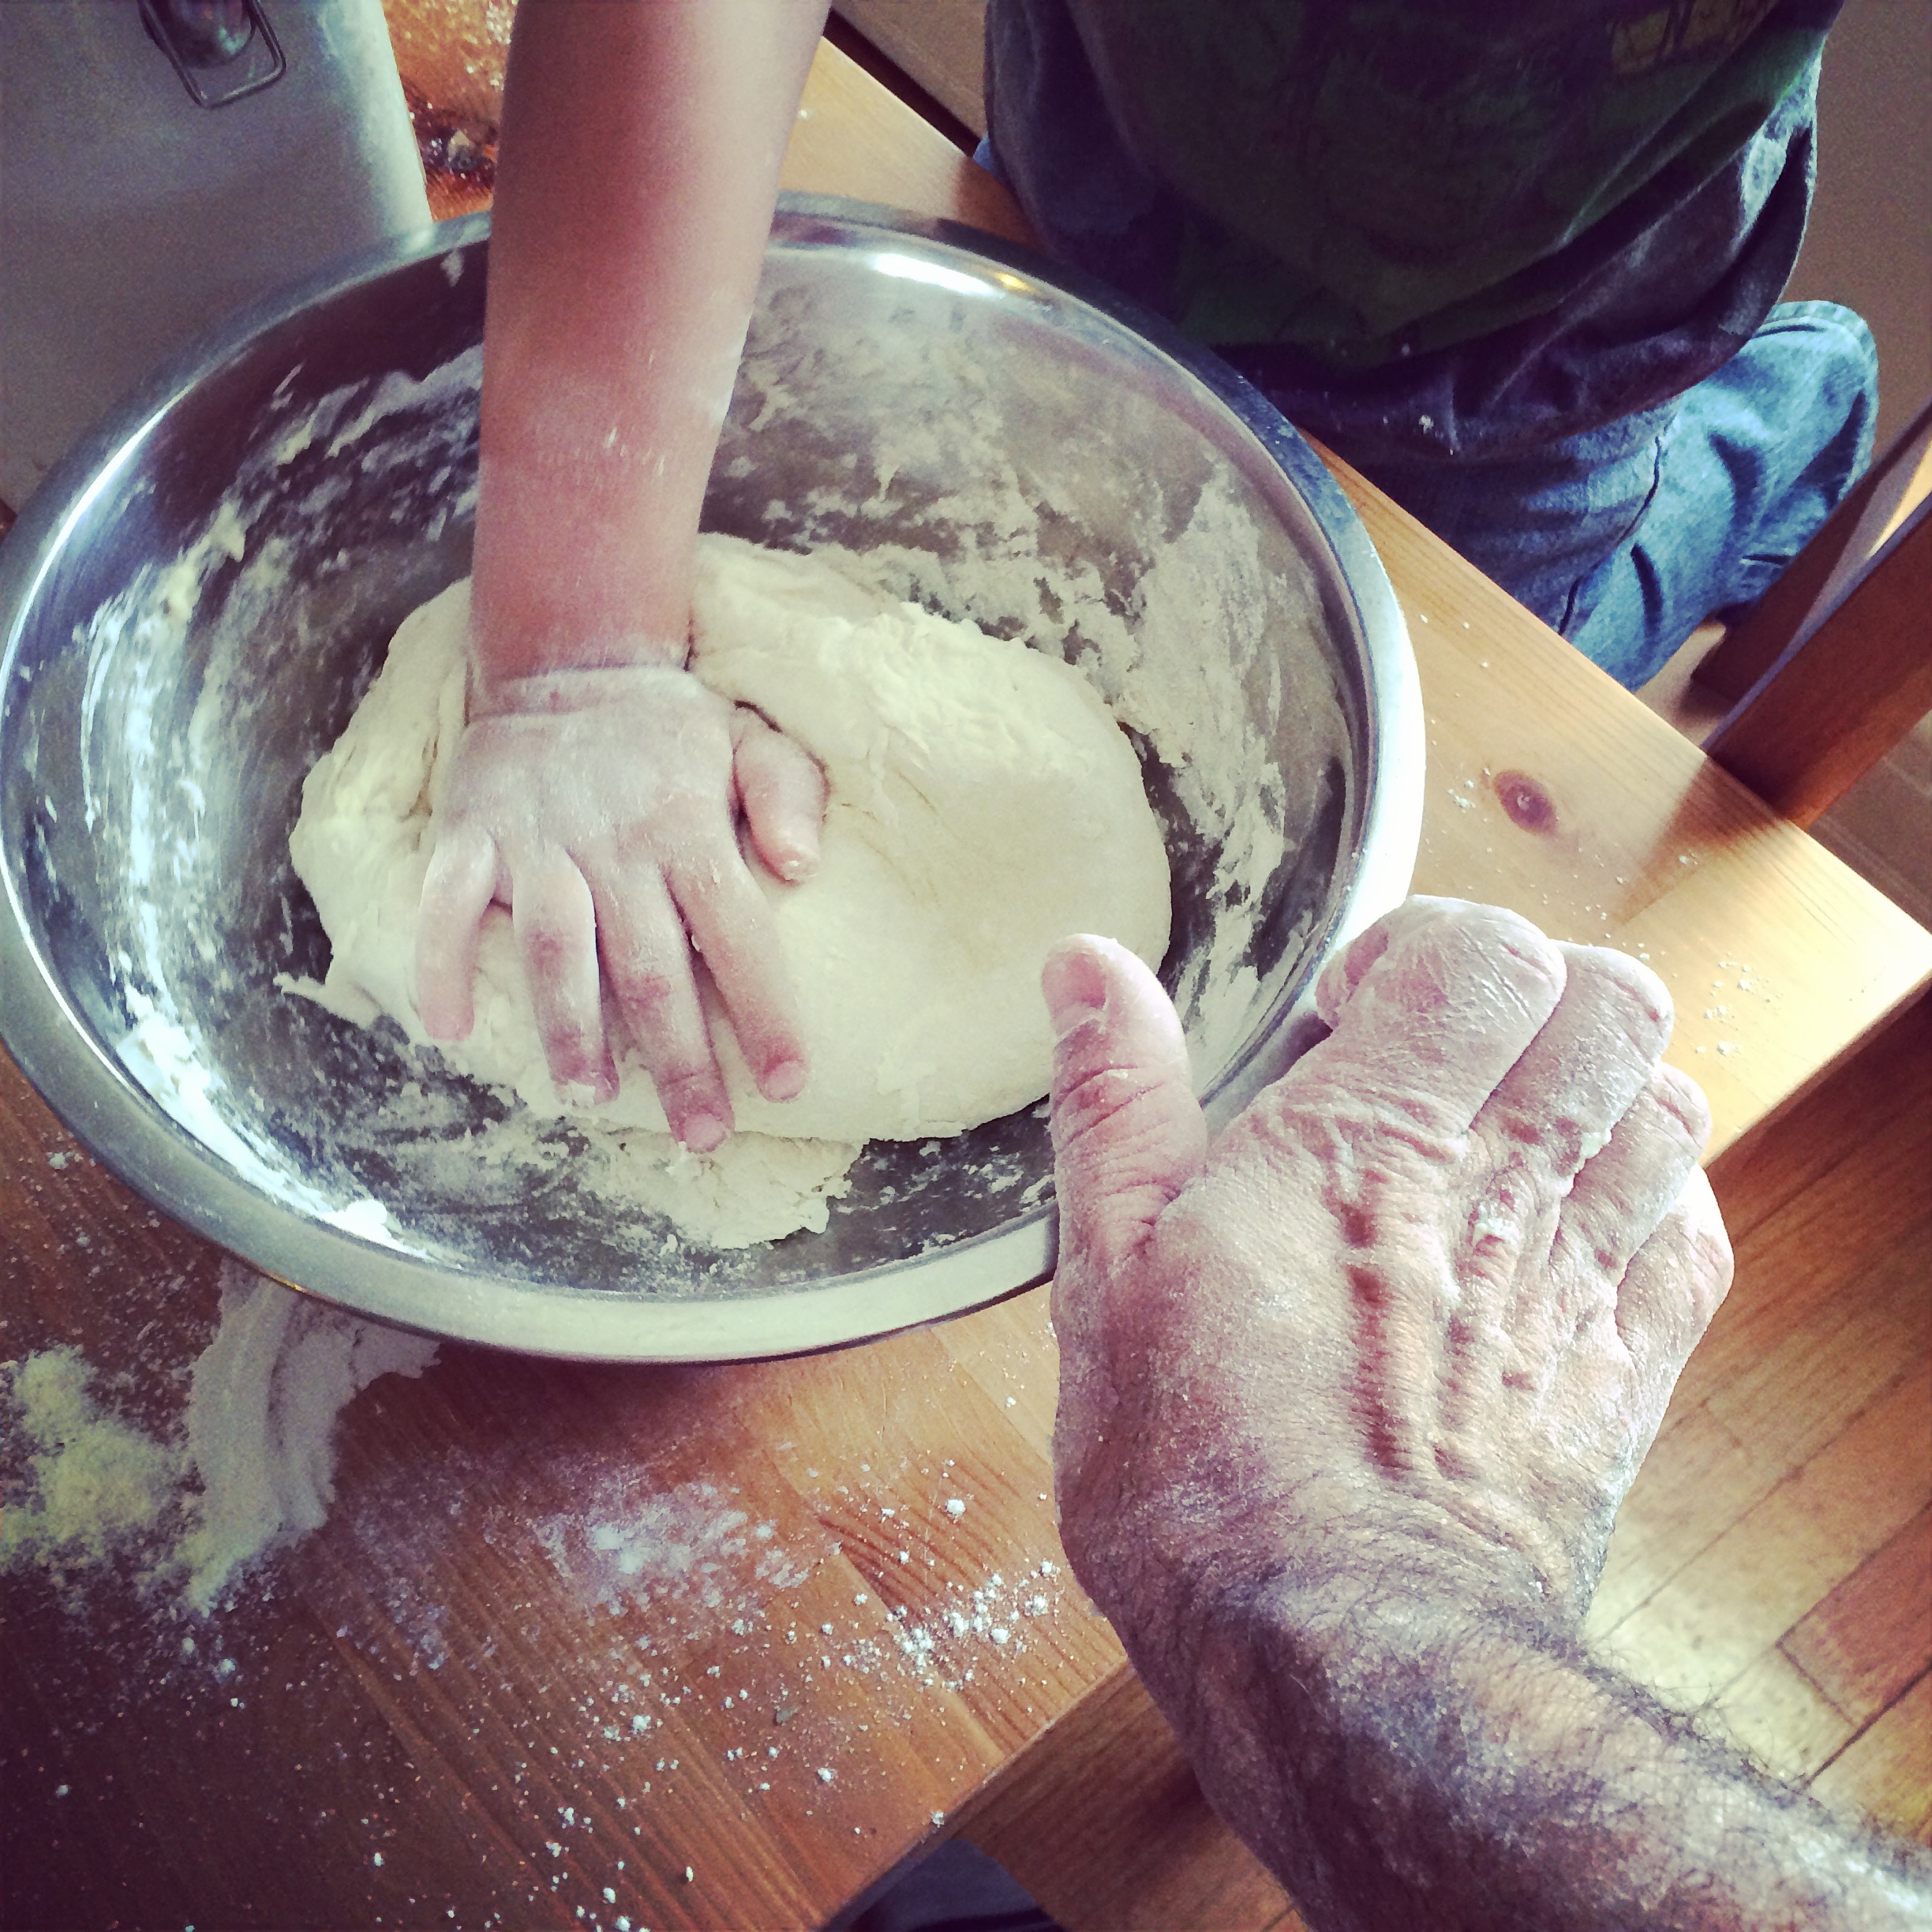 We suggest that you to talk about different foods and discuss with your kiddos that cooking is a creative endeavor. Recipes are guides– not the gospel, and everyone should develop their own idea of what tastes good. If you have these conversations and encourage your kids to invent and create in other areas of their lives….Eventually, your kiddo might want to create a fully original food.
What to do? Well, encourage it, of course!
For several weeks before Thanksgiving, Bluey started talking to TRDad about this great dish he wanted to make for the occasion: Peanut Butter Pie. TRDad’s first response was: “Great! Let’s talk about that.” By staying upbeat and positive, we got Bluey to think through his dish further and explain his ideas.
In talking it through with him, we helped him think about different ways to create his dish and different choices he could make. We encouraged him to think of this as his test run. Just like with his other inventions, it might not work perfectly the very first time.
So on Thanksgiving, we plunged into this new recipe. Bluey was happy that he was getting to make his very own holiday treat and that he was seeing his invention carried out. He loved the process and that we all took his idea seriously.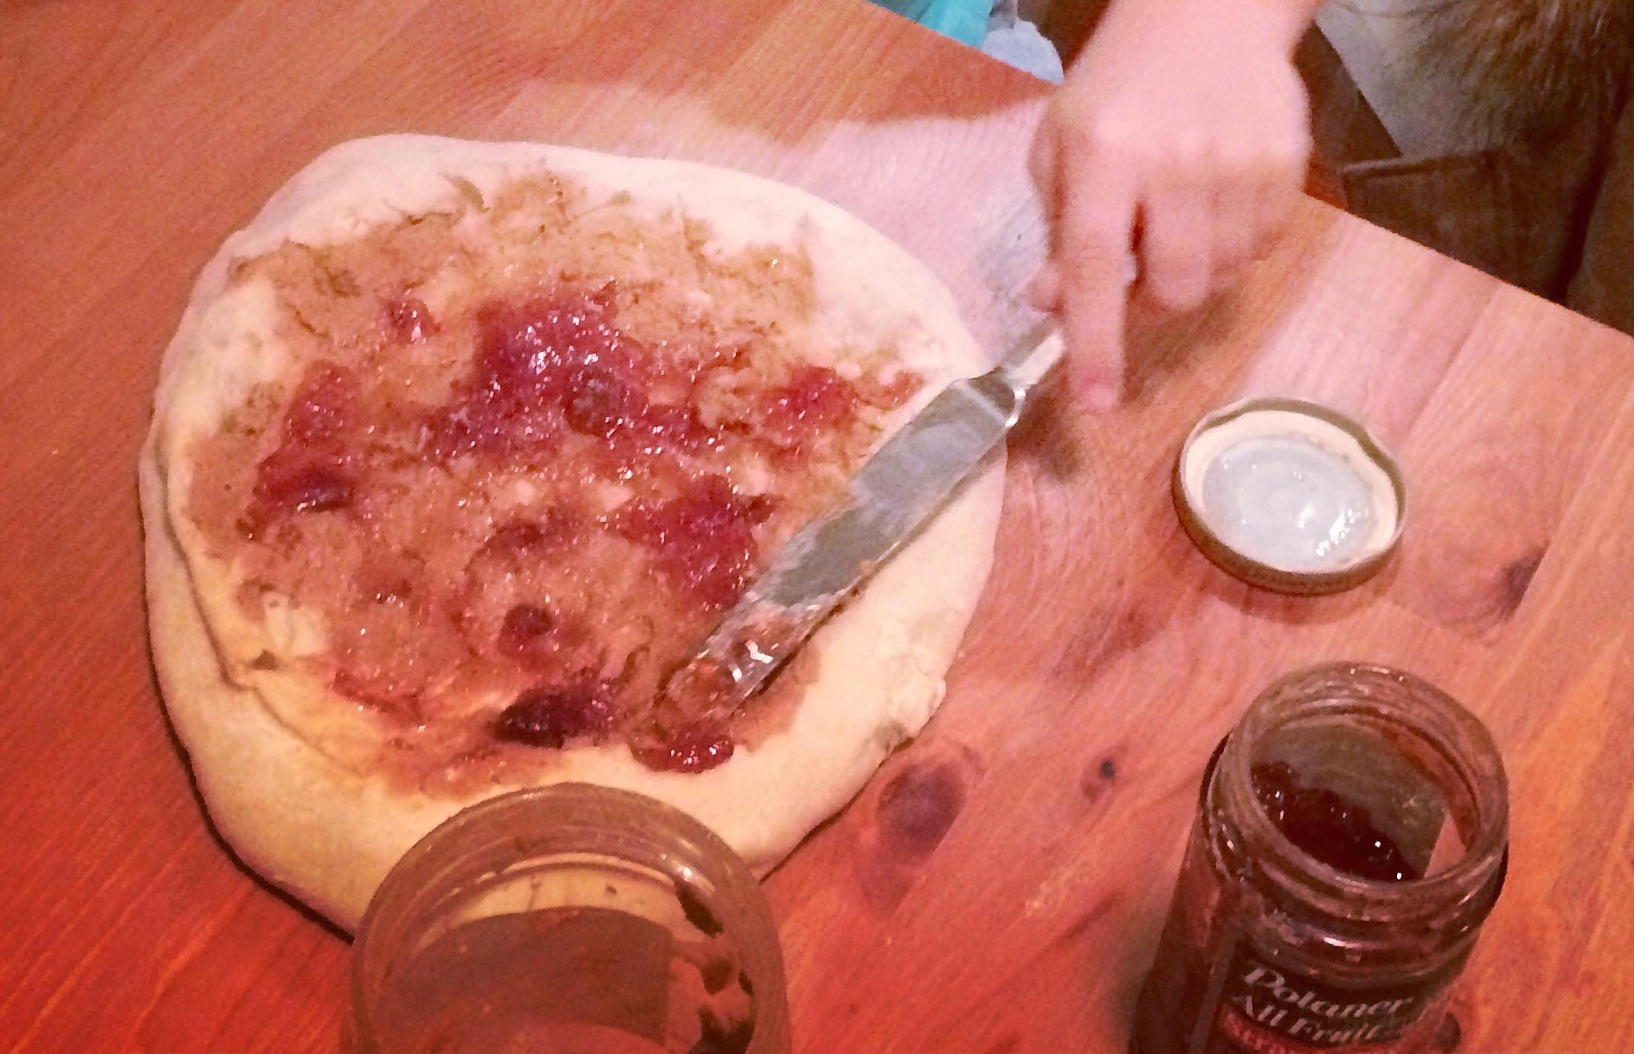
He ended up making a sort of PB&J pizza. He liked it and the entire family thought it was pretty good, too. But Bluey declares that it wasn’t EXACTLY what he wanted. His dish was supposed to have a top dough as well. Next time he’ll do it a little differently…
Let your kids (and yourself) explore in the kitchen. Food should be fun. Cooking is a creative endeavor. Who knows what amazing treats you might discover?
Category Get Crafty! | Tags: Creativity,family,good eats,Holidays,kids | Comments Off on Food Creativity Unleashed