RSS Feed

‘Get Crafty!’ Category

  1. True Colors

    October 17, 2014 by admin

    IMG_2420You probably remember your basic art skills- combining primary (red, yellow, blue) colors produce the secondary (orange, green, purple) colors.  And if you combine further, you can produce a whole spectrum of shades and hues.

    Certainly many children’s books and television shows discuss or demonstrate this art fact.

    But the best way to learn is to dive right into it– discover for yourself!

    Bluey learned how colors combine when working on a recent painting project.  And you can recreate this scenario quite easily.

    He was painting a small wooden sailboat and given only the three Primary colors.  In addition, we gave him a small palette (aka plastic container lid) to dab out extra paint.  Sure enough, he mixed two colors on top of each other and discovered that they combine to make orange.  IMG_2417

    This lead to a whole series of experiments about color mixing, and he learned color facts in a way that no TV or book could ever show him.

    So next time you have a small project to paint- don’t get out the whole paint set.  Just provide the primary colors and let your young artist discover the color wheel!


  2. Costumes

    October 5, 2014 by admin

    IMG_0996This TR Family adores Halloween. Our kids love dressing up and trick or treating. We all enjoy decorating the house and feeling spooooooky for a bit.

    We view Halloween as a chance to put our creative juices to good use. We ask the kiddoes for their costume ideas and brainstorm on methods to create their vision.  Over the years our kids have been giraffes, zombies, tigers, astronauts, housecats, witches, devils, vampires and more. It’s always great fun to bring their ideas to life.

    The process of choosing and making a costume helps make Halloween into a season, rather than a single night’s adventure.IMG_7219

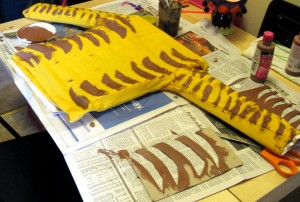
    Most of our costumes are fairly simple (we are effective, but not extremely accomplished tailors). We start at the base: what articles of clothing do we need to make this work?

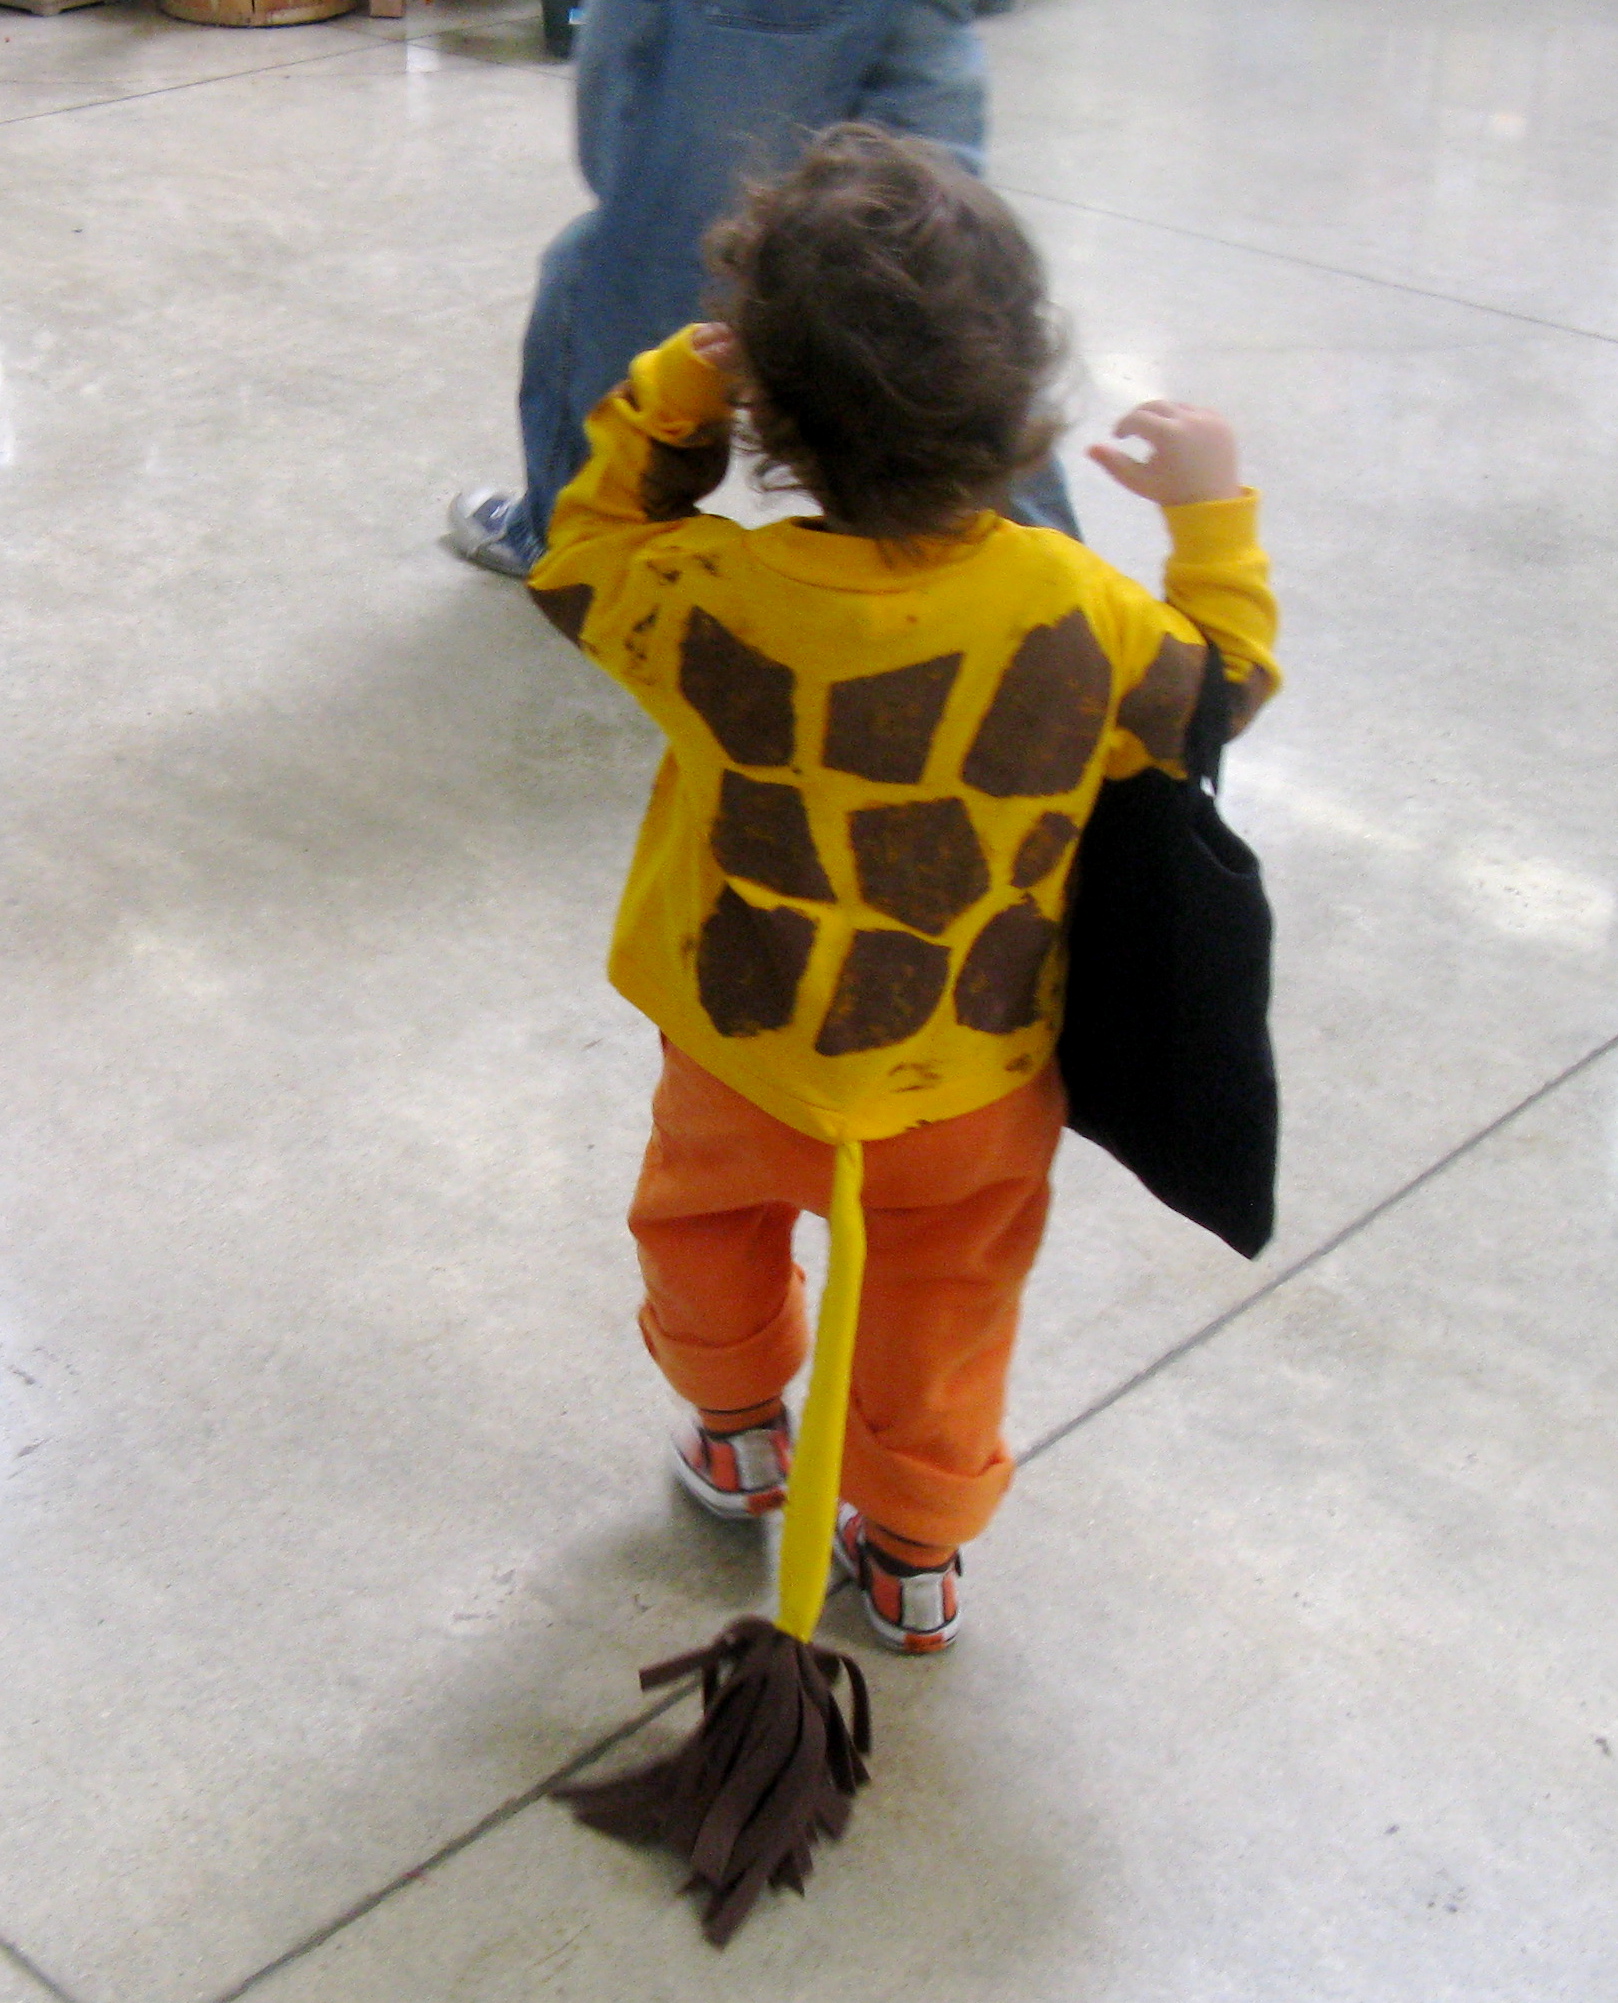
    A well chosen second-hand sweatshirt or pair of pants can become a great beginning to a costume. A yellow shirt fabric-painted with tiger stripes and the addition of an attached tail, and you are halfway to being a tiger. A different pattern and you could be a giraffe.

    Tip: We live where it is usually quite cold on Halloween, so we buy the base a few sizes too big to make sure we can fit some warm layers underneath.

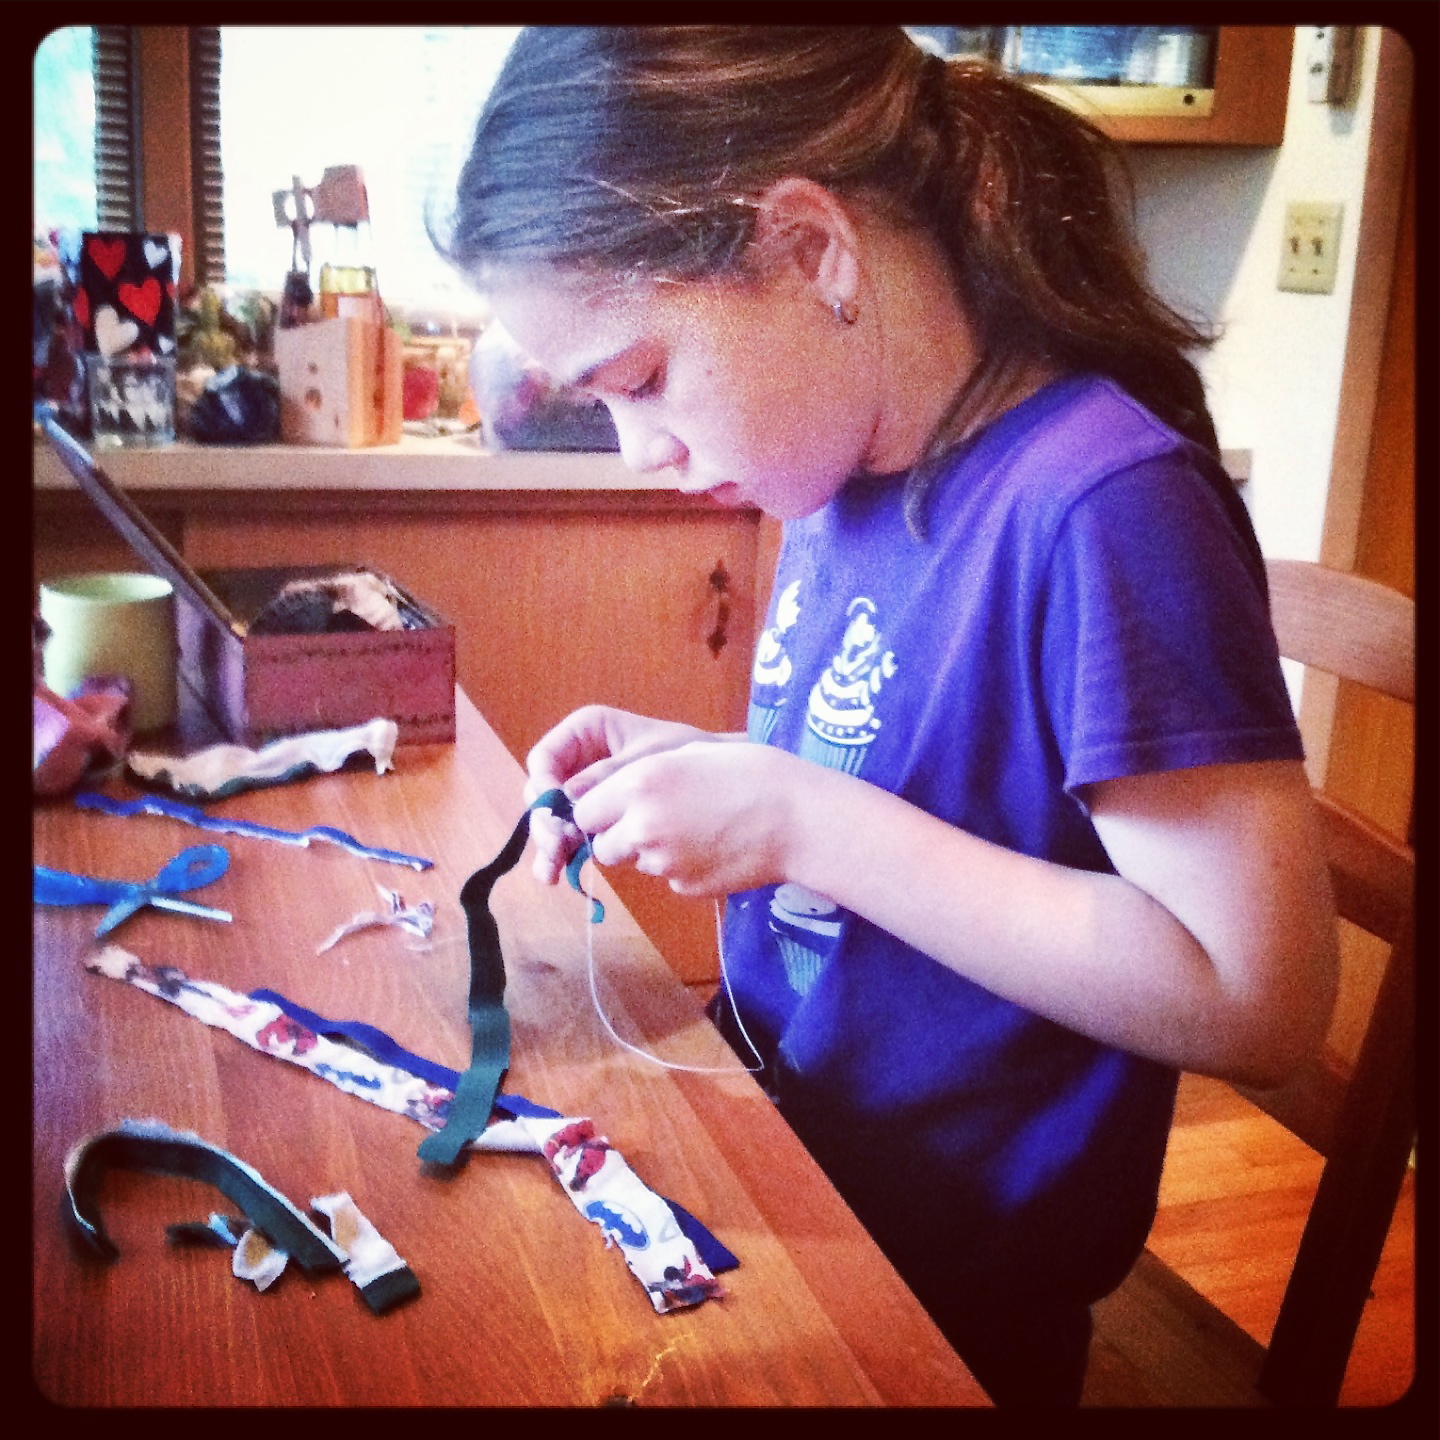
    Once you have the basic framework, try to find a few small bits that clearly identify the character.  It’s little details, like the right tail for a giraffe, that are easy to construct and make all the difference for a successful costume. We use an inexpensive hair band as the mount for ears, antennae, or horns that we sew on ourselves. We just get small pieces of cloth in the right color from a craft store- easy cheesy!

    Tip#2: For little kids especially, but true as well for older ones, there’s not much need to worry about the design from the waist down. We just go with a pair of pants that match the general color scheme.

    Likewise, a small amount of make-up can be applied at home without needing a degree in special effects. Whiskers, vampire blood and zombie paleness are simply achieved.   A creative older kiddo might enjoy trying to make a scar or bleeding wound by sing some of the theater make up sold at a pharmacy or specialty store.

    IMG_2175So skip the store-bought costumes and put your creativity into gear for the month of October.  You’ll emerge with a fun costume that you and your kiddo made together, along with memories to last a lifetime.
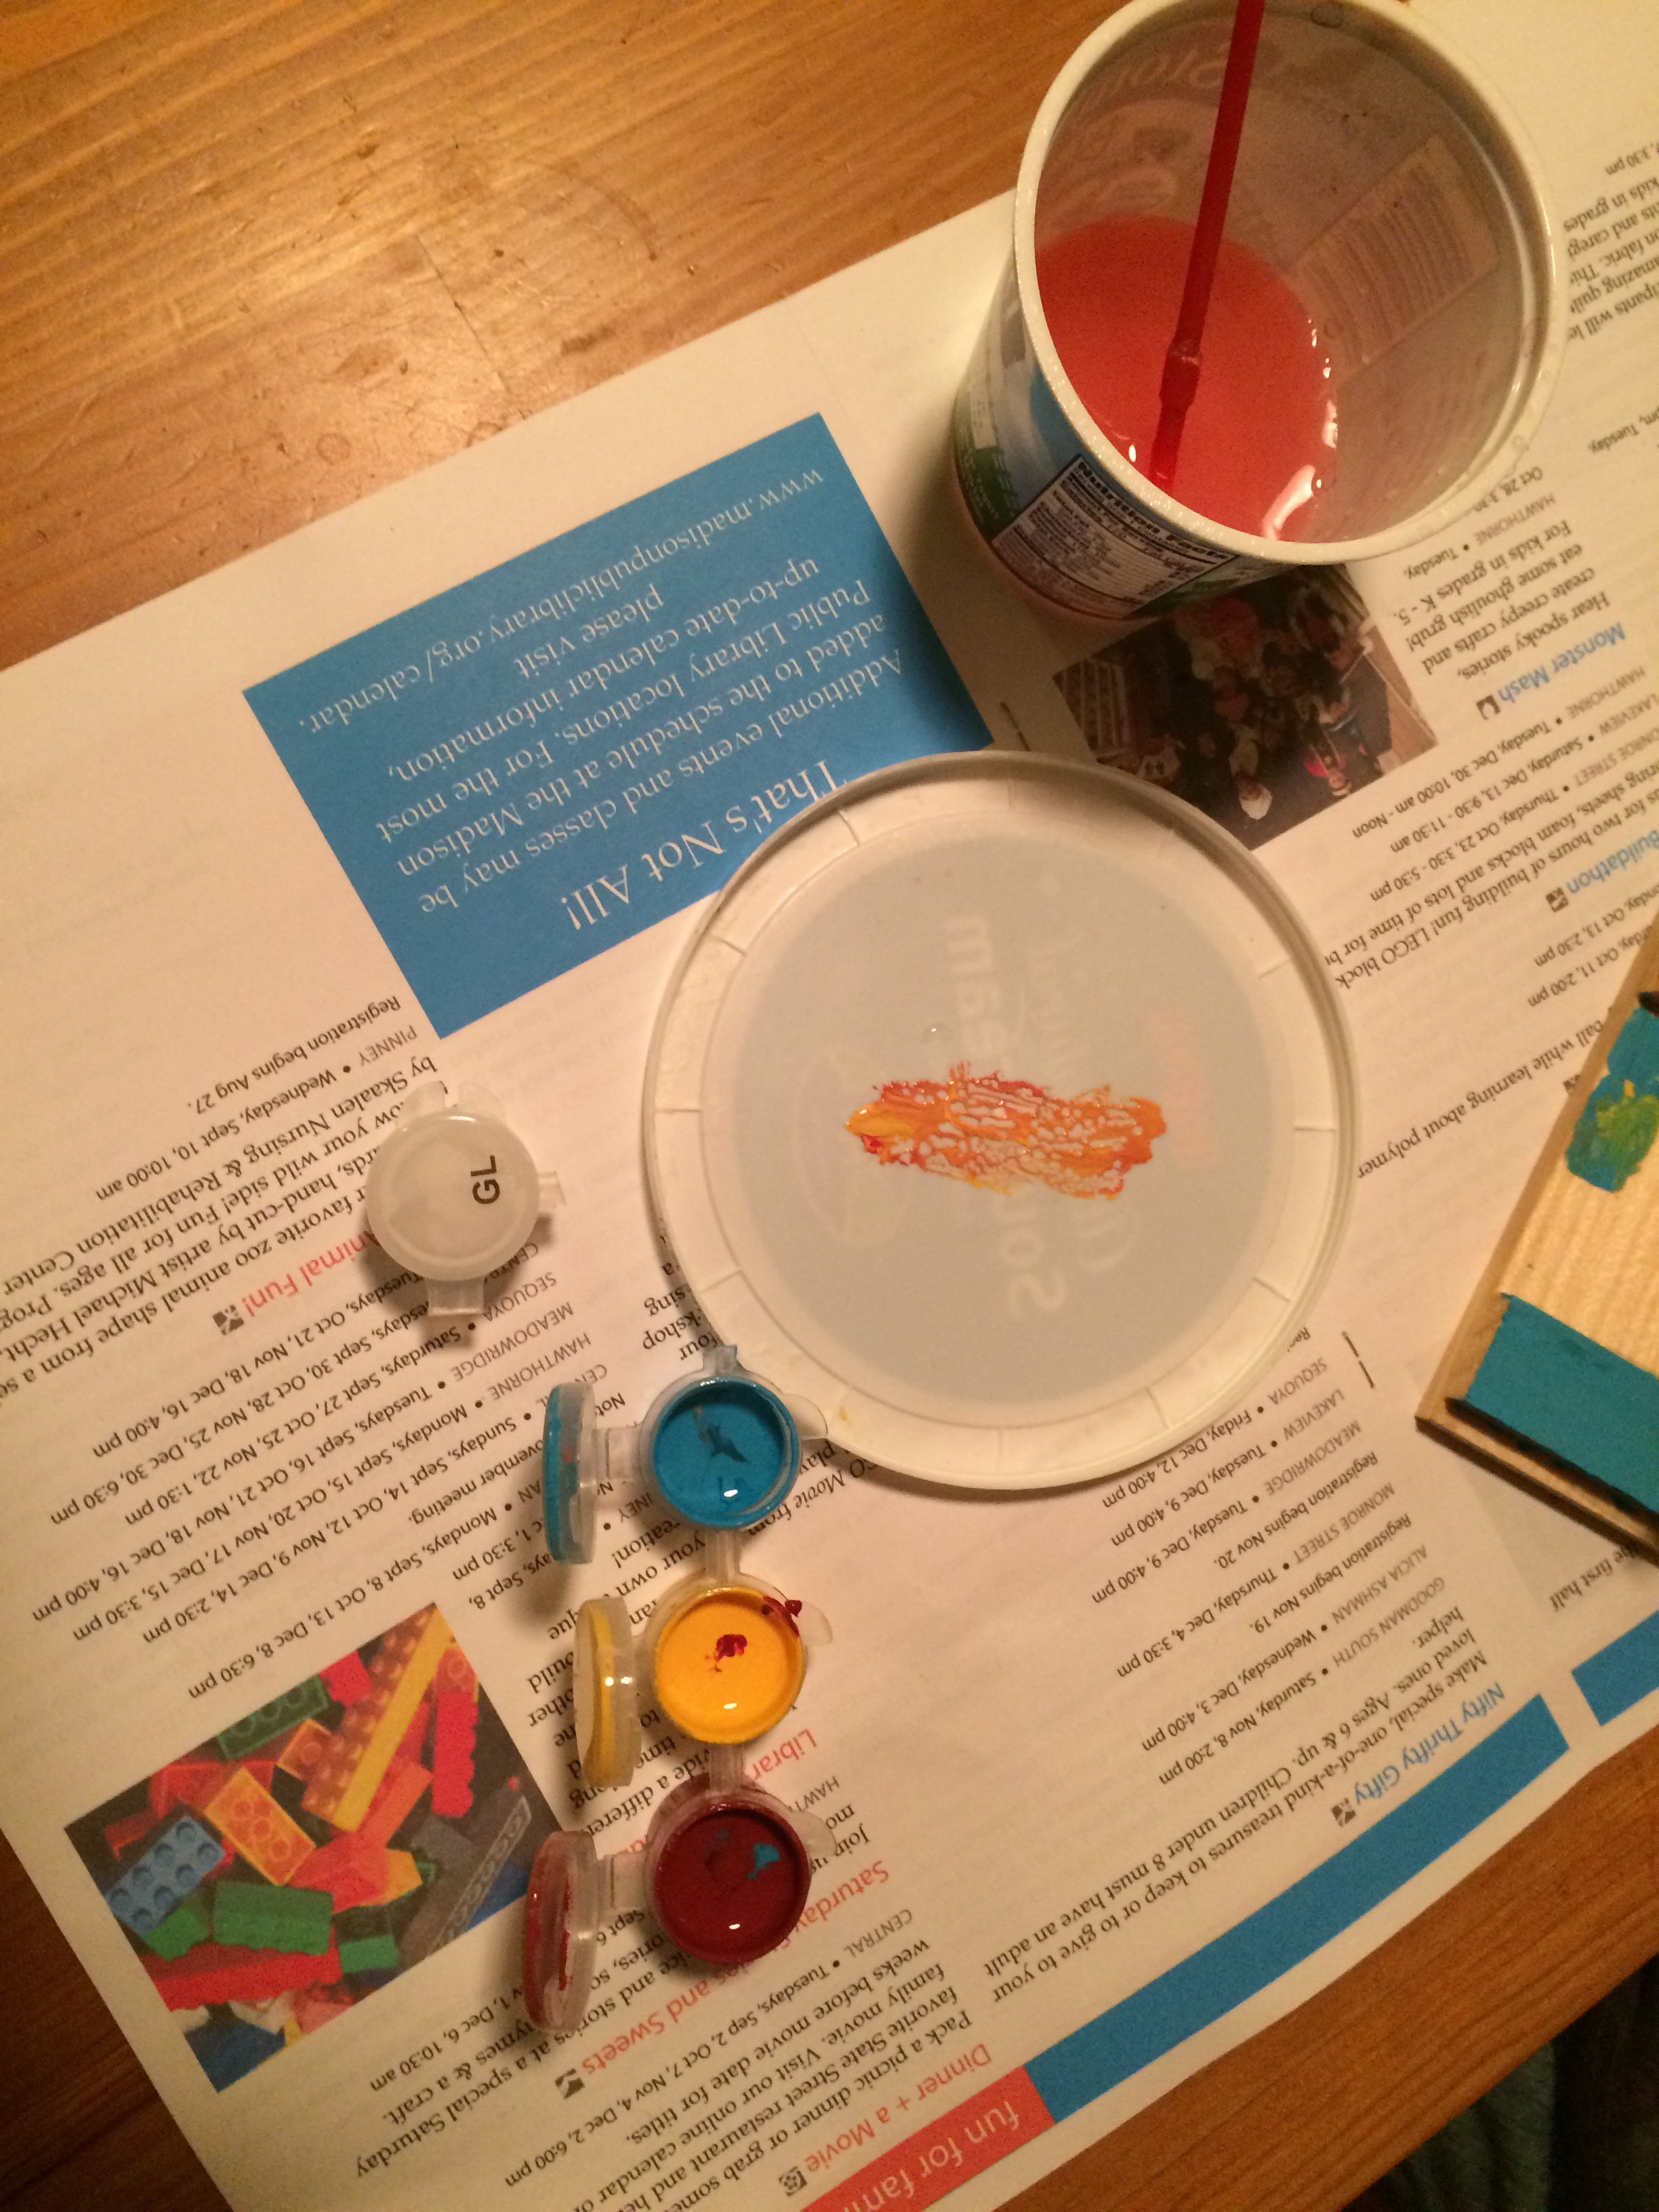
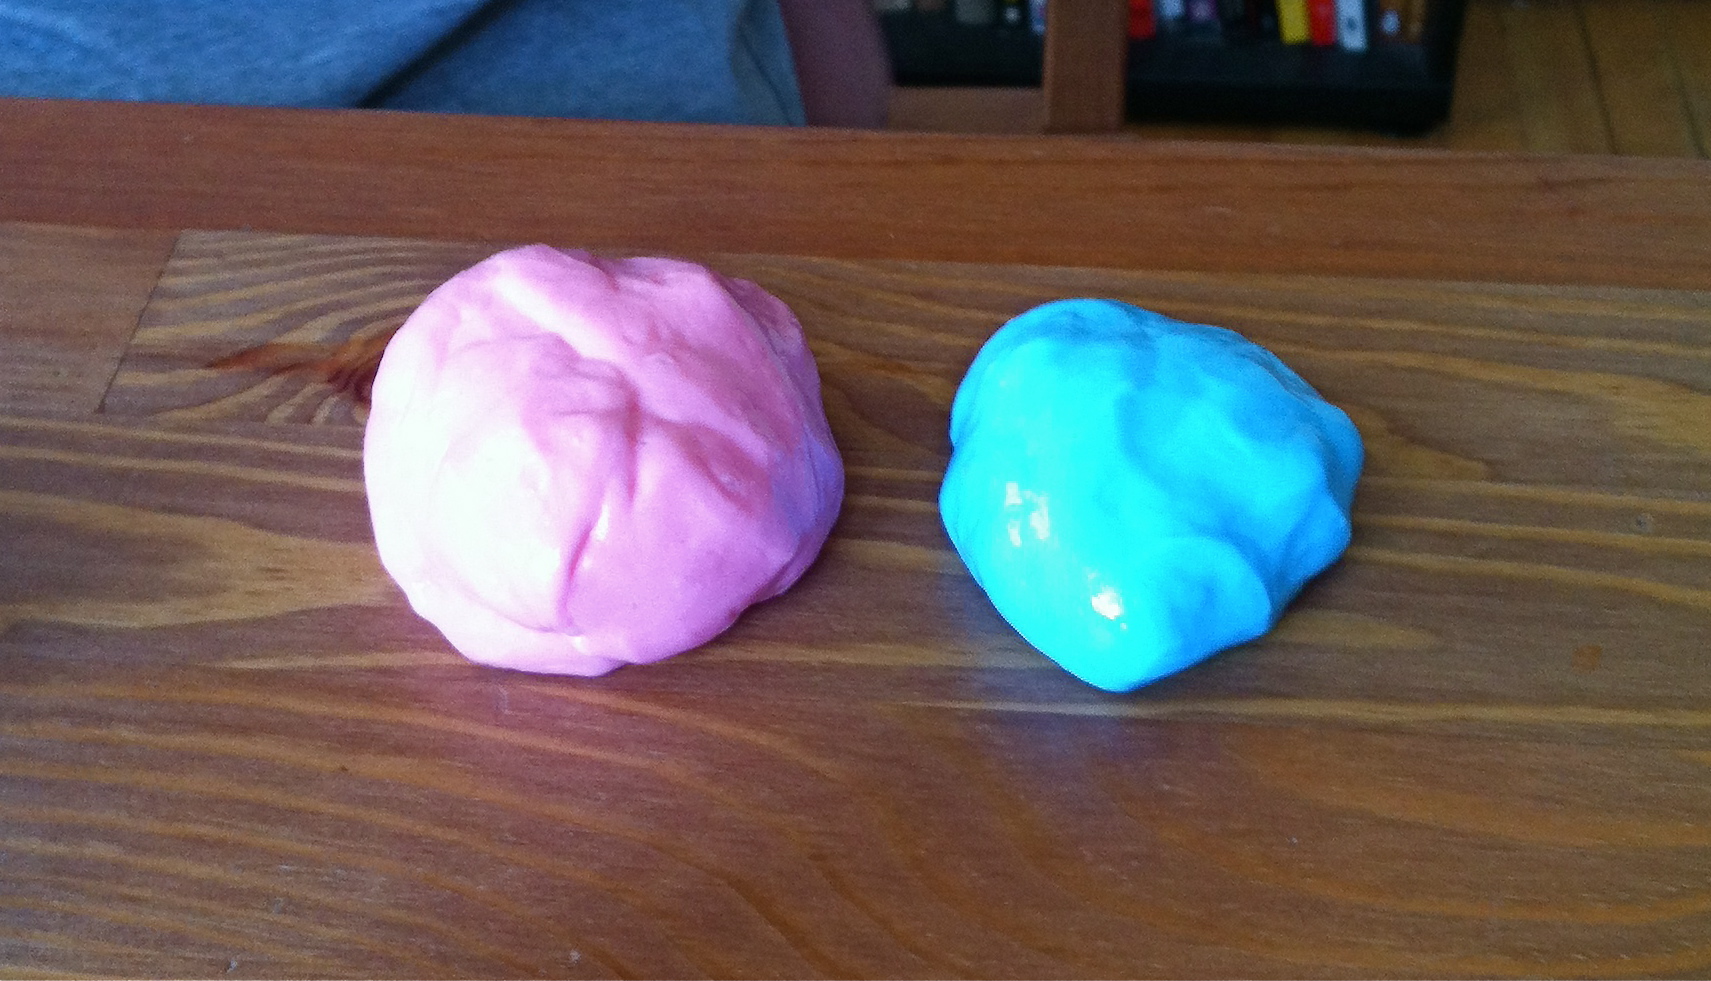
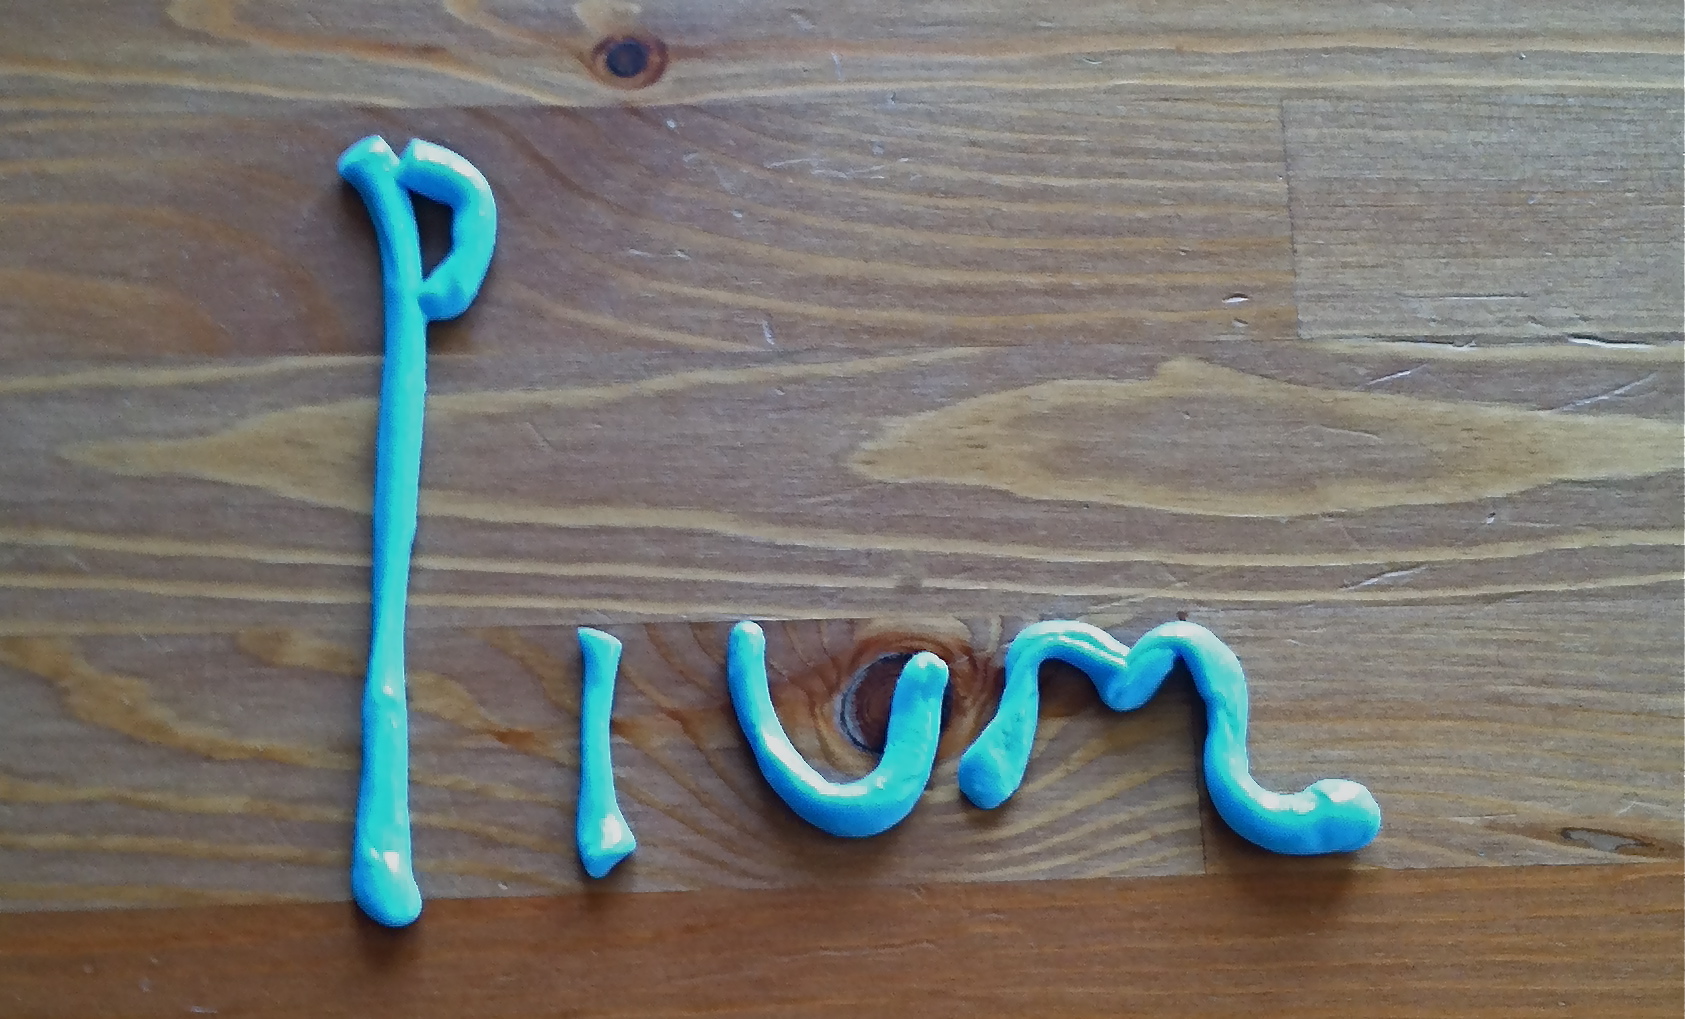

  3. How To Make An American Quilt

    September 24, 2014 by admin

    There is usually so much going on at your local public library!

    IMG_2300Bluey just started taking a quilting class at our branch, and it is a tremendous experience!  He loves playing with patterns and trying to make his own designs (cats, natch!).  He gets to share and learn with a dozen or so kids from the neighborhood.  Bluey is learning how to operate an electric sewing machine.  And when he’s finished, he’ll bring home a small quilt that he designed and made.  What a  great program!

    IMG_2301He gets so much out of this class– and it’s all free!!

    A team of neighborhood quilters are in charge- bringing in samples of quilts, talking about patterns, and helping kids run the sewing machine.  It is a real community endeavor and a great opportunity for young and old to meet their neighbors.

    Our local library offers classes for people of all ages in all manner of subjects- art, literature, computers, foreign languages- you name it!  Most libraries around the country offer similar programs and they are all typically free of charge.

    So take a minute to check your library’s bulletin board or website to see what new adventures await you and your family!


  4. Come on! Let’s go make some noise!

    July 26, 2014 by admin

    imageWas it too quiet in our house?  No, not really.  Not at all.

    So did we need a drum?

    Of course!  We added a snare drum to the mix.

    We picked up this drum curbside and immediately saw its potential,  It was a new musical instrument to enjoy and a repair project.

    We brought it home and cleaned it up a bit.  We discovered that we would need two new drum heads, so we measured our drum top.  Our quick investigation also revealed that we needed a drum key to remove the specialized bolts that hold the thing together.  So we headed off to the drum store.

    And of course, we had to get new drumsticks!  After spending about $20, we were ready to fix up our drum.

    All that we required now was a quiet afternoon to get to work.

    What a great project!  Bluey was right in there to take the lead on the repairs.  TRDad just helped with the bolts that seemed stuck and then leant a hand to make sure that all of them were more or less evenly tightened.The Repairs Underway

    You can see a wave in the drum head on one side, so we’ll probably try to re-do it at some point.  Maybe it’s not up to Neal Peart’s standards.  But for our purposes, it works!

    The OriginalWith about half an hour of effort, we turned a trashed drum into a new musical instrument for our growing collection.  And we learned a little more about the construction of musical instruments.

    Now when the call goes out to “Rock on!” we can drum in style!


  5. Kite Maker

    June 4, 2014 by admin

    After watching an episode of Fetch! with Ruff Ruffman recently, Bluey was inspired to make his very own kite. We didn’t have the same materials as the show, but that didn’t stop us!

    Tip: All you need is some paper, glue, string, structure support (cardboard, pipe cleaners, sticks), and imagination!

    IMG_6270Bluey had a shape in mind (based on a circuit board he removed from an old printer), so we traced it out on construction paper. He wanted a certain embellishment in the middle of his kite. And after a gentle reminder about the importance of a stiff support piece for the kite to remain intact in the wind, we were ready to cut out our design.

    We had a spool of twine for the string. Bluey used a hole-punch for decorated tags that he wanted to dangle from the tail. He was very proud of the knots he made to secure the paper to the tail string. We glued the tail onto the kite and we were ready to test it!

    Bluey’s little kite caught the wind and fluttered about. It was a fantastic first attempt. And constructing a kite was a learning moment to discuss in simple ways the science of lift, gravity, and drag (wind).  Bluey read further about these forces in his book How Things Work, and began thinking about how to modify his design.

    We also took advantage of this kite activity to fly our store-bought kite, so Bluey could really see these scientific principles at work.IMG_1883

    If you make your own kite, be sure to send us a picture. We’d love to see the range of creativity among our readers!


  6. Simple Play

    March 9, 2014 by admin

    IMG_5106As we’ve said before, you don’t need expensive toys, tons of arts&crafts supplies, or endless TV to pass the time.  A simple stack of paper, or some index cards, will supply a solid bit of fun!

    Recently, Plum showed her brother Bluey how to create paper frogs.  These adorable little origami critters are super easy to make.  And they jump!  The kids made a whole colony of them and had a blast.  You can easily decorate the frogs with glitter, or crayon faces, etc.  Check out Plum’s video for directions.

    Then, we extended our fun by creating paper boats.  They don’t last long in the water, but that doesn’t mean they won’t provide entertainment as they bob in the sink or tub.  Again, add some embellishments with marker or stickers if you feel like it.IMG_5117

    Paper airplanes, hats, and puppies are a blast. Really, the options are endless.  And you don’t have to fret about creating origami as youtube is chock full of step by step instructions.

    Grab some paper and enjoy!


  7. GAK

    March 2, 2014 by admin

    IMG_5089

    Looking for some indoor fun?  How about mixing up a batch of GAK?

    GAK has a cold texture that is very similar to silly putty.  The three simple ingredients can be found in most grocery stores:  liquid starch, white glue, IMG_5092and food coloring.  GAK takes moments to mix up and then the fun can begin!  Stretch it, braid it, or spell out your name.

    We recommend mixing up the GAK in a container that won’t be reused for food, like an empty sour cream tub.  And we’ve found that play works best on a smooth surface, like your kitchen table.  Clean up is a snap, as GAK doesn’t really stick to much. And you can store your batches in plastic bags to play with again and again.

    This is a great rainy day, sick day, or just looking for something new to do sort of activity.

    Thanks for the inspiration, Schachter family 


  8. Deconstruction Time Again

    December 27, 2013 by admin

    If the long weekends are bringing a chorus of “I’m Bored!” to your ears, remember that the best cure for “the boreds” is hands-on activity.  Nothing will get your kiddoes to shake the dust off like an active project.  Another movie won’t do: you need some action.

    You may offer up suggestions like making cookies, going for a walk or starting/ finishing up an art project.  Or you could let your kids tear something apart!IMG_4482

    When you need something a little different to offer, head into the basement, garage, or back closet and find an electric appliance that either no longer works, or has been replaced.  Pull out a screwdriver set, clear a piece of floor and let the fun begin.

    Tip1: Make sure you have phillips screwdrivers on hand- most appliance screws these days are phillips.

    Kids of all ages will enjoy pulling out wires, and disconnecting gears of blenders, printers and old DVD players.  Almost any type of appliance will work: tools, kitchen stuff, computers.

    Tip2: It is our family rule, oft repeated, that no project can ever be plugged into a wall socket.  But just to make sure we cut off the cord close to the device.  All that extra wire just gets in the way.  Remove ALL batteries and make sure there is constant adult supervision.

    If your kids get into tearing stuff apart, you’ll find yourself saving all sorts of old devices.  You can pick them up from the curb, work, or thrift stores. One of Bluey’s early forays into deconstruction was a hand mixer TRDad brought home from work.  We still have parts of it around.

    After the appliance is completely disassembled,  toss all the ‘coolest’ parts into a box for the next next time your kiddoes claim boredom.  Now they can make a sculpture or a robot out of all the bits!


  9. Sewing Circle

    November 23, 2013 by admin

    IMG_3397

    As the chilly and rainy November weather kicks in, we are upping our indoor activities to help transition to winter life.  One recent Saturday, after running a few errands in the morning, we were left with an afternoon at home.   It was rainy and chilly out, so many of our go-to ideas – play at the park, walk the dog, bike to the corner store- were out.

    IMG_3377As much as we love to settle in with a fun movie, we try to limit television watching.  So what to do?  Bluey, ever the inventor, suggested that we make a stuffed animal cat.

    Well, we’ve never made a stuffed animal before!  But no time like the present to start.

    We bust out the sewing kit, find some spare fabric and start threading needles.  With limited planning, we are off on a new, crafty adventure!  Soon enough, the whole family is sitting around the table, sewing something.  Bluey’s getting his start on sewing parts of his cat and Plum is making special accents for her room.

    The result is a simple, low-key afternoon.  We’re not saying our homemade stuffy will be mistaken for a Gund.  But we made it ourselves, we made it together, we had fun and we learned a new skill.

    Next time the weather has you holed up, resist the urge to reach for the remote, and get out your sewing supplies.  Who knows what you’ll create?


  10. I Am The Eggman

    March 10, 2013 by admin

    Don’t throw out or recycle those egg cartons!  You have tons of fun and practical uses at your fingertips that will just go to waste if you chuck your old containers.

    IMG_1633Recently, our Bluey constructed a robot out of an egg carton and some random bits of a deconstructed remote control.  We learned that it can take an amazing bit of strength to cut through a cardboard egg carton.  We actually broke a pair of scissors on our first pass!  So we found the best solution was to let TR Mom and Dad cut off the sections, and then Bluey could use them as he saw fit.

    Follow this link for even more ideas:  http://www.talkingchild.com/craftsegg.aspx

    Did you know that an egg container makes a fabulous seed starter?    Now is the time to begin prepping for that garden!  You could also use an egg carton to sort your workspace nuts, bolts, and washers.  Or keep them to pack up Christmas ornaments.  See even more practical uses here:  http://www.thisoldhouse.com/toh/article/0,,20053007,00.html

    Keep those cartons!  We’d love to hear the ways you’ve found to use them in your home.