RSS Feed

‘Groceries & Meal Planning’ Category

  1. Chili With TVP

    November 7, 2014 by admin

    IMG_8630There are probably as many recipes for chili as there are cooks.  Maybe more.  After all, with so many ways to enjoy chili, who could settle for having just one recipe?  Not us, certainly.

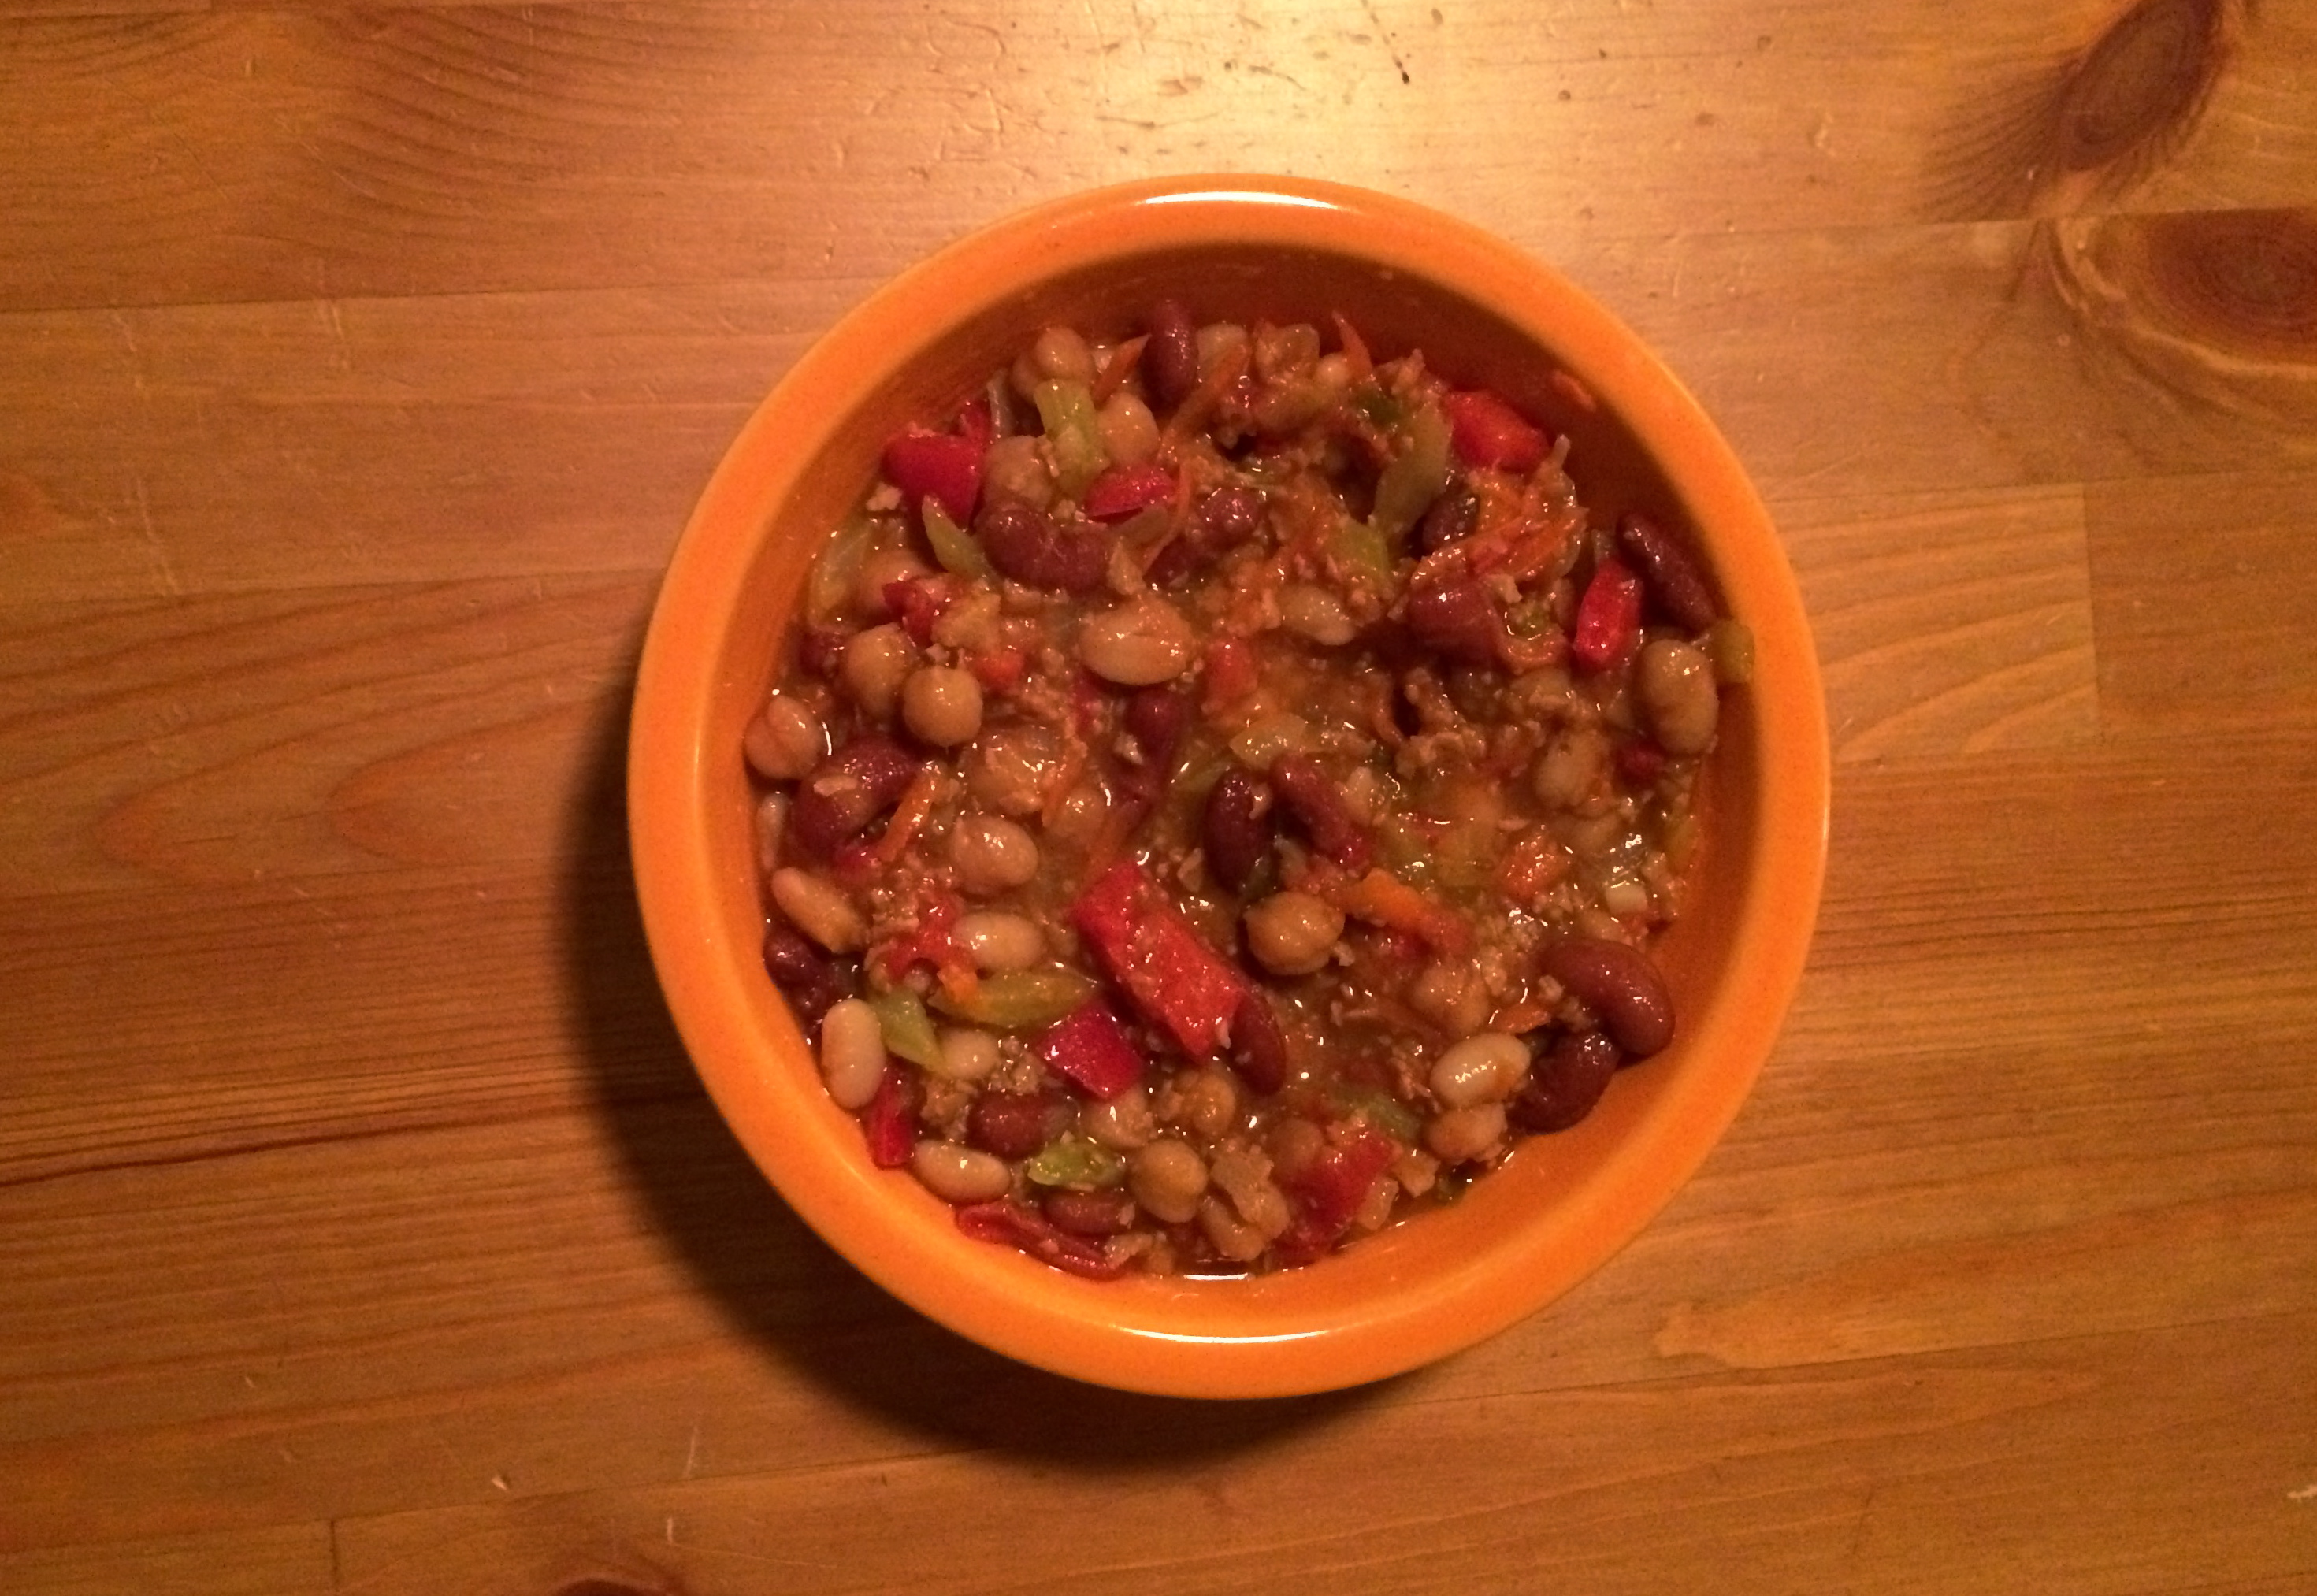
    We make chili almost once a week these days.  It makes a great dinner and can easily be packed off to lunch or reheated as a snack.  Mix it with rice or pasta, or serve with some home-made bread and you have a full meal.

    Our latest iteration is made with TVP- Textured Vegetable Protein.  TVP is a soy-based product that is sold as a dried item in the ‘natural foods’ sections of most supermarkets.  TVP gives this chili a heartiness that we like, especially on a cold day.

    Ingredients:

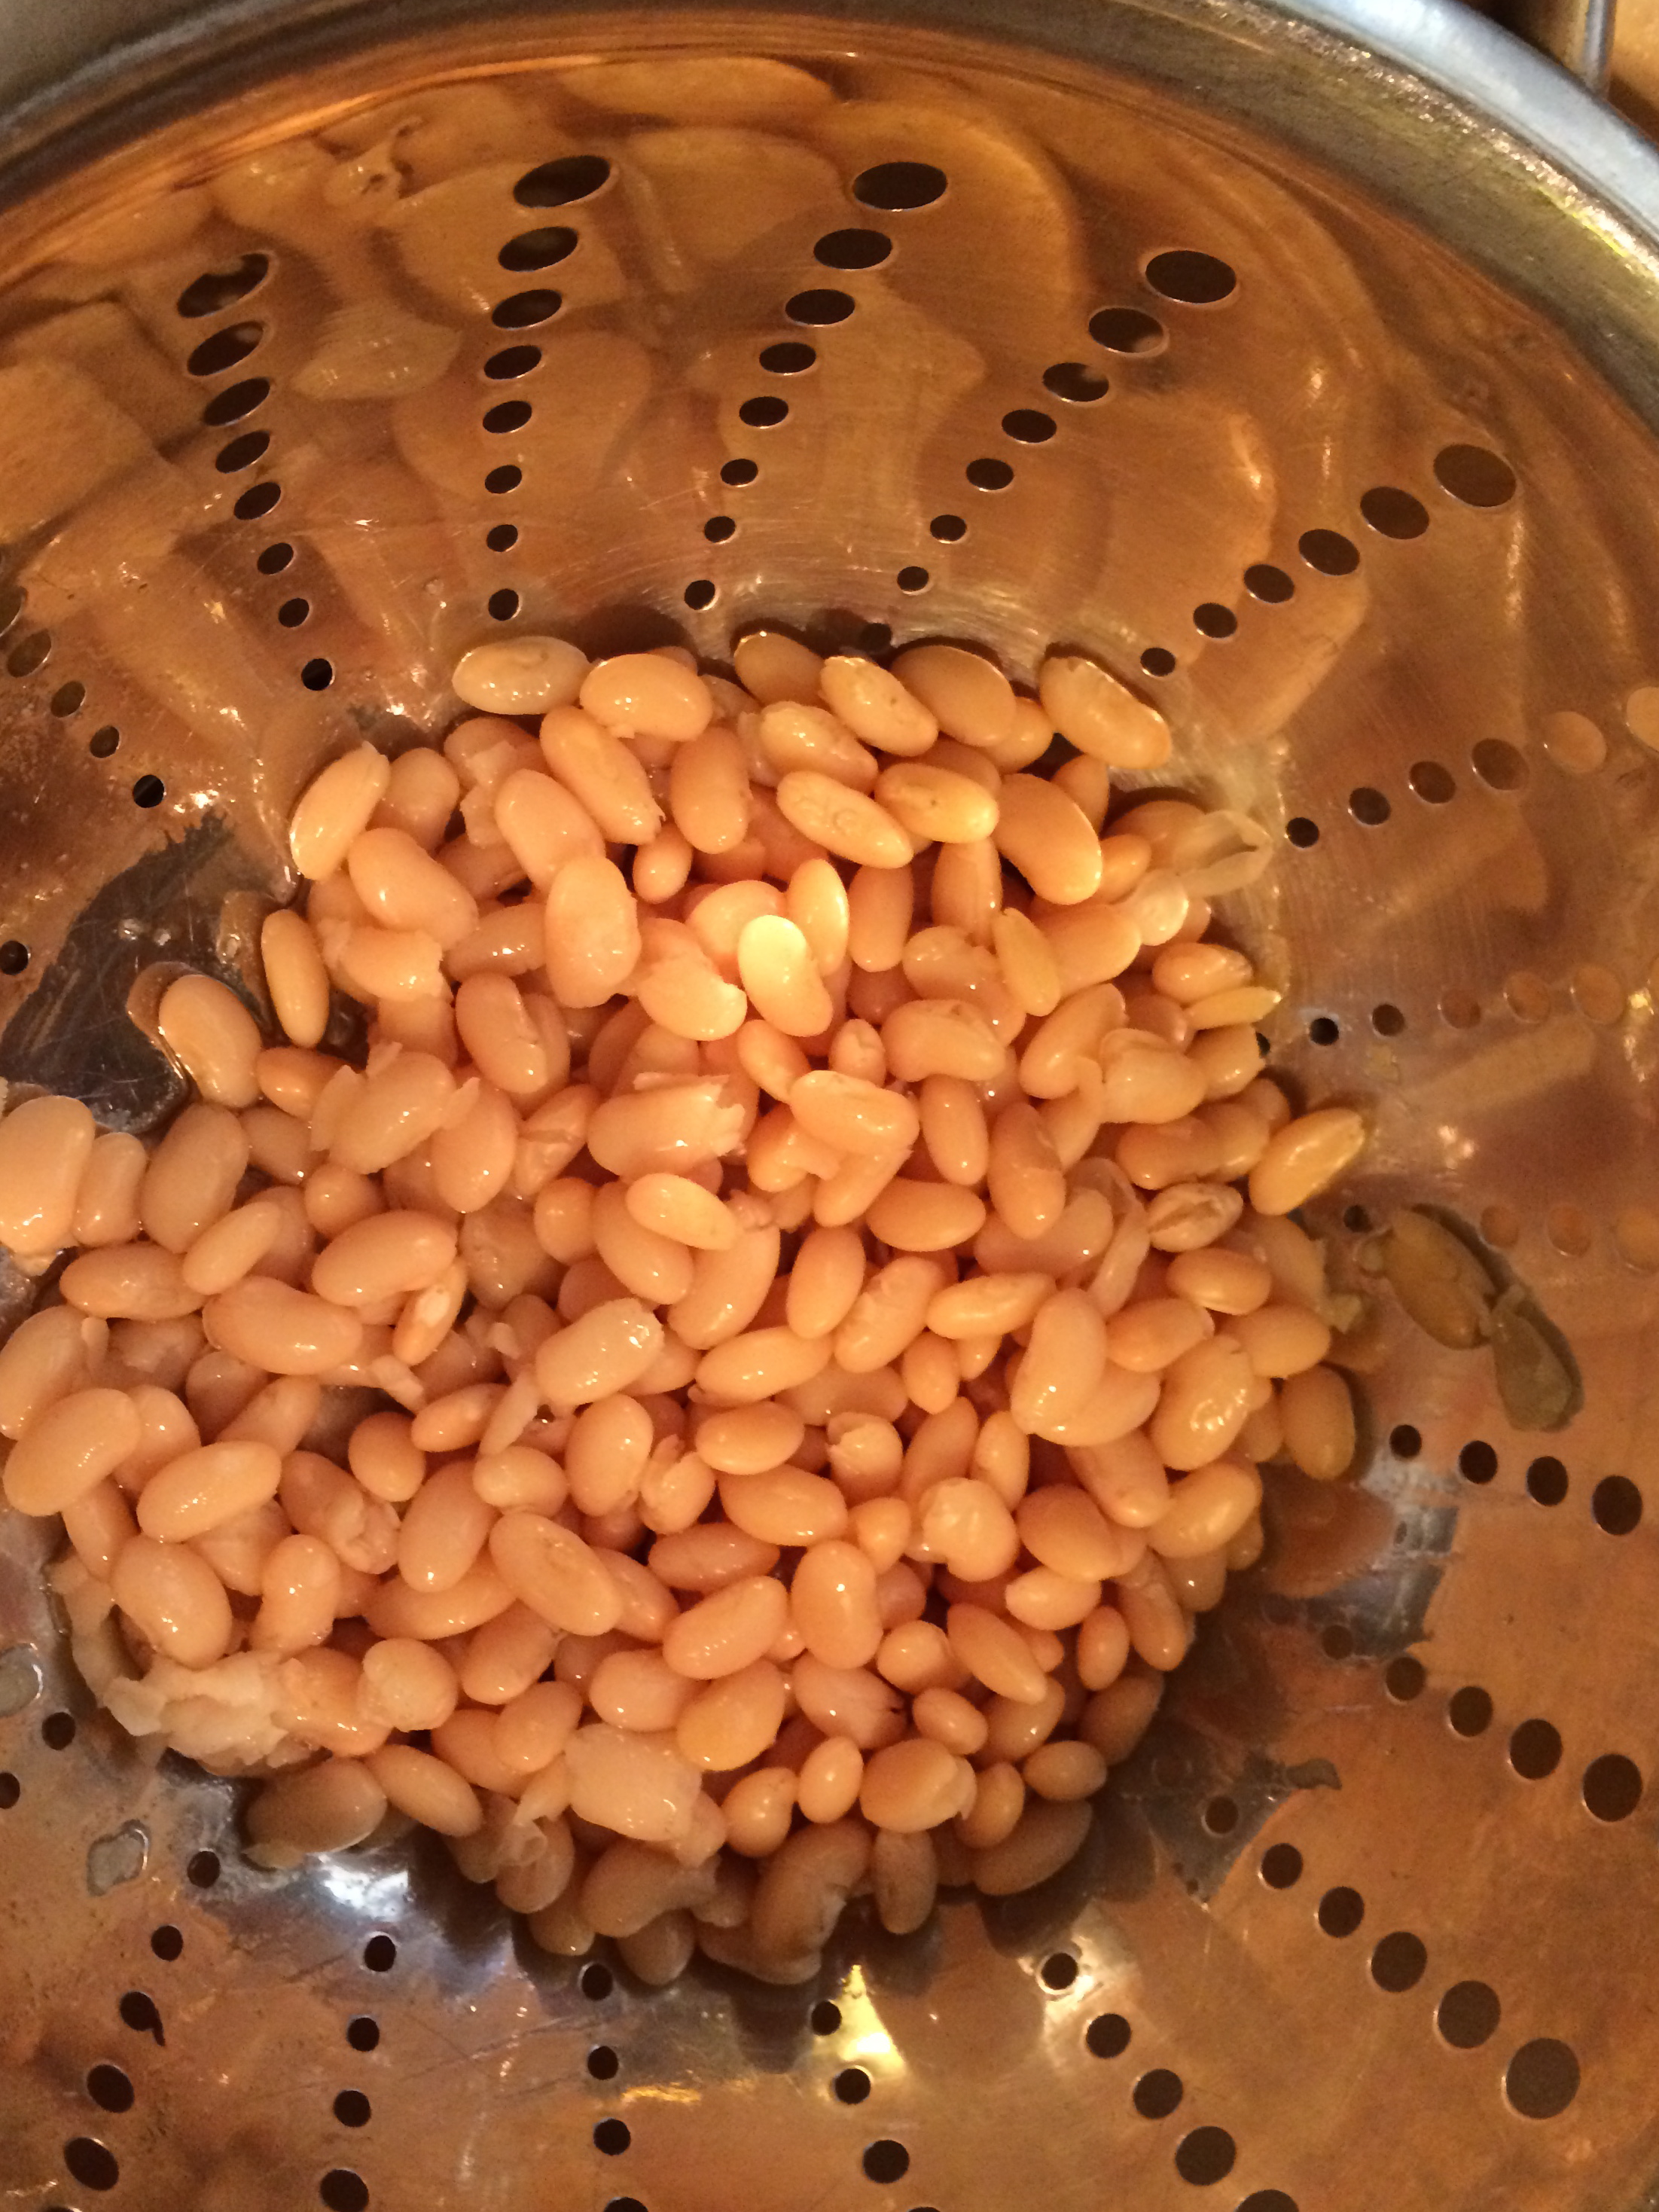
    1/3 Cup Dried Chick Peas

    1/3 Cup Dried Red Kidney Beans

    1/3 Cup Dried Great Northern Beans

    2 T Oil

    1 Onion, Diced

    2 Cloves Garlic, Diced

    1 T Cumin Seeds, Ground

    1 t Chili Powder

    1 T Vegetarian Bouillon

    1 Red Bell Pepper

    4 Cups Water

    1/2 Cup TVP

    2 Cups Diced Fresh Tomatoes

    1 t Tabasco Sauce

    Salt To Taste

    Process:

    1.  Boil beans to al dente.  (They will cook a little bit more in the chili, but not much.)  We like to cook them all in the same pot, but we give the chick peas a twenty minute head start, so they all finish at the same time.

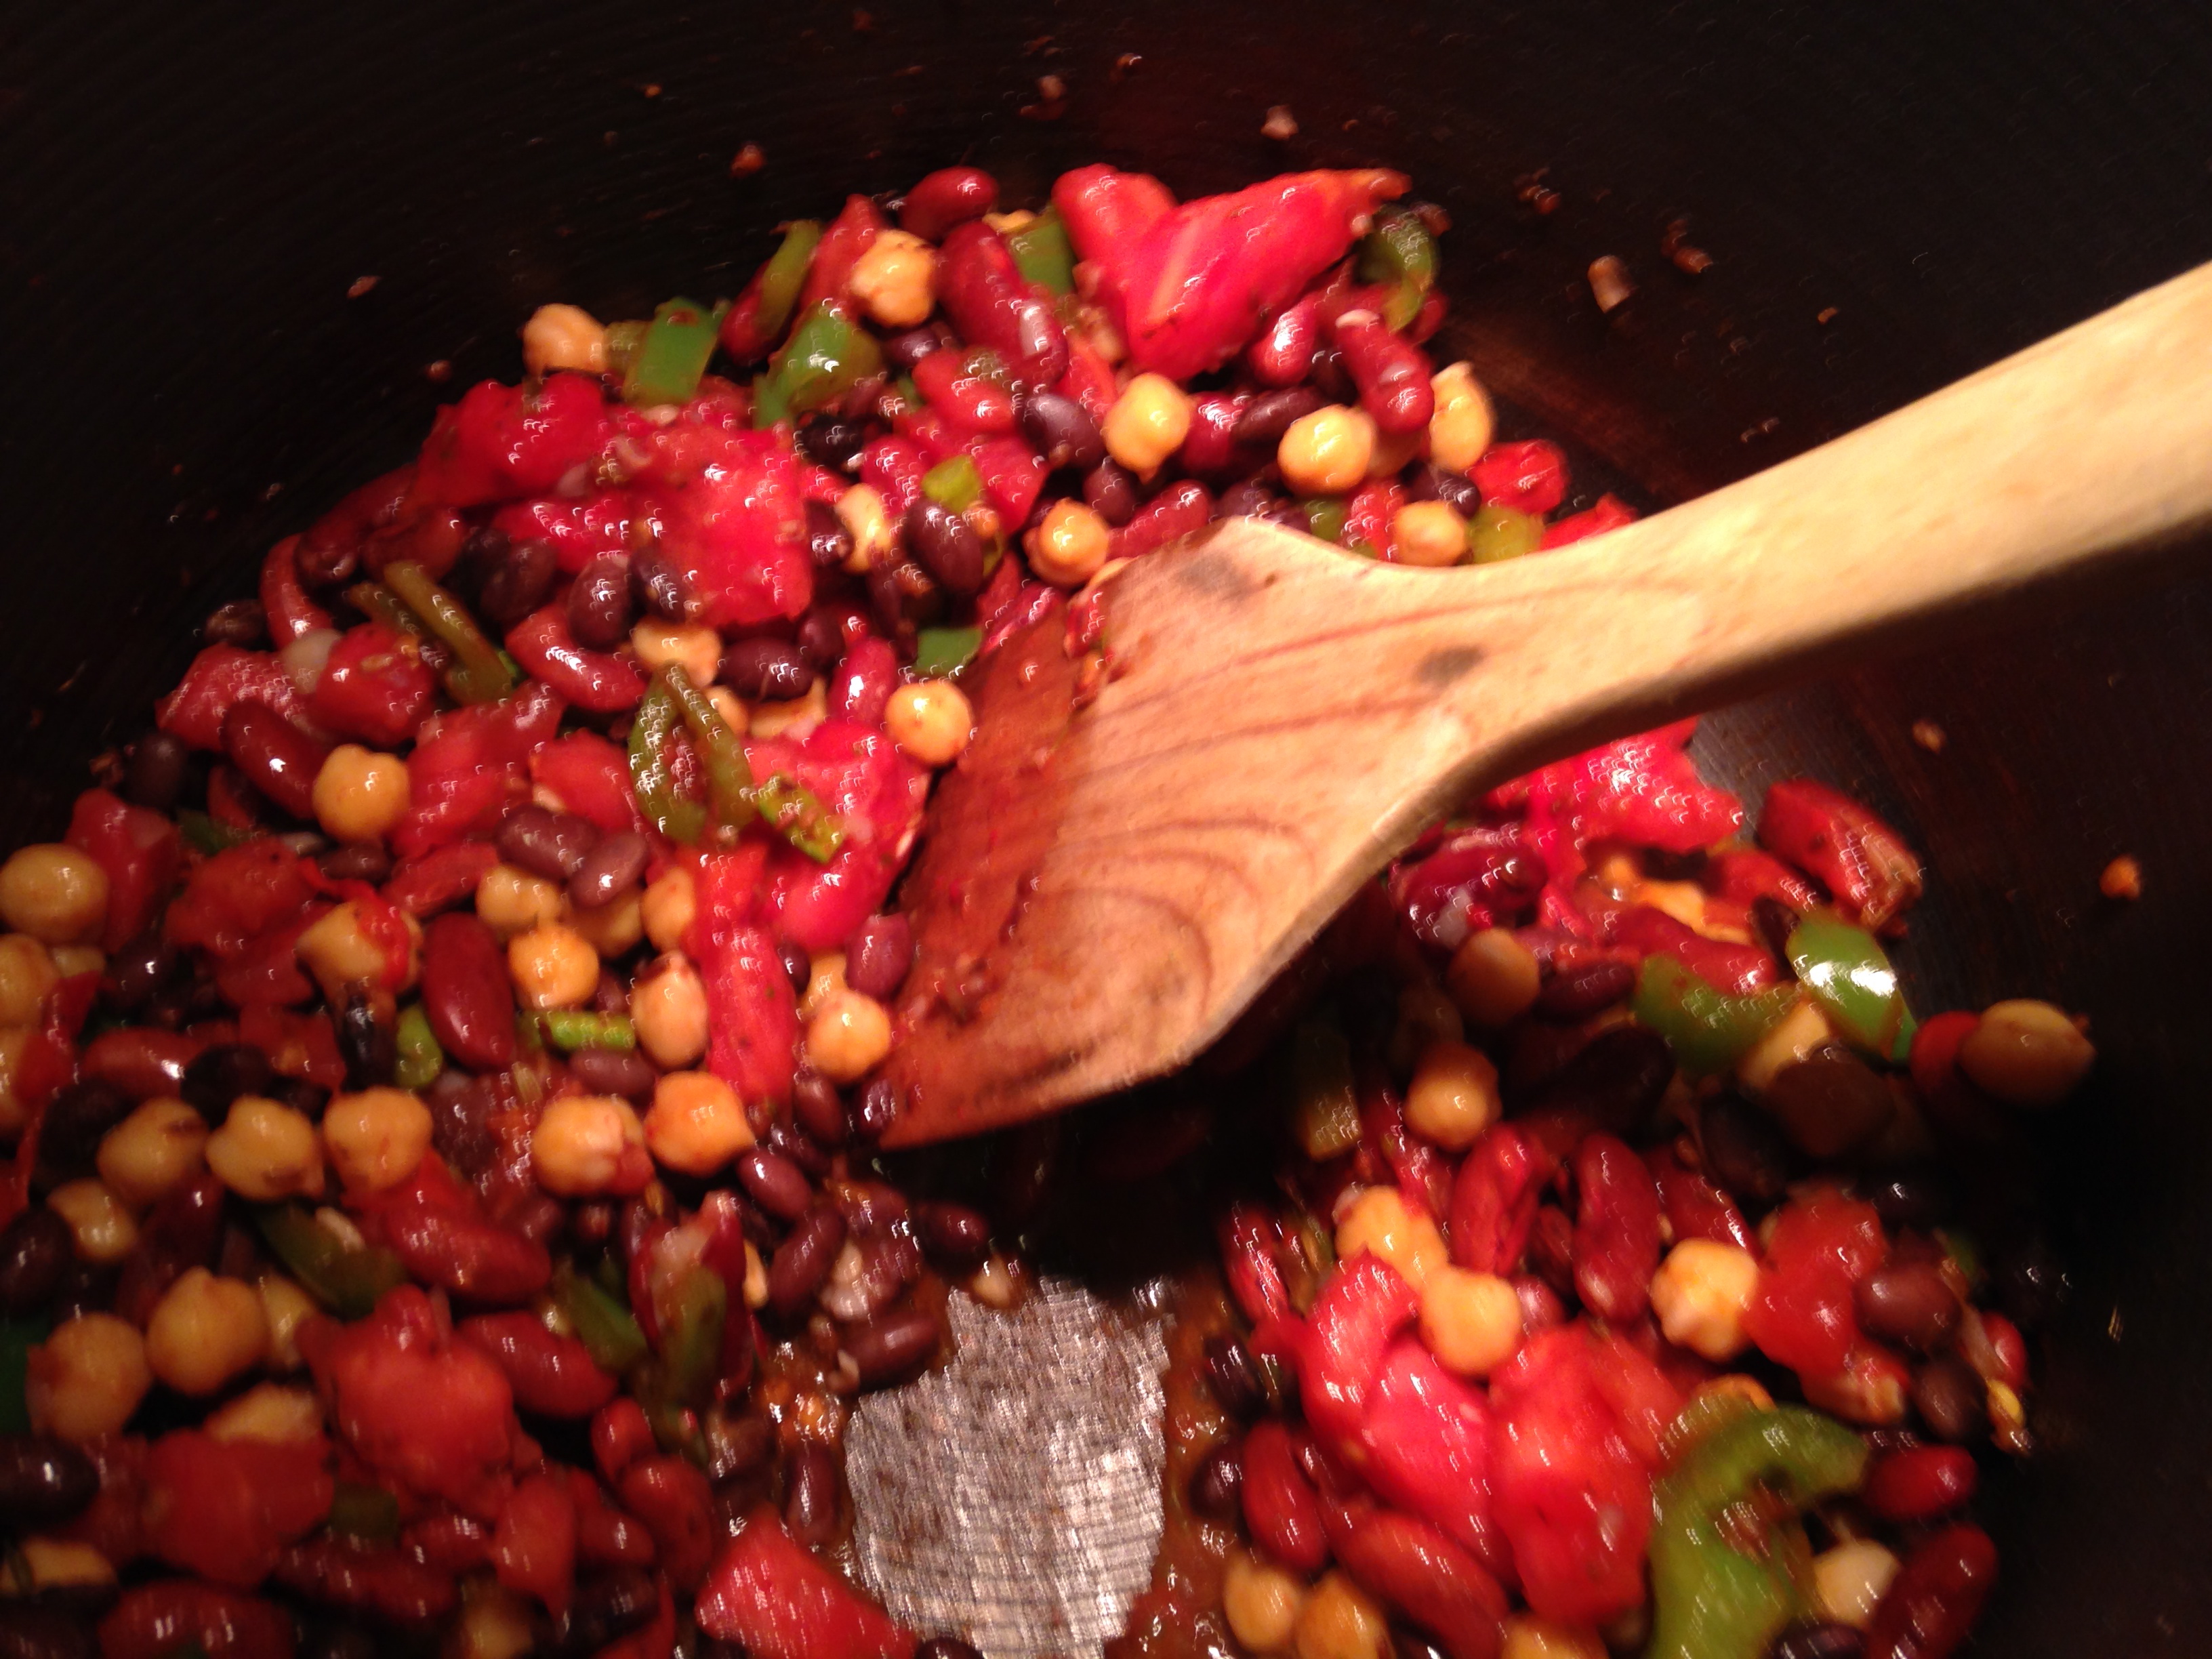
    2.  Saute onion and garlic in the bottom of a stock pot until clear.

    3.  Add spices and bouillon.  Cook for a few minutes.

    4.  Add pepper and cook a few minutes.

    5. Add water and beans – bring to simmer.

    6.  Add TVP and cook ten minutes more.

    7.  Add tomatoes and Tabasco.  Cook five or ten minutes and taste to determine how much, if any, salt you want to add.  You can add more Tabasco or Chili powder if you like more heat.

    The whole recipe goes together very quickly.  The flavors will deepen if you let the chili simmer on the stove.  Enjoy!


  2. Roasties!

    October 12, 2014 by admin

    IMG_8317As much as we enjoy mashed potatoes around the TR house, we also love to mix it up.  One of our favorite potato side dishes is Roasties, our family’s oven roasted version of a potato recipe.

    Everyone digs in when we make our Roasties, so we’re pretty sure you and your family will like them too!

    Ingredients:

    Potatoes- we average 1 fist-sized potato per person.

    IMG_8273Tip:  You can use white or red potatoes.  Or add in some sweet potatoes for a flavorful, healthful zing!

    2 T Oil

    1 T Salt

    1 t Pepper

    1 t Oregano

    1 T Paprika

    Process:

    1.  Peel and wash potatoes.  Cut into cubes- small cooks better and are easier to eat.  We aim for approximately 1/2″ cubes.

    2.  Toss potatoes in a large mixing bowl with  oil and spices.

    Tip2: You can easily change up the spice mix to suit your family’s taste.  Add 1 t of garlic powder, chili powder or cumin to give potatoes a little more bite.IMG_8285

    3.  Pour potatoes into oven safe baking dish.

    4.  Bake at 350 for 30 minutes to an hour.

    IMG_8307Tip3:  Different variety of potatoes may take different baking times.  We check the potatoes for doneness at 30 minutes and then use 10 minute increments after that until they are cooked the way we like.

    Tip4:  If you need your Roasties quicker, try this: Before you toss with oil and spices, put the potatoes in a pot of water, and boil for five minutes and drain.  This par-cooking will speed the oven time dramatically.

    Next time you are making pizza, burgers, or really anything else that needs a fun starch side dish to go with it, try our easy and delicious Roasties!


  3. Vegan Quinoa Burgers

    September 19, 2014 by admin

    IMG_2286There are so many different ways to make a veggie burger and we are always up for trying out a new one in our search for the elusive ‘perfect’ burger.  We recently tried a new recipe featuring white beans and quinoa and were quite pleased with the results.  Try it for yourself, and let us know what you think!

    Ingredients:

    1/2 Cup Dried White Beans

    1/2 Cup Quinoa

    1 Cup Water

    1 Small Onion

    1/2 Red Bell Pepper

    1/2 Cup Corn – frozen or cut off the cob.

    1 Small Clove Garlic

    1 t Oregano

    1 t Ground Cumin

    1/2 t Marjoram

    1/4 Cup Flour

    1 T Corn Starch

    1/3 Cup Water

     Tip:  Flour can be wheat flour, or any other type of flour you prefer.  Use bean or rice flour to make gluten-free vegan burger, if you like!


    Process:

    1.  Boil Beans for approximately 1 hour in 4 cups of water until soft.IMG_2284

    2.  Boil water, add quinoa.  Cook for five minutes, or until most of the water is absorbed.  Cover and turn off heat and set aside.

    3.  Fine dice Onion, pepper and garlic.  Saute over low heat along with corn, salt, pepper, oregano, cumin and marjoram.

    4.  Mash about 3/4 of the beans, along with the sauteed veggies in food processor or using an immersion blender.

    5.  Mix beans and veggies with finished quinoa.

    6.  Mix cornstarch and water thoroughly, and add to bean-veggie-qunioa mix, along with flour.

    7.  Form into 6-8 patties (Depending on the size) and bake on oiled sheet for ten minutes.

    8.  Flip burgers and cook ten minutes more.IMG_2285

    Enjoy with your favorite burger toppings on a great bun, or in your favorite wrap!


  4. Chickpea Salad

    August 21, 2014 by admin

    Sometimes there’s nothing better than a good bean salad!IMG_2148

    We make them regularly, and with several types of beans, but lately our favorite has been this nutritious and filling Chickpea Salad.  Once you’ve cooked the beans, it goes together in minutes and can be eaten fresh, or saved for a later day.

    Ingredients:

    1 Cup Dried Chickpeas

    1/2 Diced Red Pepper

    1/2 Diced Red Onion

    1/4 Cup Shredded Carrots

    1/4 Cup Your Favorite Salad Dressing

    Process:

    1.  Boil Chickpeas in plenty of water, 1-2 hours until they reach your preferred level of softness.

    2. Drain beans and toss with veggies.

    3.  Toss with Salad Dressing, either all at once, or as needed.


    IMG_2149Tip: We prefer to leave the salad undressed, so it can be customized when eaten.  Each family member can choose their own favorite dressing, for example.

    You can eat the cold chickpea salad within a wrap.  Or you can throw it on top of some brown rice, add a little salsa, and warm everything up for a nice sort of stew.  Really, the possibilities are endless!


  5. Vegan Pizza

    August 1, 2014 by admin

    Occasionally we want to cut down on the amount of dairy products we consume.  Or we just crave a dinner that’s a little bit lighter than a full-on traditional pizza.  And we’re considering what it might mean for our family to go fully vegan- could we still have versions of our favorite foods?IMG_6955

    Well, pizza is one of our family’s faves.  This recipe proves that we can still have delicious, filling pizza prepared vegan.

    It’s simple and pretty quick to put together.

    First, you’ll need some dough.  Start this step a few hours before you plan to eat, so the dough has time to rise.  We recommend two hours.  But you can cut that by a lot (even less than an hour!) and it will still work out OK.

    Ingredients:

    1 1/2 Cups Flour

    1 T Sugar

    1 T Dry Yeast

    1 t Salt

    2/3 Cup Water

    6 t Olive Oil

    Process:

    Mix all ingredients together in a big bowl, cover and set aside for about 2 hours.

    Now, for the pizza toppings:

    Ingredients:

    1 Red Pepper

    1 Red Onion

    8 oz. Sliced Mushrooms (we used button)

    Small bunch of fresh Basil, chopped

    Salt & Pepper to Taste

    1 t Oregano

    1/4 to 1/2 Cup Your Favorite Marinara: homemade or a favorite store brand- you decide!

    Vegan Parmesan Cheese (we used Go Veggie!)


    Process:

    Saute veggies to help bring out flavors, about 5 minutes.  Use veggies from your garden if you can!

    IMG_6946Roll out/ toss dough into a round, about 14 inches across. Place on a pizza/cookie pan dusted with cornmeal.

    (Optional) Precook dough 5 minutes or so, at 350 degrees.  This can help keep the pizza from being too soggy in the middle once you add your toppings.  But it’s ok to skip this step.

    Spread marinara on pie, and finish off with sauteed veggies.  Sprinkle with a light topping of vegan parmesan.IMG_6945

    Bake 15 minutes at 350.

    Eat and enjoy!  There may just be something to this vegan thing.


  6. Zucchini Hot Pot

    July 23, 2014 by admin

    IMG_6822Here’s a great soup we recently created: Zucchini Hot Pot Soup.   It’s a Korean-based soup, modeled after a beefy soup recipe in one of our cook books.  We adjusted it to become a vegetarian soup and couldn’t be more pleased with the results.  It’s a spicy soup, refreshing on a summer day, or warming in winter.

    It’s also ridiculously easy to put together.  And a great use for summer’s zucchini bounty!

    If your kitchen cupboards aren’t already stocked for Korean cuisine, you’ll need to pick up a few things at a specialty grocery store.  Or you may luck out and find these items in the “Ethnic Foods” aisle of a larger supermarket.

    Miso Paste:  A paste made of fermented soybeans with other ingredients including mushrooms and grains.  It’s sort of like a bouillon for asian cooking.   Miso comes in a variety of types.  You may want to start with a ‘mild’ variety, and work your way from there.  Miso can be used in many other recipes as well.

    Korean Hot Red Pepper Paste:  This peppery paste gives the soup and other Korean dishes their unique heat.  We found some at our local supermarket, from the Bibigo Brand.

    Now, on to the soup!

    Ingredients:

    2 T Miso

    3 T Korean Pepper Paste

    1 T Minced Garlic

    1 T Sesame Oil

    1 Medium Onion, Diced

    2 – 3 Cups Stock or Water

    1 Zucchini, cut into bite sized pieces

    1 package (12 oz.) Tofu

    Scallions for Garnish

    Salt to Taste


    Tip: The miso and pepper paste both have some salt, so depending on your stock and desire of saltiness, you may not need any additional salt.

    Process:

    1.  Saute onion in sesame oil, pepper paste, miso and garlic a few minutes.

    2.  Add stock or water and bring to a simmer.

    3.  Add zucchini and tofu, simmer until zucchini is ready to eat.

    4.  Serve over brown rice with scallion garnish.

    Yum!


  7. Costco

    July 18, 2014 by admin

    We recently rejoined Costco after letting our membership slip for a few years.  We are glad to be back.IMG_6756

    Costco offers two things we are always looking for in a store: good pricing and a fun experience.

    We love going to Costco. There are lots of things beyond food to check out, and usually an assortment free samples to snack on. Whenever there is food involved, our kiddoes are up for whatever you have to offer. So we never hear a complaint about going to Costco.

    Tip: Give the store a half hour or so after opening to get their sample stations set up. If you arrive right when the doors open, you won’t get any free snacks.

    Now, on pricing, it can get a bit tricky. You’ll need to keep your head and do the math to make sure you are getting a good value. $9.50 for two pounds of good quality, whole bean coffee? That’s way better than the typical supermarket price. $14 for two liters of Olive Oil? Well, we can buy 1 Liter for $5.50 at our local supermarket, so we’ll pass. If you check your prices carefully, you’ll end up saving a ton at Costco.

    Tip 2: There is an annual membership fee (about $65), so make sure you will go shopping often enough to get your value out before you decide to sign up.

    Examples of things we buy frequently at Costco at a good price: nuts, crackers, soups, coffee, cheese, and frozen veggies.

    Remember that you will need to be able to store all the food you purchase at your house.  And you’ll need to eat it before it goes bad. Don’t get caught up in bulk shopping if you can’t manage the storage and consumption issues. We are tempted by, but avoid, huge sacks of flour and rice that seem like a good value, but would surely go to waste before we could use it all up. Likewise, until we get a bigger freezer, we can’t take advantage of too many bulk frozen food deals.

    But if you watch the pricing, and buy what you will eat, Costco is a great place to add to your repertoire of shopping places.


  8. Three Bean Chili

    July 11, 2014 by admin

    We love a good bowl of chili.  It’s great in the summer.  Despite how hot it may be outside, a steaming bowl of chili always hits the spot.  And in the depths of winter, it will warm you to your core.   Our chili recipe goes together pretty quickly.  But as with most good chilis, it benefits greatly from being allowed to sit and simmer on the IMG_6659stove for a long time.

    Tip: This chili includes many ingredients you might grow in your garden or acquire at farmer’s market!

    If you can prepare the whole meal the night before you plan to eat it, and let it simmer for a long while in the background.

    Ingredients:

    • 1/2 Cup each: Dried Black Beans, Chick Peas, Kidney Beans
    • 2 Bell Peppers, Diced  Try to get two different colors, if you can.  We like red and green.
    • 1 T Olive Oil
    • 1/2 T Fennel Seed
    • 1 T Coriander Seed
    • 1 T Cumin Seed
    • 1 t Mexican Oregano  (Italian Oregano will work, but the Mexican variety is available in most supermarkets…)
    • 1 T Chili Powder – More if you want to up the heat
    • 3 Tomatoes, chopped
    • 1/2 Cup Green Beans, Chopped
    • Water as needed
    • Salt and Pepper to taste


    Process:

    • Boil the beans in three separate pans for about an hour.
    • Saute peppers in bottom of a large stock pot.
    • Grind seeds and Oregano and warm along with peppers.
    • Add tomatoes and heat through.
    • Add cooked beans and green beans.
    • Add enough water to make a slightly thin chili, the excess water will cook off during the simmer.
    • Add salt and black pepper to taste.
    • Simmer for as long as you can manage, preferably at least two hours.


    Enjoy as is, or topped with cheddar cheese, sour cream or green onions.  Also tastes great eaten with tortilla chips or over brown rice!


  9. All Around The Mulberry Bush

    June 27, 2014 by admin

    It’s mulberry season again!  Yay!IMG_0070

    We love this time of year- searching out old trees to forage from, and testing our stamina against the mosquitoes who always seem ready to thwart our mulberry picking plans.  But we persevere!

    We have brought home several pints of these little berries in just a few days.   Of course, we eat most of them straight, but what are you going to do with all those mulberries?

    You can use them almost anywhere you’d use another berry- pancakes and muffins, for instance.

    This year, we started making mulberry cobbler!  This simple recipe takes only a few minutes to whip together and bakes in just about half an hour.

    Ingredients:

    1 Cup Flour

    1 Cup Sugar

    3/4 Cup Milk

    2 t Vanilla

    1 Stick Butter

    2 Cups Mulberries

    1/3 Cup Sugar

     IMG_6495

    Process:

    1.  Melt butter in the bottom of a baking dish.

    2.  While butter is melting, warm berries and 1/3 cup sugar on the stove to melt the sugar.

    3.  Mix the flour, sugar milk, vanilla and milk together, and pour into dish over melted butted.  Mix this a bit.

    4.  Pour sugared mulberries on top, and bake for 25 to 30 minutes at 350.


    Let cool for about 1/2 hour as it will be super hot.  Enjoy!!


  10. Who Wants Nachos?!?!

    May 16, 2014 by admin

    IMG_1822You can make awesome plates of nachos in your home, in about half an hour. It’s totally worth it!  We love this dish as a delicious evening snack.

    We always worry that we’ve made too big a pile of nachos, but there are never any leftovers…

    First, figure out what you want on your nachos, because you’ll want to gather all your ingredients together before you start cooking.

    Some ideas:

    Cheese (Cheddar is awesome, but you might like Monterrey Jack or a pepper jack- really almost any cheese you like will work.  Some vegan cheeses work really well too!), olives (black, green, or kalamata), diced onions, scallions, diced tomatoes, salsa, refritos or black beans, sliced jalapenos… the list can go on and on.  Anything you like can go on your nachos!

    Prep all your ingredients: chop you onions, grate your cheese, slice your olives- get everything ready.

    Take about half the chips you will be using and lay them out on a cookie sheet or pizza pan. Top with half of each of your other ingredients, saving the cheese for last. Bake this layer for about 8 minutes at 350 degrees to melt up the cheese.

    Add the rest of your chips and the rest of your toppings, saving the cheese for last.  Bake for another 8 minutes or so – more if you like your cheese crispy.

    Slide your big heap of nachos onto a plate, break out the sour cream and/or guacamole and dig in!