RSS Feed

Posts Tagged ‘baking’

  1. All Around The Mulberry Bush

    June 27, 2014 by admin

    It’s mulberry season again!  Yay!IMG_0070

    We love this time of year- searching out old trees to forage from, and testing our stamina against the mosquitoes who always seem ready to thwart our mulberry picking plans.  But we persevere!

    We have brought home several pints of these little berries in just a few days.   Of course, we eat most of them straight, but what are you going to do with all those mulberries?

    You can use them almost anywhere you’d use another berry- pancakes and muffins, for instance.

    This year, we started making mulberry cobbler!  This simple recipe takes only a few minutes to whip together and bakes in just about half an hour.

    Ingredients:

    1 Cup Flour

    1 Cup Sugar

    3/4 Cup Milk

    2 t Vanilla

    1 Stick Butter

    2 Cups Mulberries

    1/3 Cup Sugar

     IMG_6495

    Process:

    1.  Melt butter in the bottom of a baking dish.

    2.  While butter is melting, warm berries and 1/3 cup sugar on the stove to melt the sugar.

    3.  Mix the flour, sugar milk, vanilla and milk together, and pour into dish over melted butted.  Mix this a bit.

    4.  Pour sugared mulberries on top, and bake for 25 to 30 minutes at 350.


    Let cool for about 1/2 hour as it will be super hot.  Enjoy!!


  2. Four Fun Free Fall Activities

    October 5, 2012 by admin

    Ahh, Fall.  It is a top season around here for the TR family.   We love it because it means winter is coming which is hands down our favorite time of the year!  It also means that it is cold enough out that most of the bugs have gone, but warm enough out that we can still explore the outdoors without the risk of hypothermia.

    We strongly encourage you and your fam to get out there and see the world, especially during this time of year.

    Here are a few quick ideas of simple and easy ways to get a bit of outdoor exercise, smell the fresh air, and enjoy some together time:

    Feed the Ducks: We like to loop this into a bike/trike ride to get our heart-rates pumping.  But even if finding your local ducks means getting in the car, you’ll enjoy a worthwhile experience.  Use it as a chance to talk about the changing seasons, the migratory nature of birds, and the importance of protecting your local environment.  You can discuss Halloween costumes as you relax while feeding feathered friends.  Or just use it as some simple unplugged bonding time with your best peeps.

    Walk the Dog: Take Fido to a local dog-park, or dog-friendly nature area, to let everyone get fresh air and exercise.  You are bound to find cool things:  rotted logs, sunning snakes, or animal foot prints.  Make a game out of counting and identifying all the different breeds of pups you run into while there!

    Collect Leaves: Why wait for a school teacher’s assignment to learn about different types of trees?  Challenge each person to find ten different leaves and then identify them, either on the spot (with a pocket Field Guide) or at home (with help from the internet).  Teach and learn about conifers vs. deciduous trees, the cycle of seasons, and the circle of life.  You can then make a nature collage out of your leafy finds.

    Bake:  Cooler weather means it is easier to run the oven without melting everyone inside.  Cookies, pies, and fresh bread all beg to be created during this time of year.  Use this time to experiment with recipes you’re considering using during the rapidly approaching Holiday season.  As much fun as baking can be for the entire family, it is also a chance to sneak in some learning, too.

    And when all of your exploring is complete for the day, wrap up your experiences with a steaming mug of hot cocoa or tea.  Fall is just the best!


  3. Baking Up Fractions

    September 3, 2012 by admin

    By Brenda Winter Hansen

    I confess, around my house, if you bust out the M word (M-A-T-H), there will be groans. Luckily, skill-building results have been achieved without even uttering that four-letter word. Most of us eat three meals plus snacks every day, so even for the most recalcitrant kid, it’s easy to weave some hands-on number play into the day without them blinking. It’s the repetition of the basics of math that builds a strong foundation for the understanding of more sophisticated concepts.

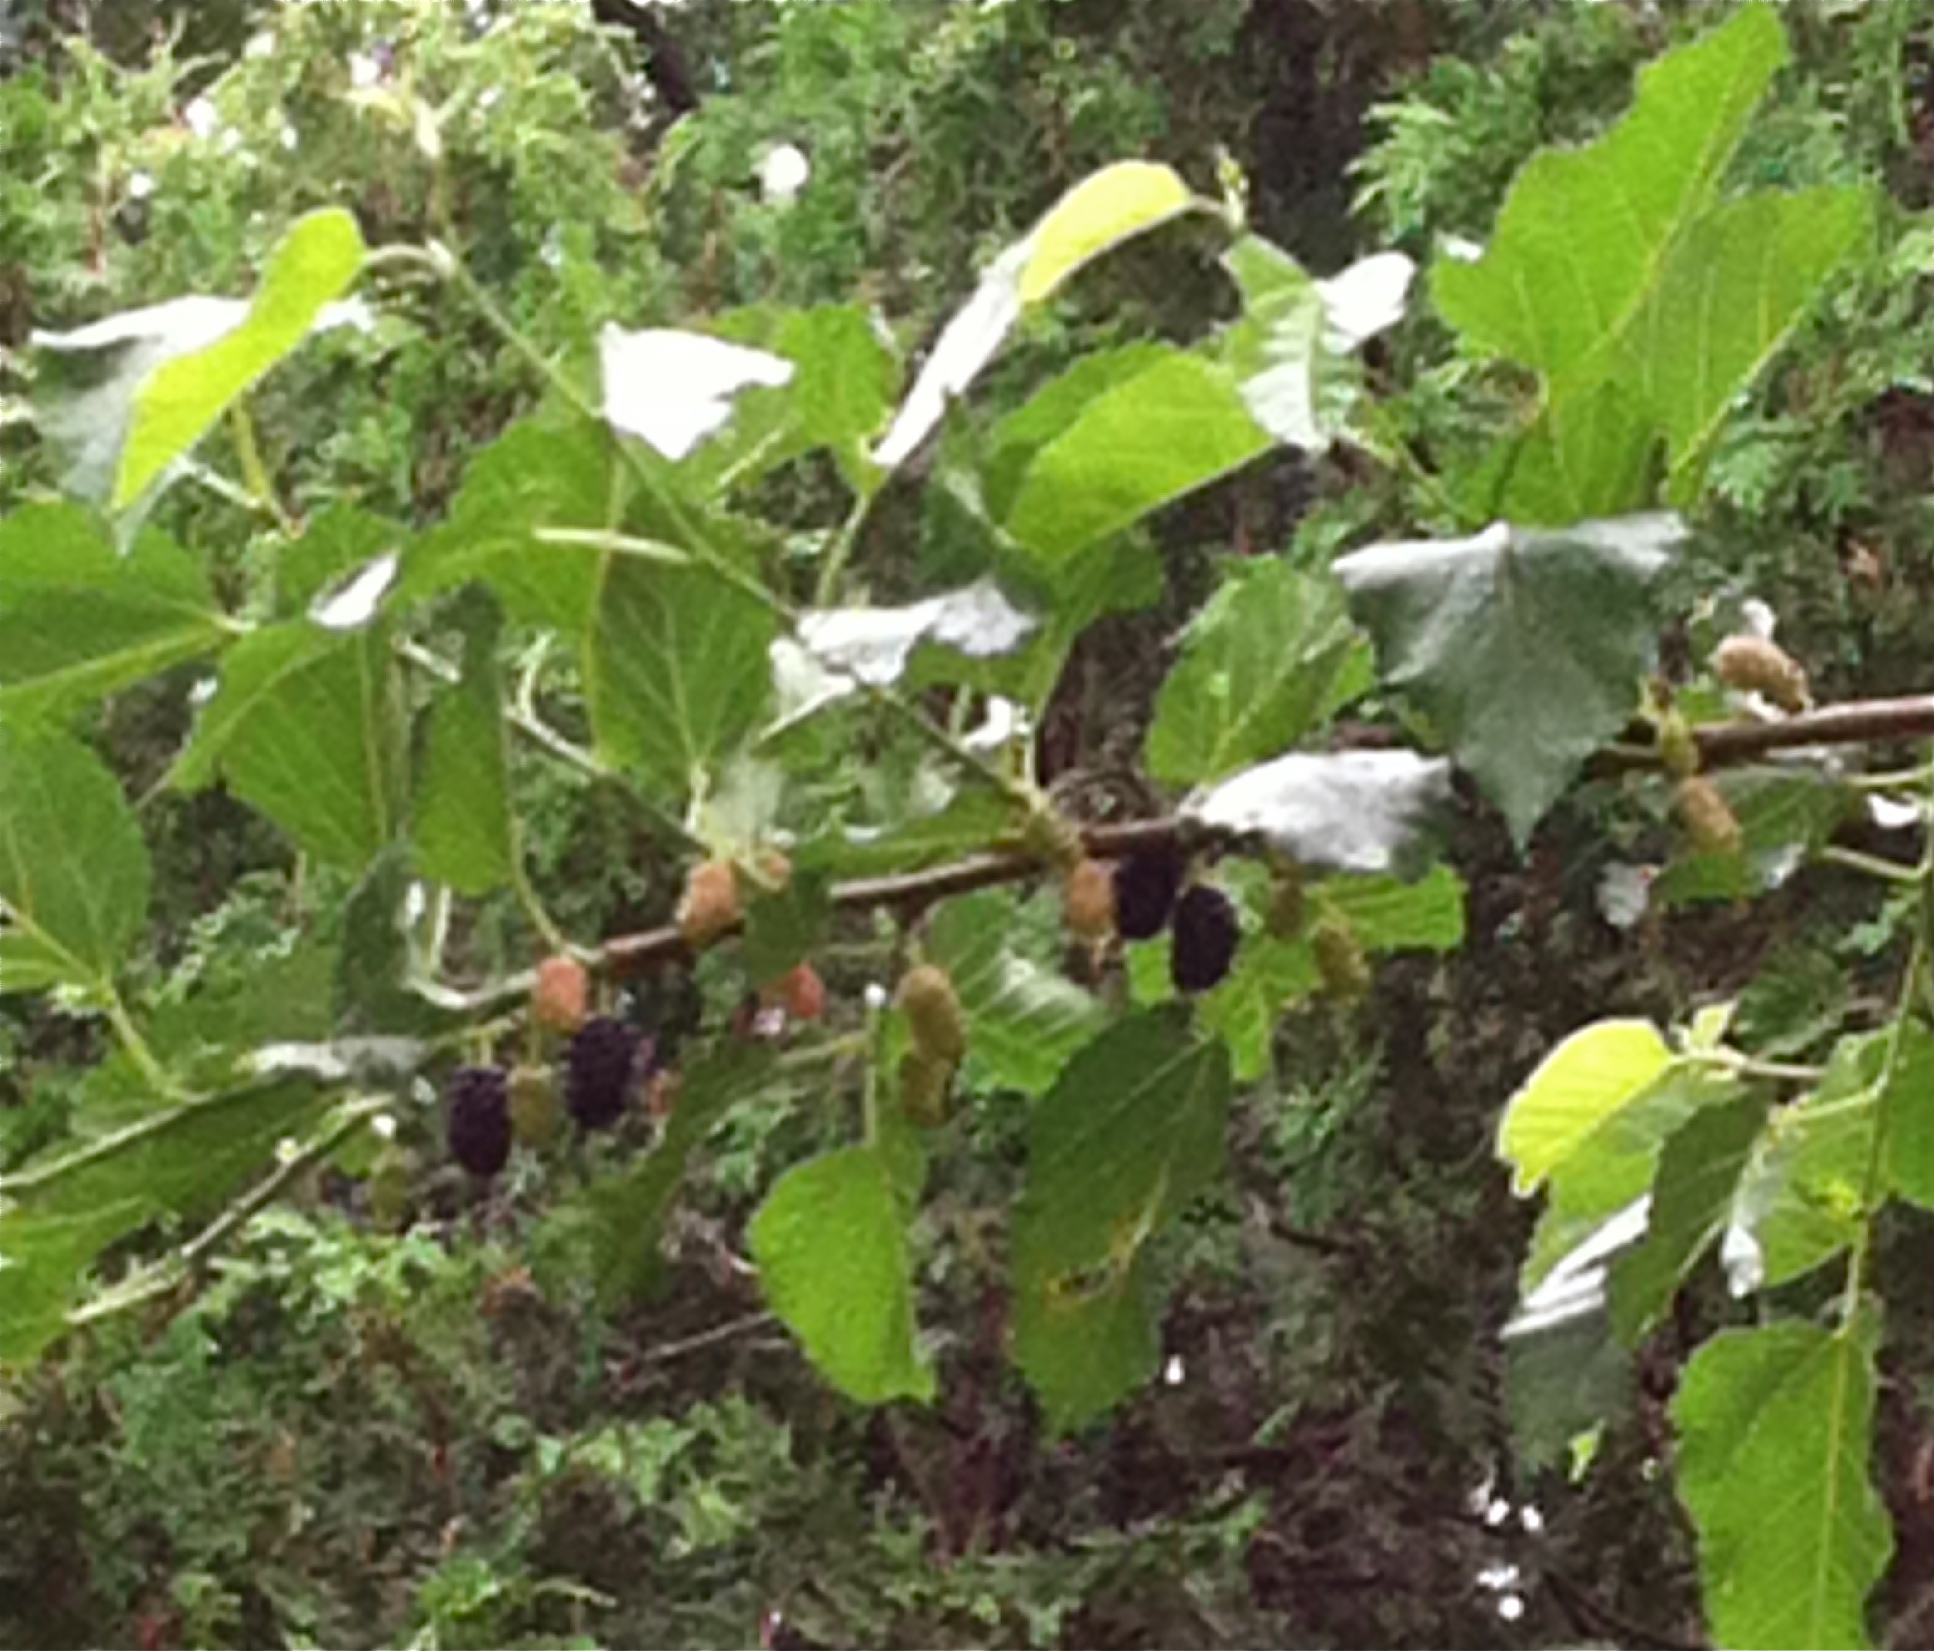
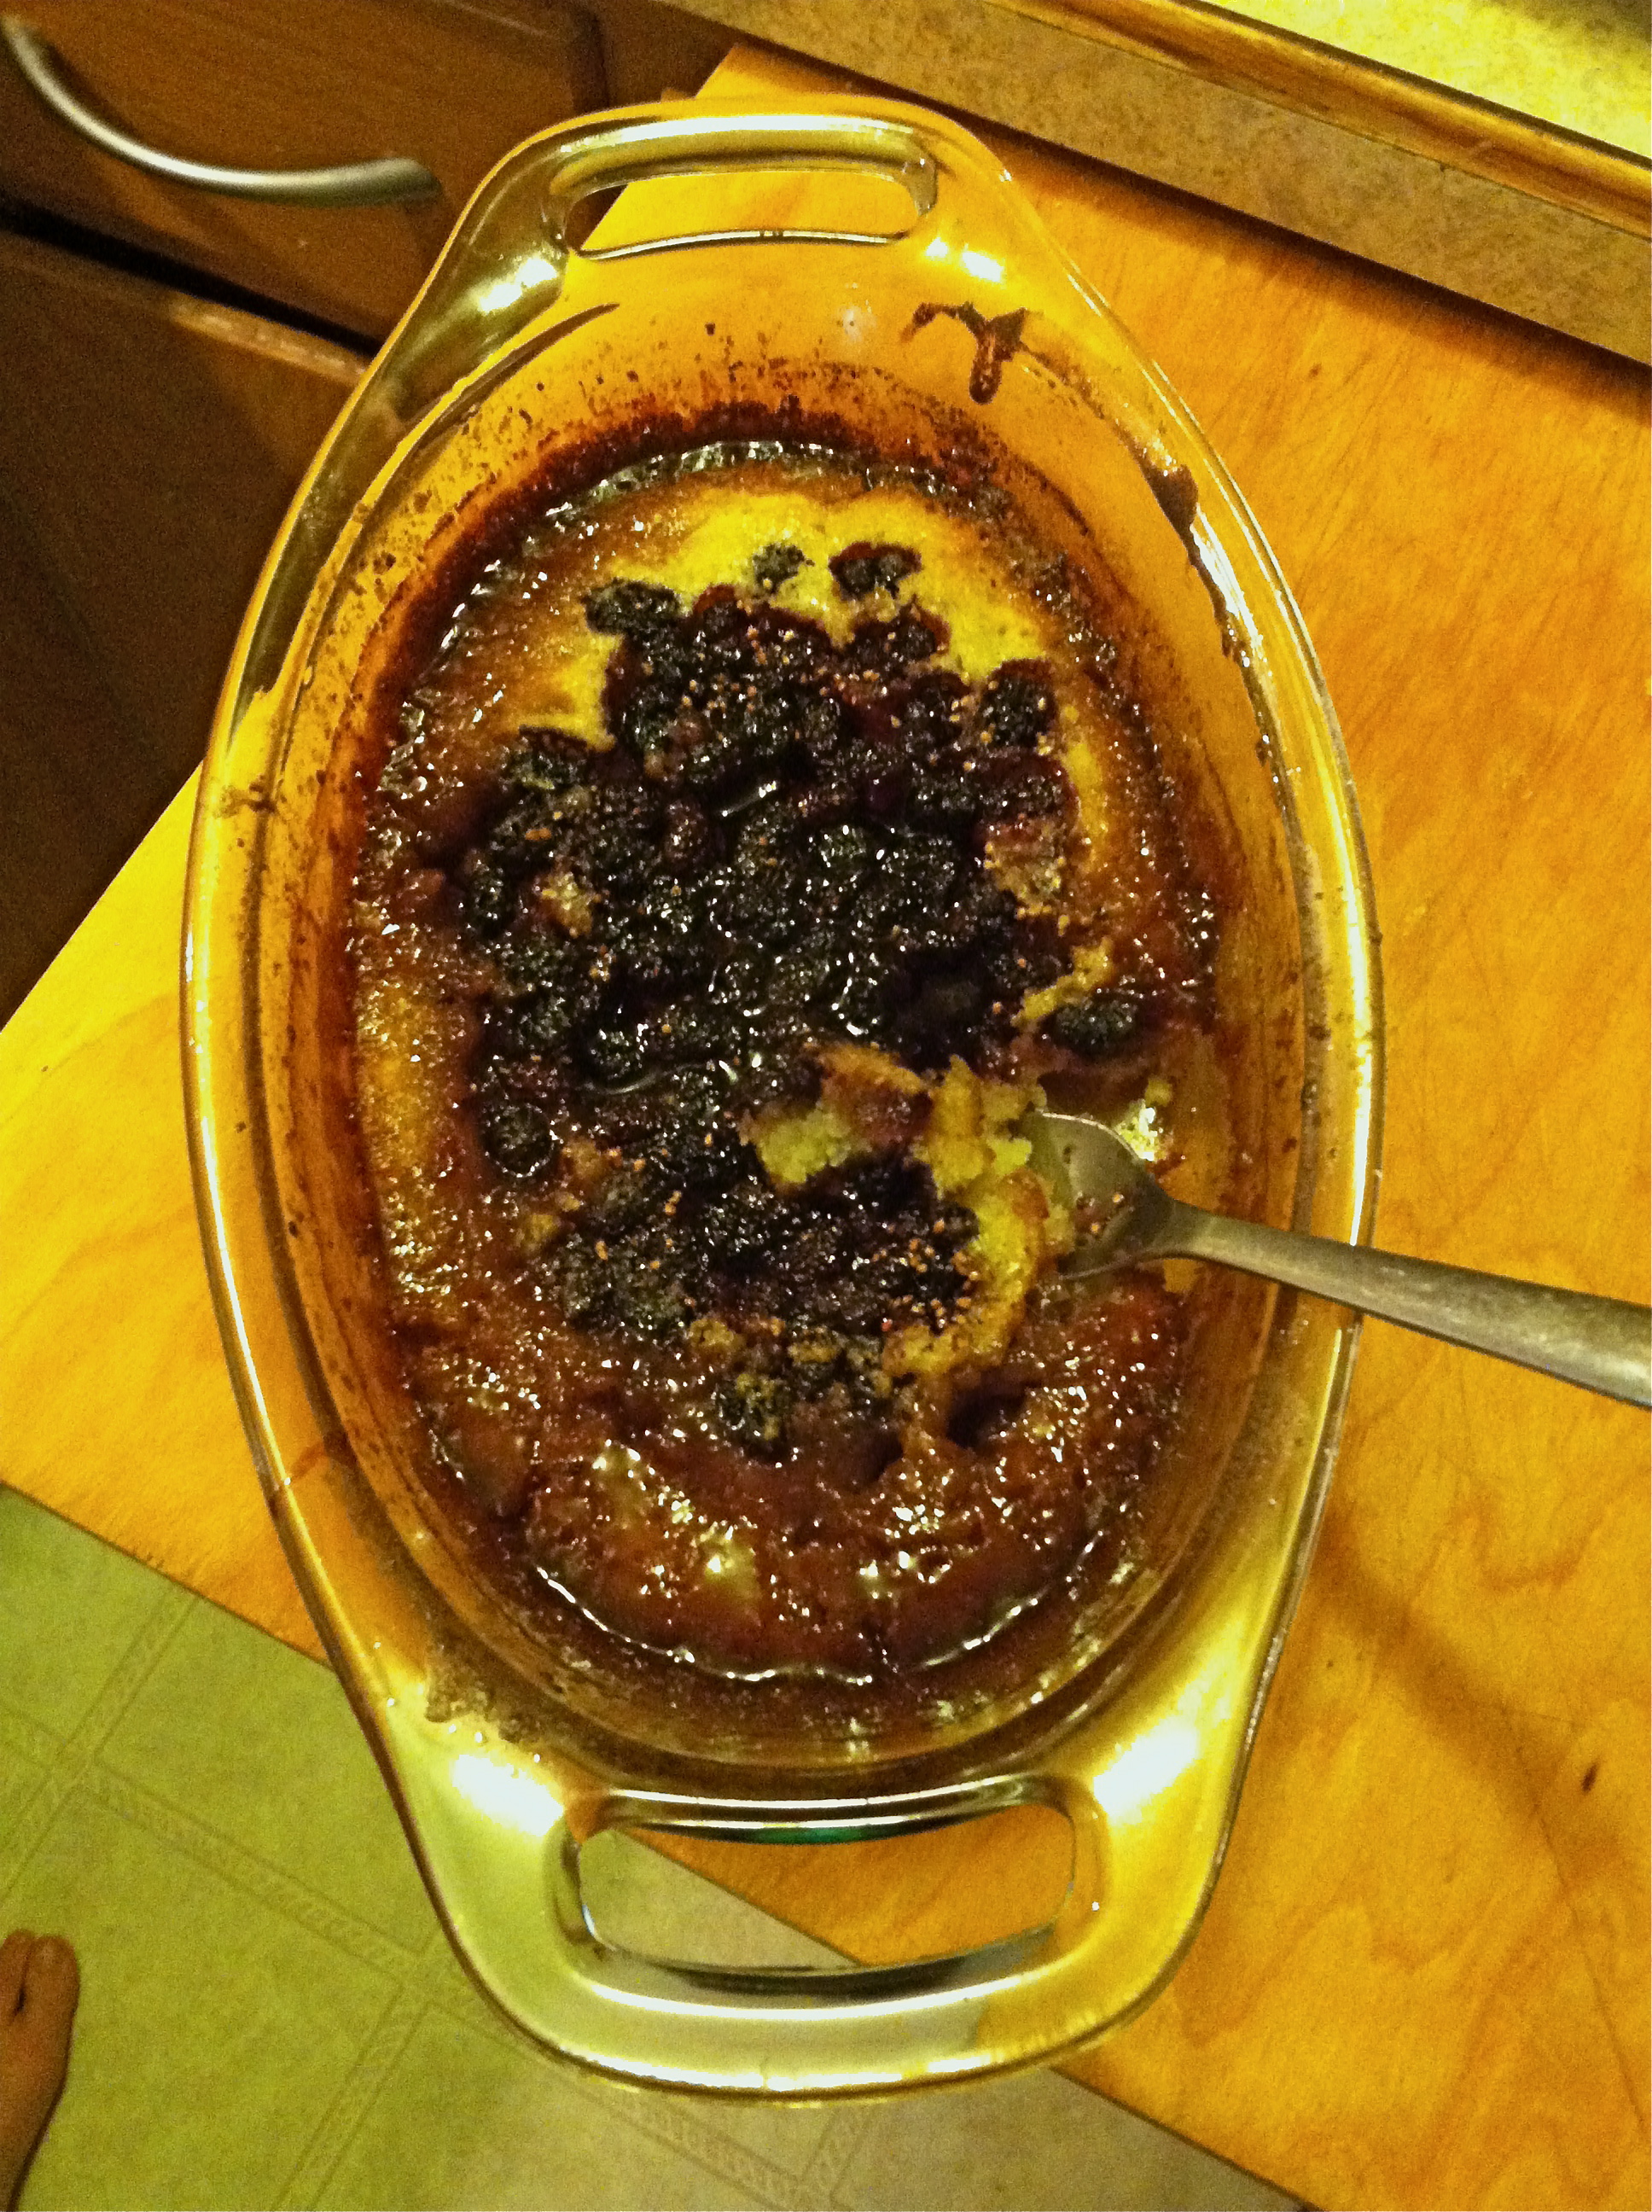
    My personal favorite kitchen math experience is baking, pie (Pi!) in particular. Pie has the double whammy effect of using fractions for the measuring that goes into making pie, as well as the resulting edible “pie chart.” Addition, subtraction, “plutification,” and division, naturally follow. Simply irresistible! Obviously, just about anything you bake can go into a round pan, but square and rectangle pans offer up a necessary visual contrast to standard circles. Don’t be shy about introducing fractions to pre-schoolers, just keep them part of the cooking conversation until they are teenagers.

    TIP Keep the tone light and fun.  Your child will learn more about math, and baking, if you can keep it fun.

    WARNING—Be prepared for some mess. Build clean-up into the waiting-while-it’s-baking, but don’t worry about it too much until then.  Discuss your kitchen rules.  Here’s a simple starting point.

    If your child is totally new to cooking, help them become familiar with measuring. Have at least one complete set of measuring spoons on hand, and both liquid and dry measuring cups.

    Bonus: Get your kid their own equipment! Thrift or discount stores are perfect for inexpensive kitchen gear. They will be thrilled to experiment on their own and help you out later.

    Spend some time demonstrating how one fourth of a cup fits four times into a full cup and then reverse the process: show how one cup fills a quarter cup four times. A handy conversion/measurement equivalency chart (laminated would be great!) will help you and an older child become familiar with volume and how spoons and cups fit together. This is also a good moment to let your child practice measuring flour and see what happens when they over or under fill three one-third cups if the goal is to end up with one.

    Once you have the ingredients assembled for your favorite baking recipe and have pre-read the recipe (if able, let your child read it out loud), be as hands-off as possible. Lead with questions to keep your child’s brain and hands simultaneously engaged. It’s an effective way for the experience to stick in their hungry brains. For example: If the recipe calls for three cups of flour, and we want to use half whole wheat, how many half-cups of white flour do we need? Or simply: How many half-cups in three cups? This kind of question is easy to tailor to your child’s age and development.

    After the fun of measuring, mixing, baking, and cleaning up a bit, you get to reap the rewards! My daughter (10) claims to hate math but loves fractions, “especially the cutting pie part!” Most children are visual learners first and slicing up pie is a natural way to see math happen. Make it a game. Start by cutting the pie in half. Discuss the words “whole” and “half” in the context of your child eating that much. Do you want the whole pie or will you share half of it with me? Now slice one of the halves in half. Add “fourth” and “quarter” to the conversation. If your child is already money conscious (or getting there) bring in four quarters and a dollar and raise the level of discussion to value, not just volume.

    Finally, bring in situational elements. How many people are in your household or coming for dinner? If everyone is willing, you can actually make this a dessert discussion, but you’ll have to convince everybody to wait to eat their pie. Cut the pie in eighths, give three people one slice, another person gets two slices, and the last person gets five. How many eighths does each person have? What if so-and-so had to leave early or a neighbor showed up for a visit? Is there enough pie? Let it get silly and come up with your own questions and stories. Making a narrative with fractions will reinforce the usefulness and practicality of math in everyday life…and turn story problems into fraction fun!


  4. The Joy of Cooking (With Kids!)

    August 7, 2012 by admin

    There are few things that can more readily bring a smile to your kid’s face than when she’s accomplished something that she thinks only grown-ups can handle.  And when you see that smile, you’ll be smiling too.

    Case in point: cooking.

    Our Plum couldn’t be more pleased than when she successfully makes herself an egg sandwich, or some mac & cheese.  She beams from ear to ear—and well she should.  Cooking for herself is a skill that will serve her through life.

    Although these are relatively simple cooking tasks, they are the first steps on the road to becoming a happy adult, who knows how to make her own meals.  She is rapidly moving on to more complex recipes.

    We also do special nights, like Make Your Own Pizza, that encourage creating your own food, and developing your palette.

    Bonus!  Cooking is quality together time.  We explain each step and the purpose thereof.  Why do we oil the pan?  Why do we cook on medium heat?  We work together through each step so that she is confident and happy in the kitchen.  And there are stories to tell, family history to share, and music to dance to—all while learning how to cook.  Plum has progressed steadily, from a kid who couldn’t get her own cold cereal, to a young chef with a few dishes under her belt.

    And Bluey, too, is learning the ropes.   He samples from the dishes, and learns what different spices smell like.  He rolls out pizza dough and drops cookies.  He mixes eggs and batters.

    Worst side effect of Bluey in the kitchen? Sometimes he samples so much he’s not hungry when dinner rolls around.


  5. Roll With It

    July 23, 2012 by admin

    Nothing will raise the spirits of your family and friends like the smell of fresh bread!  Bread cooking, bread rising—it’s a good thing.

    It’s way easier than you think.  People have been making bread for thousands of years and you can too!

    But even though it is easy to make- it is also easy to mess up.  We haven’t gone to culinary school.  We haven’t taken classes in baking.  We’ve learned to make bread through trial and error.  And we mean Error!  We can’t count the number of failed loaves, messed up breadsticks, and useless piecrusts we have created through the years.

    But Grandma didn’t spring from her crib able to make those awesome cookies either!  She made many mistakes— possibly that’s why her dog was so fat.

    Tip1:  Patience and practice.

    It can be frustrating to spend energy and time in the kitchen only to have your end result inedible.  At times like this, we fall back on our mantra: It’s not the end of the world.  Switch gears, change up the menu, and no one will know that your bread didn’t make it.  Try to figure out what went wrong later.  Right now, try to refocus and relax.

    Tip2: Save those failed bits of bread for duck feeding, scatter them for your backyard friends, or compost it!

    Don’t give up.  Eventually, we found our rhythm.  You will too.  Once you get your rhythm down, and have a few ‘go to’ recipes that usually work for you, you’ll find yourself cranking out bread and impressing your family and friends.

    Our most common error: leaving out an ingredient.  We get distracted by Life and zip along believing that we’re following our recipe, only to find out that our bread has failed.

    Life goes on!  We try to roll with it and improvise.


  6. Daddy Bread

    June 4, 2012 by admin

    Here’s our simple and popular bread, referred to around here as “Daddy Bread.”   It can be set up in the morning for evening bread, or cranked out in as little as two hours before dinner.  The longer rising time is better though.  Try to let it rise for as much time as you can spare.

    It’s a basic recipe.  Play around with it.  Add more salt or more yeast.  Adjust your rising times and notice how it turns out differently each time.  Use this as a starting place to make it your own loaf.

    Ingredients:

    5 cups flour:  we use Unbleached All-Purpose Flour.  Why pay extra money for bleached flour?

    2 cups water: If you filter your water to drink, then use filtered water in your recipes.  How the water tastes determines how the bread tastes.

    2 Tablespoons dry yeast: You can buy a one pound package of Red Star yeast for less than $5 at your supermarket.  It will keep for a long time in a jar in your fridge, and is a WAY better value than all those little envelopes.

    1 Teaspoon salt: Kosher or not?  It’s your choice.

    1 Tablespoon Olive Oil

    Method:

    1. Mix the flour and water together.  We do this by hand, why worry about a mixer?  You can use a mixer if you want.  Mix these together at least 25 strokes.
    2. Add yeast.  Mix another ten strokes.
    3. Add Salt.  Mix another ten Strokes.
    4. Form into a big ball. Drizzle with olive oil and flip the ball over in the bowl a few times to make sure the whole thing is oil covered.
    5. Cover with a clean towel and put in a warm part of your kitchen.   Most places are fine, but keep it away from open windows and such.  We frequently set it backed into a corner of the counter.
    6. Let this part sit for 1 to 8 hours.  Longer the better, but we’ve made great bread with a one hour rise.
    7. Sprinkle corn meal on a sheet pan.  Break the dough into two roughly even clumps, and shape into long loaves, (no longer than your pan!)  A good trick is to fold the dough over on itself a couple of times.  When you like your loaf, lay it in the pan, cover with the towel, and let sit for 30 to 45 minutes. Don’t let it go much longer than that though, or the loaves will collapse!
    8. When you feel it’s ready, put into a 425 degree oven.  Bake for 20-25 minutes depending on your oven.
    9. Let it cool a bit before slicing.  Super hot bread tends to get crushed by the knife, a problem that goes away if you let it sit for ten minutes. (It will still be piping hot from the oven!)


    Now it’s ready to eat!  Enjoy!  We love Daddy Bread with butter or hummus.  Or  slice it up and make bruschetta.  However you like to eat Daddy Bread, if your family is like ours, your bread will disappear fast!