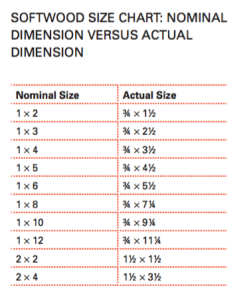
Use this chart for getting your wooden projects to measure out correctly. Very handy, if you’ve forgotten most of what they taught you in Woodshop class in junior high:
June 2, 2016 by admin
Use this chart for getting your wooden projects to measure out correctly. Very handy, if you’ve forgotten most of what they taught you in Woodshop class in junior high:
Category Get Crafty! | Tags: crafts,Creativity,Home Life,woodworking | Comments Off on Project Time
April 29, 2015 by admin
 A funny thing happens when you embark on the path of un-schooling.
You start to see connections you didn’t anticipate. By following the diverse interests of our young Kindergartner, we frequently find- voila!- something we are doing today is connected to something else we did the other day. And no one planned it. It is just the natural route of the unstructured pursuit of knowledge. You follow your path and you find it crosses over where you have trod before.
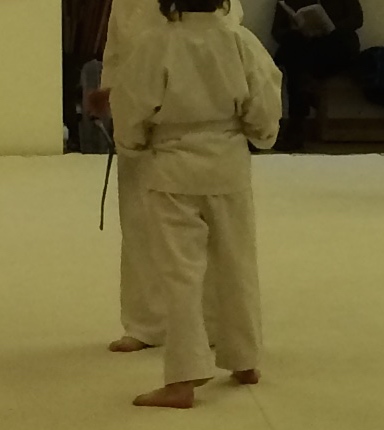
For example- Bluey was recently learning how to skateboard with some help from TRDad. He’s just getting started, so we’re working a lot on keeping balanced on the board and putting our feet down in the right spots. Later, Bluey headed for karate class. In order to do a new spiraling kick move, he needed to keep his balance and get his feet in the right spot! Another example- we’d previously discussed with his swim instructors that they were seeing more fluidity in Bluey’s swim strokes after he started karate, where repetitive arm movements are the norm. And yet another example- we read a comic about ninjas at home and Bluey discovers the students in the comic call their teacher “Sensei” and practice their moves in the dojo just like he does in his own Karate class.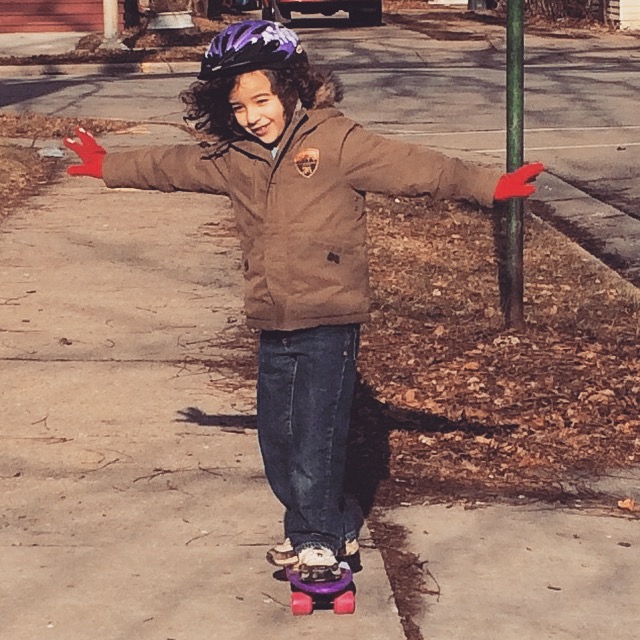
The connections keep going. Once you start realizing how everything is related, you start to see it everywhere!
We’re reading a whole book about cats, and learning how cats are able to balance and jump as they do. We hadn’t planned the cat studies to tie in with karate and skateboarding, but they do. As we follow one trail of interest, it inevitably crosses or runs parallel to a different trail. These crossroads and parallel strands serve to reinforce the learning and help explain why we’re so happy with our homeschool/un-schooling life!
Category Homeschool | Tags: Creativity,homeschool,kids,Learning,Science | Comments Off on Connections
April 19, 2015 by admin
 Our Plum recently went to a science fair hosted by our local University. Among the various exhibits and presentations, Plum discovered Oobleck. It’s fun to say and even more of a good time to manipulate!
The recipe is super simple:
Mix all of the above together until you have a consistency that works for you.
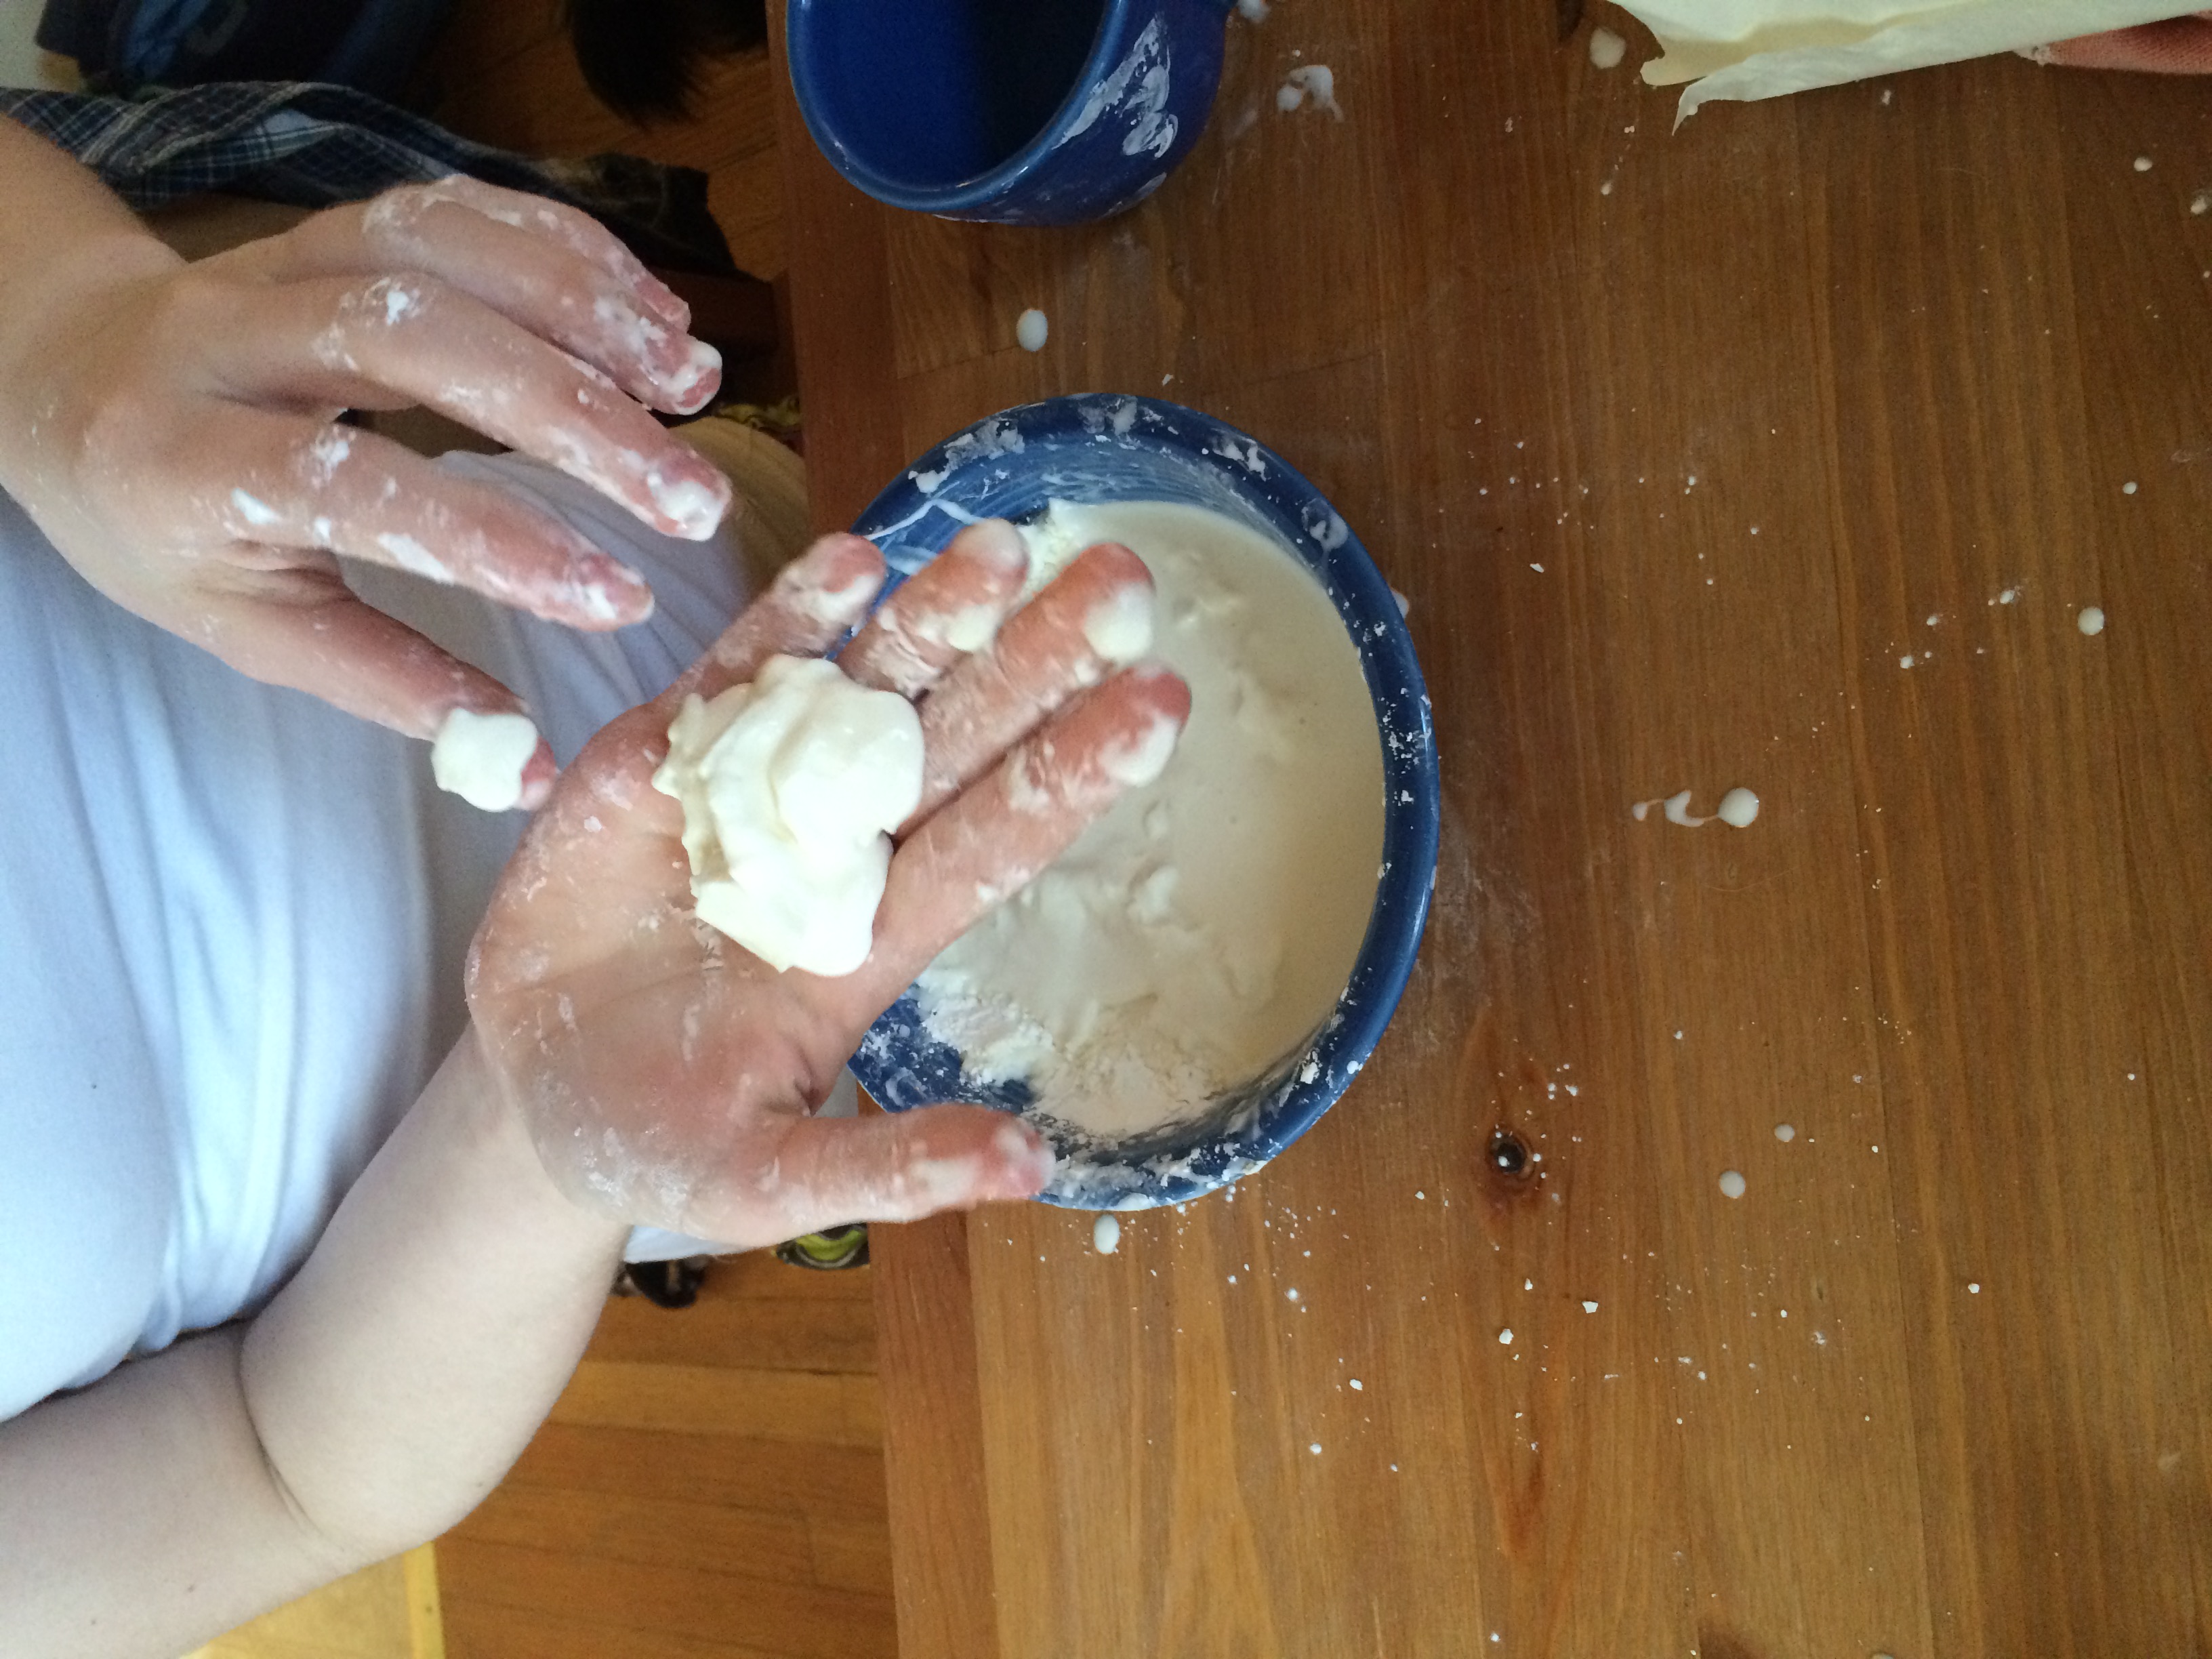
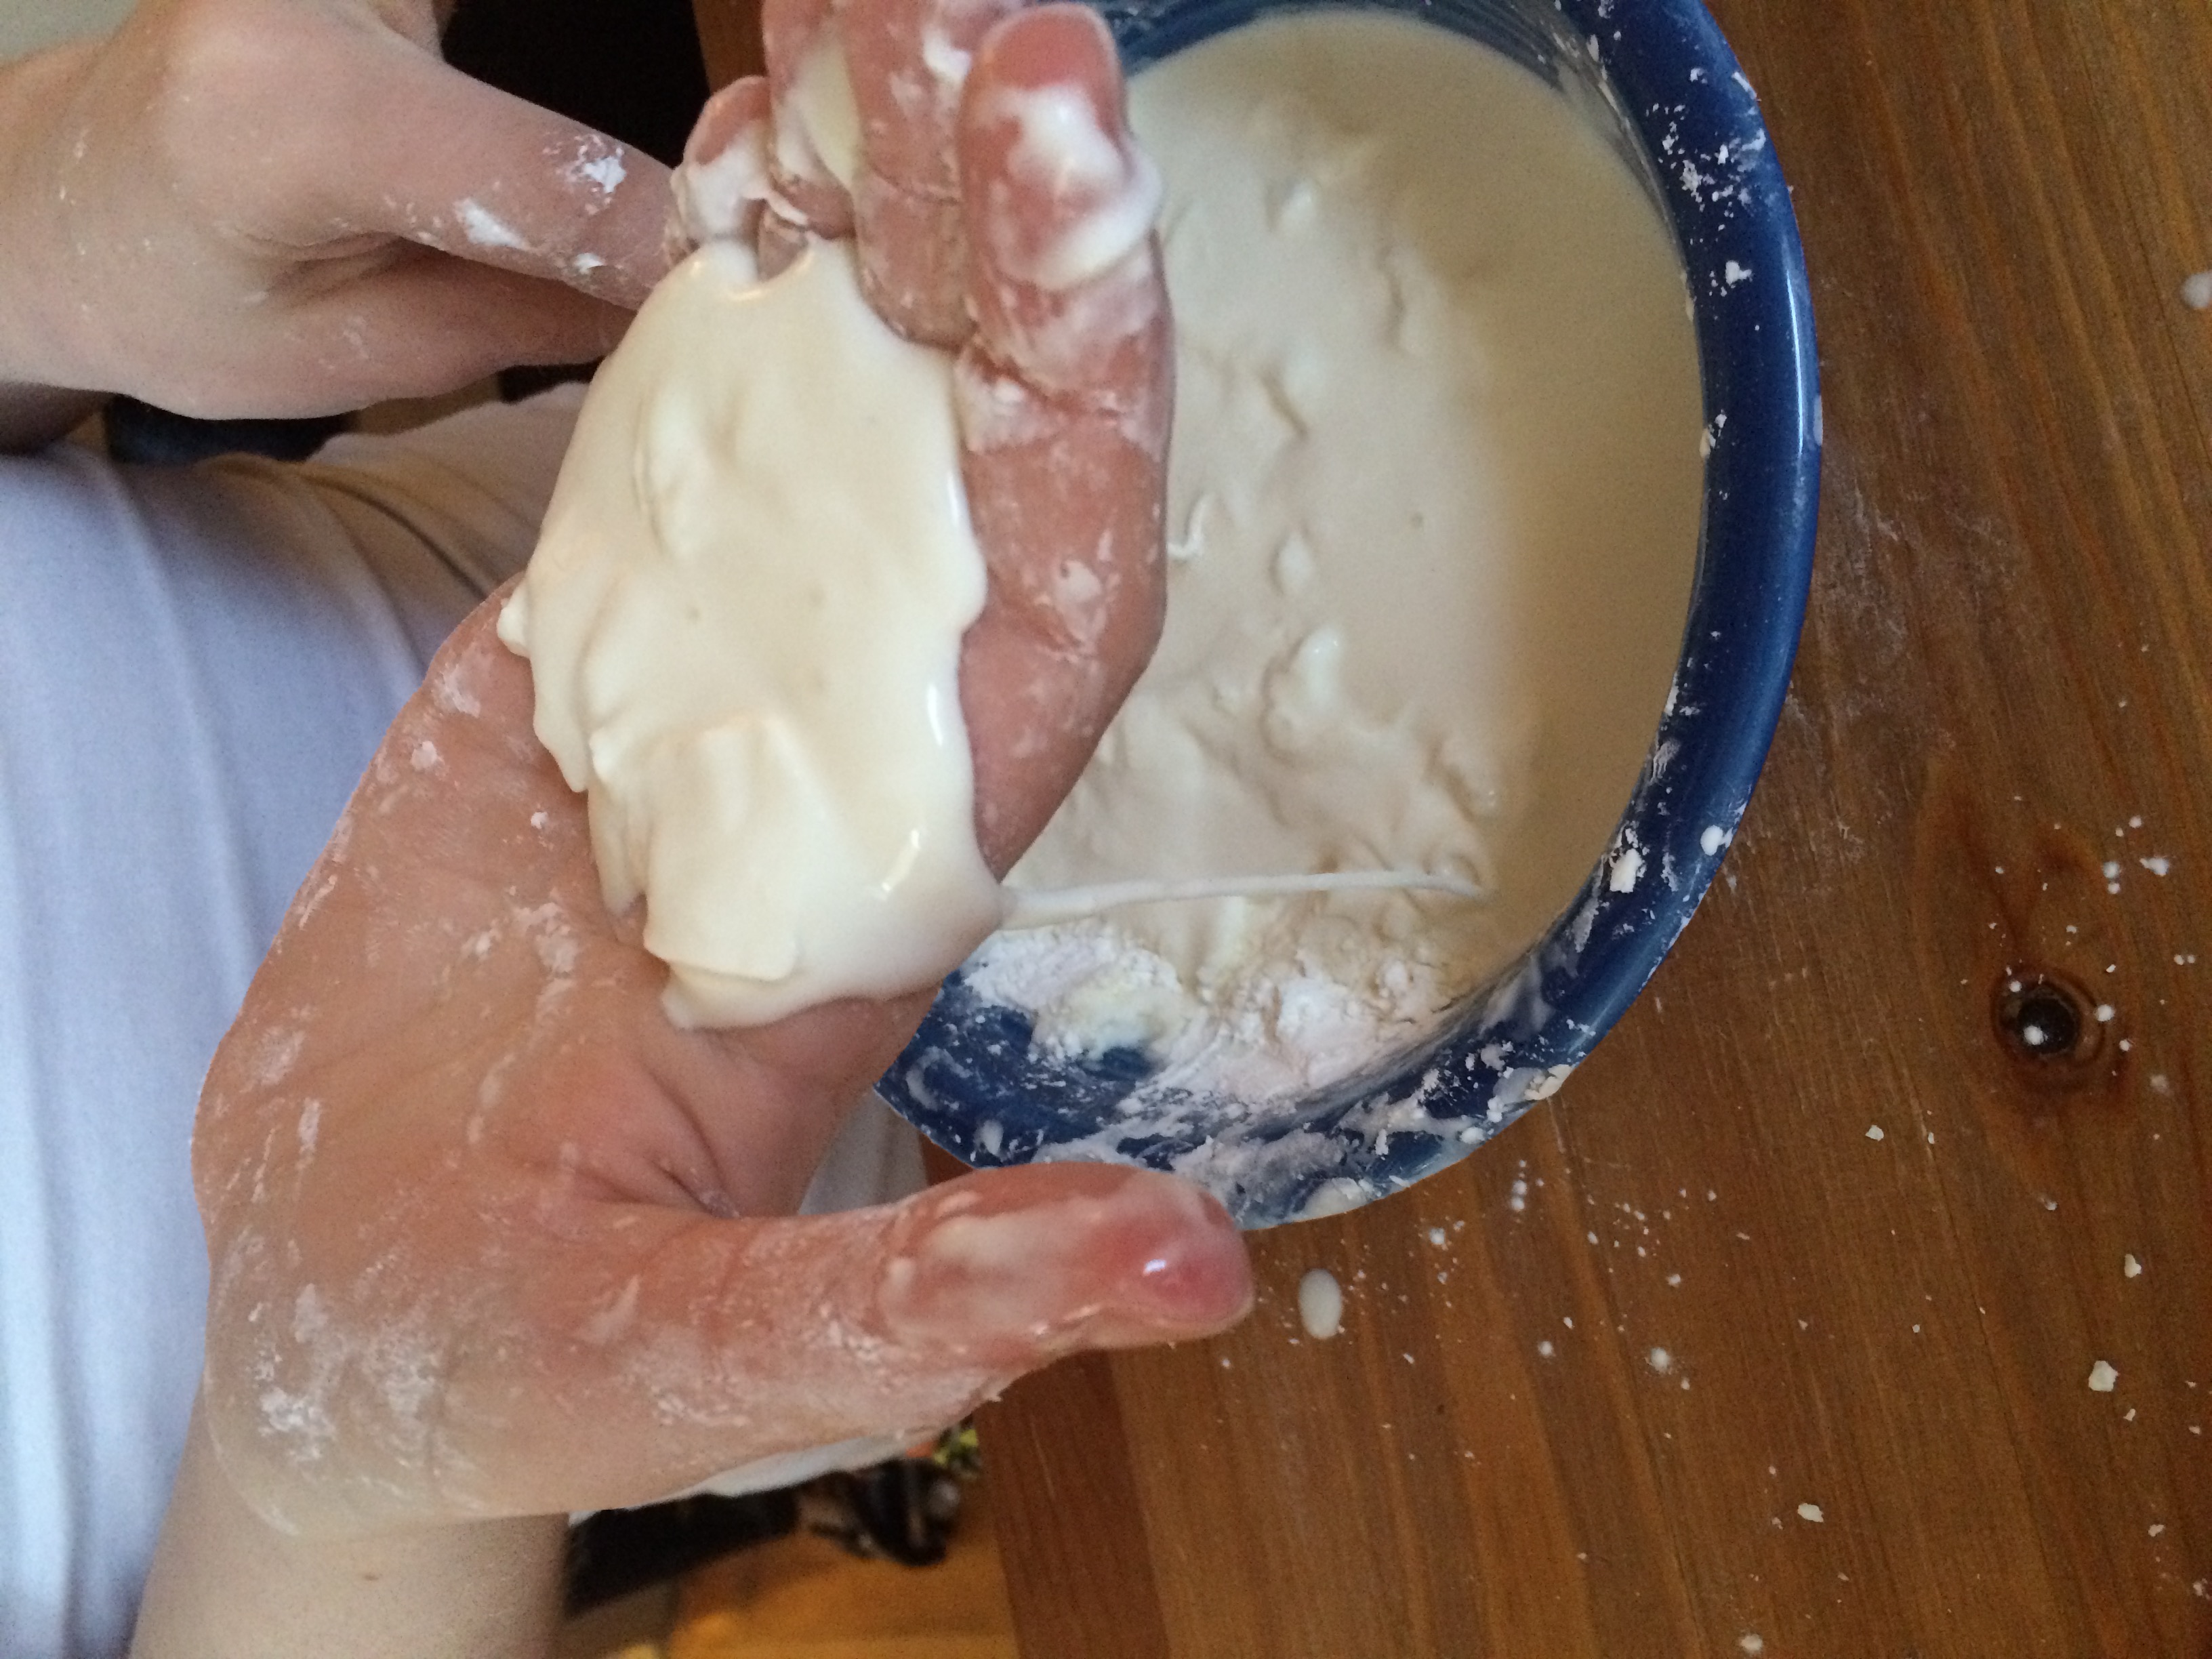 Your kids will be fascinated by the Oobleck. You can punch it and it will resist penetration. You can scoop some up and form a ball. But if you flatten your hand while holding the ball, the Ooobleck will slowly ooze from its original shape and drip back into your bowl.
Let your kids explore and learn from this neat mass. The clean up is a breeze as Oobleck dissolves in water.
Category Get Crafty! | Tags: Art,Creativity,kids,Learning,Science,simple solutions | Comments Off on Science Is Fun
March 31, 2015 by admin
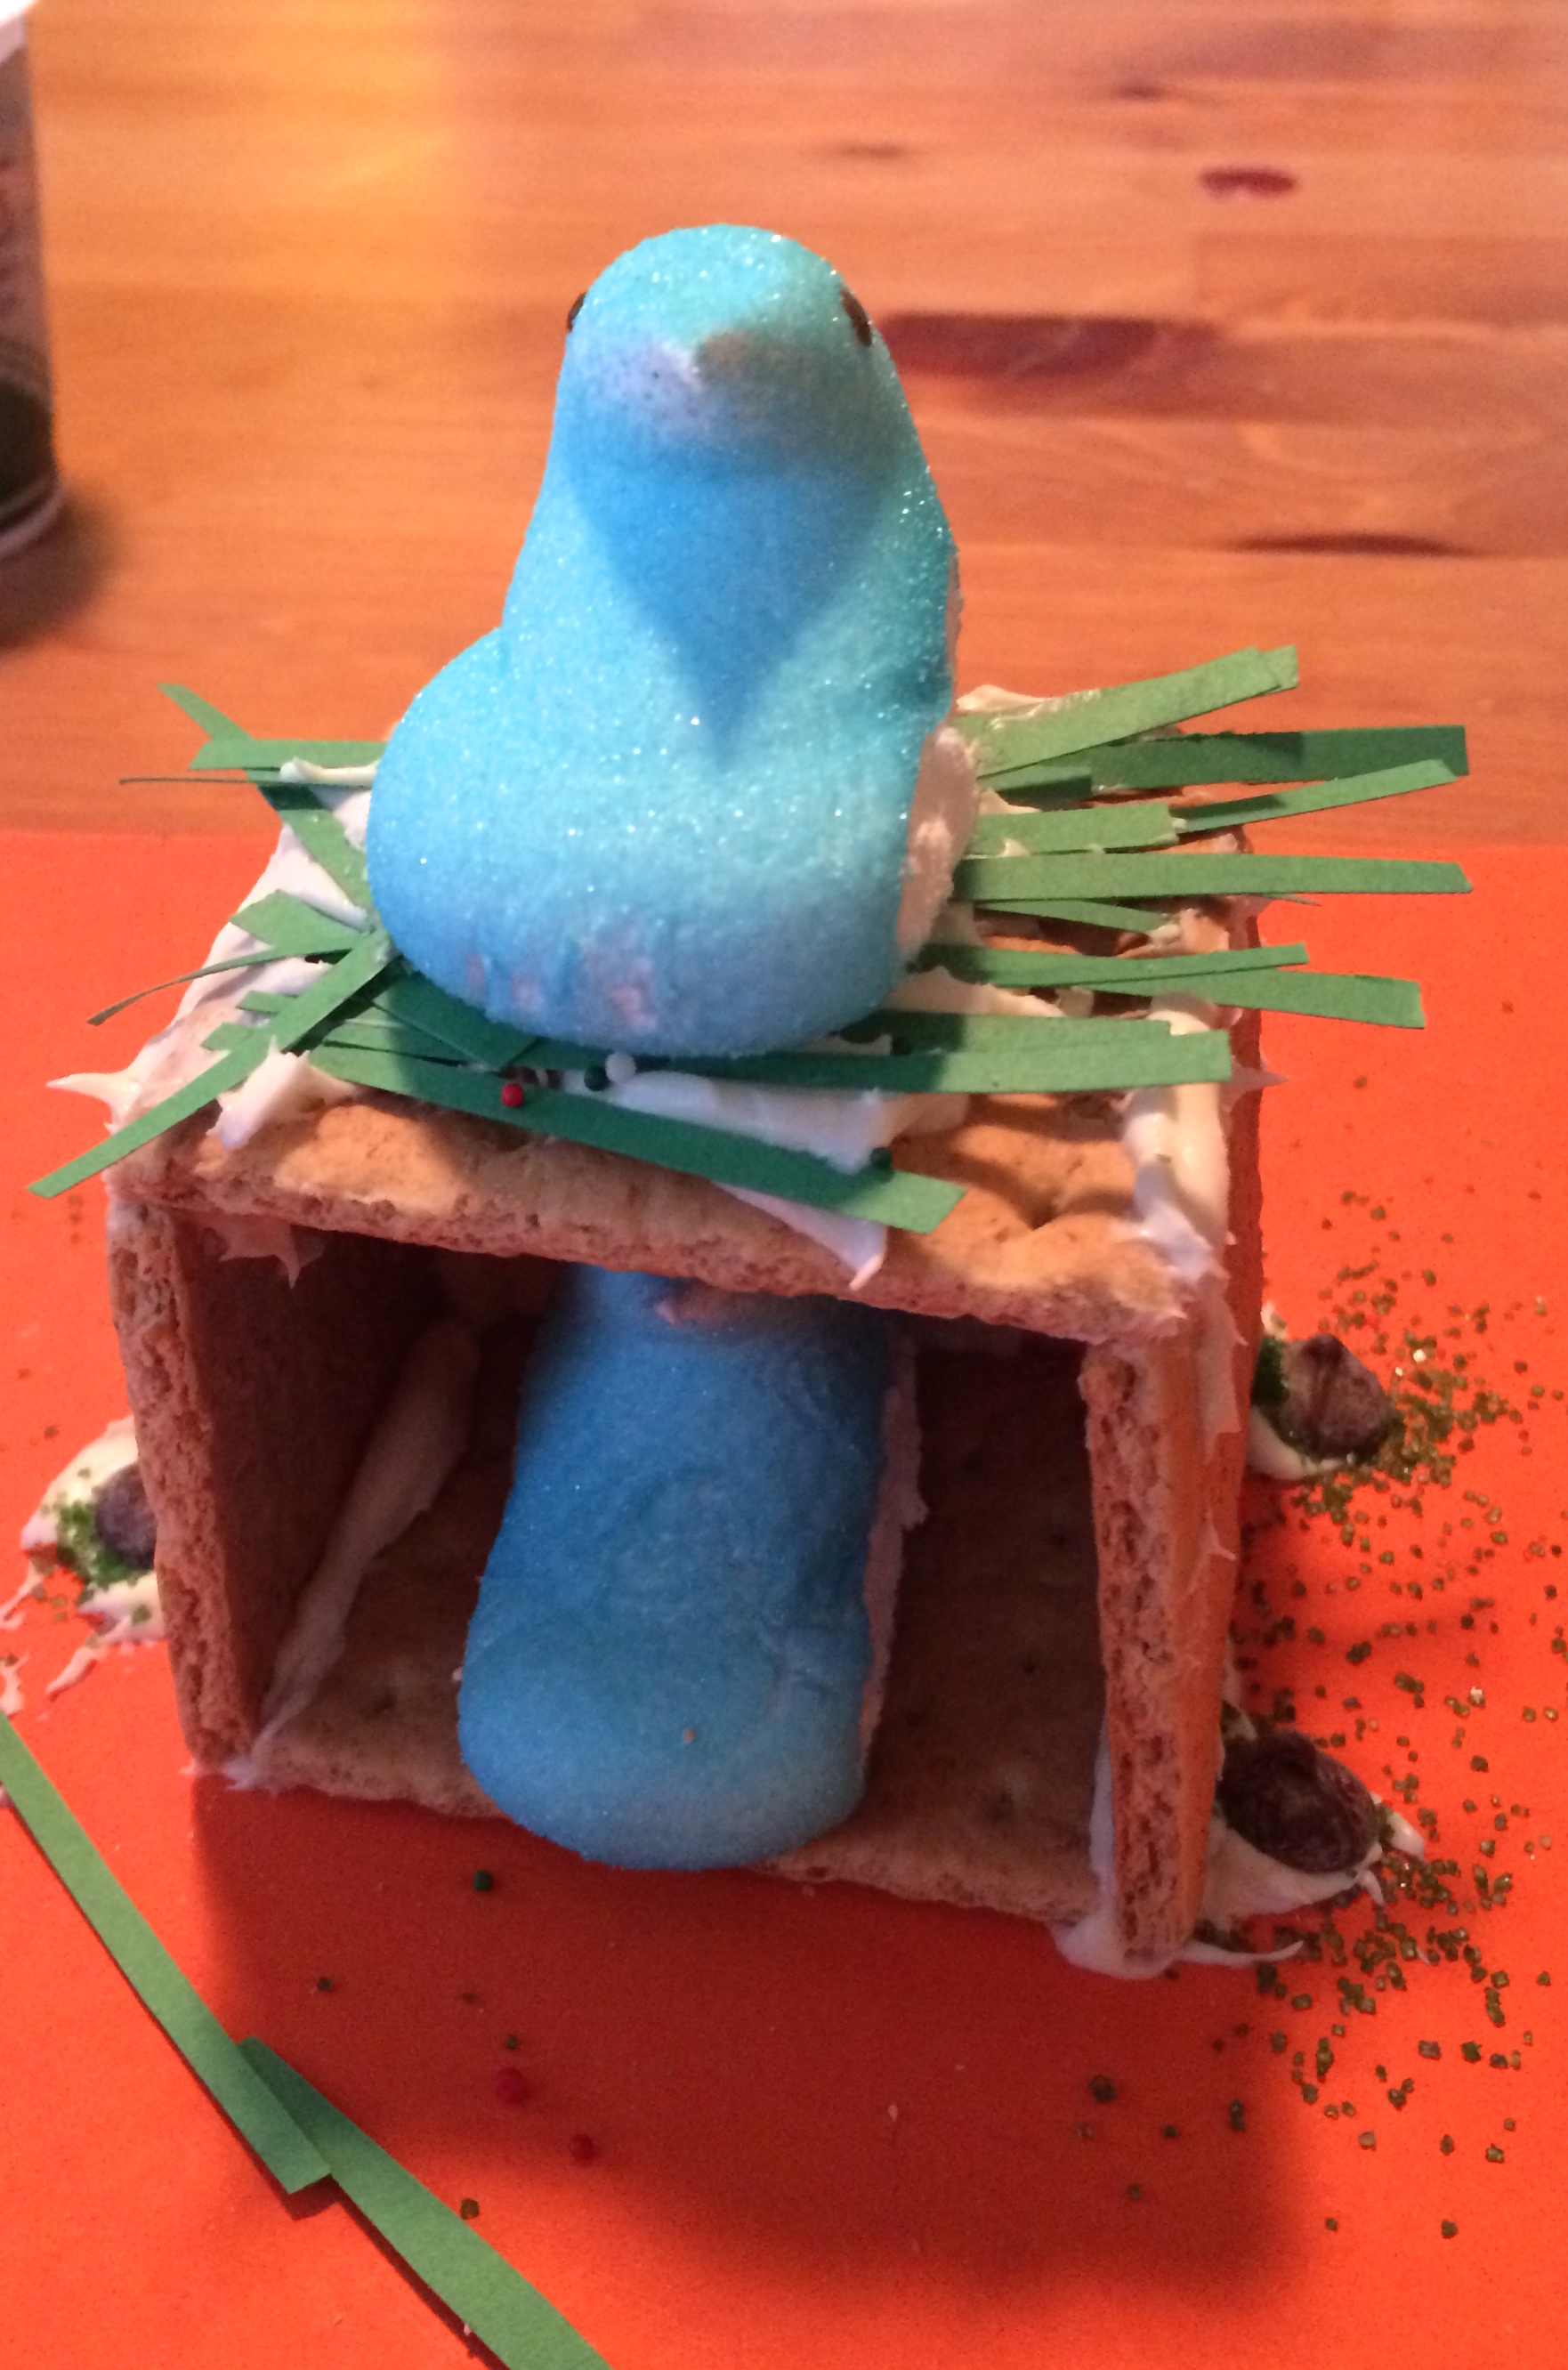 We recently stumbled upon a pinterest post on making Peep houses for Easter. Inspired by the pin, we gathered up some materials to make our own version of a Spring Peep home.
We used:
We cut our green construction paper into long thin strips that we then further cut into 3rd. This would be our Peep grass. We used the orange construction paper as our house base.
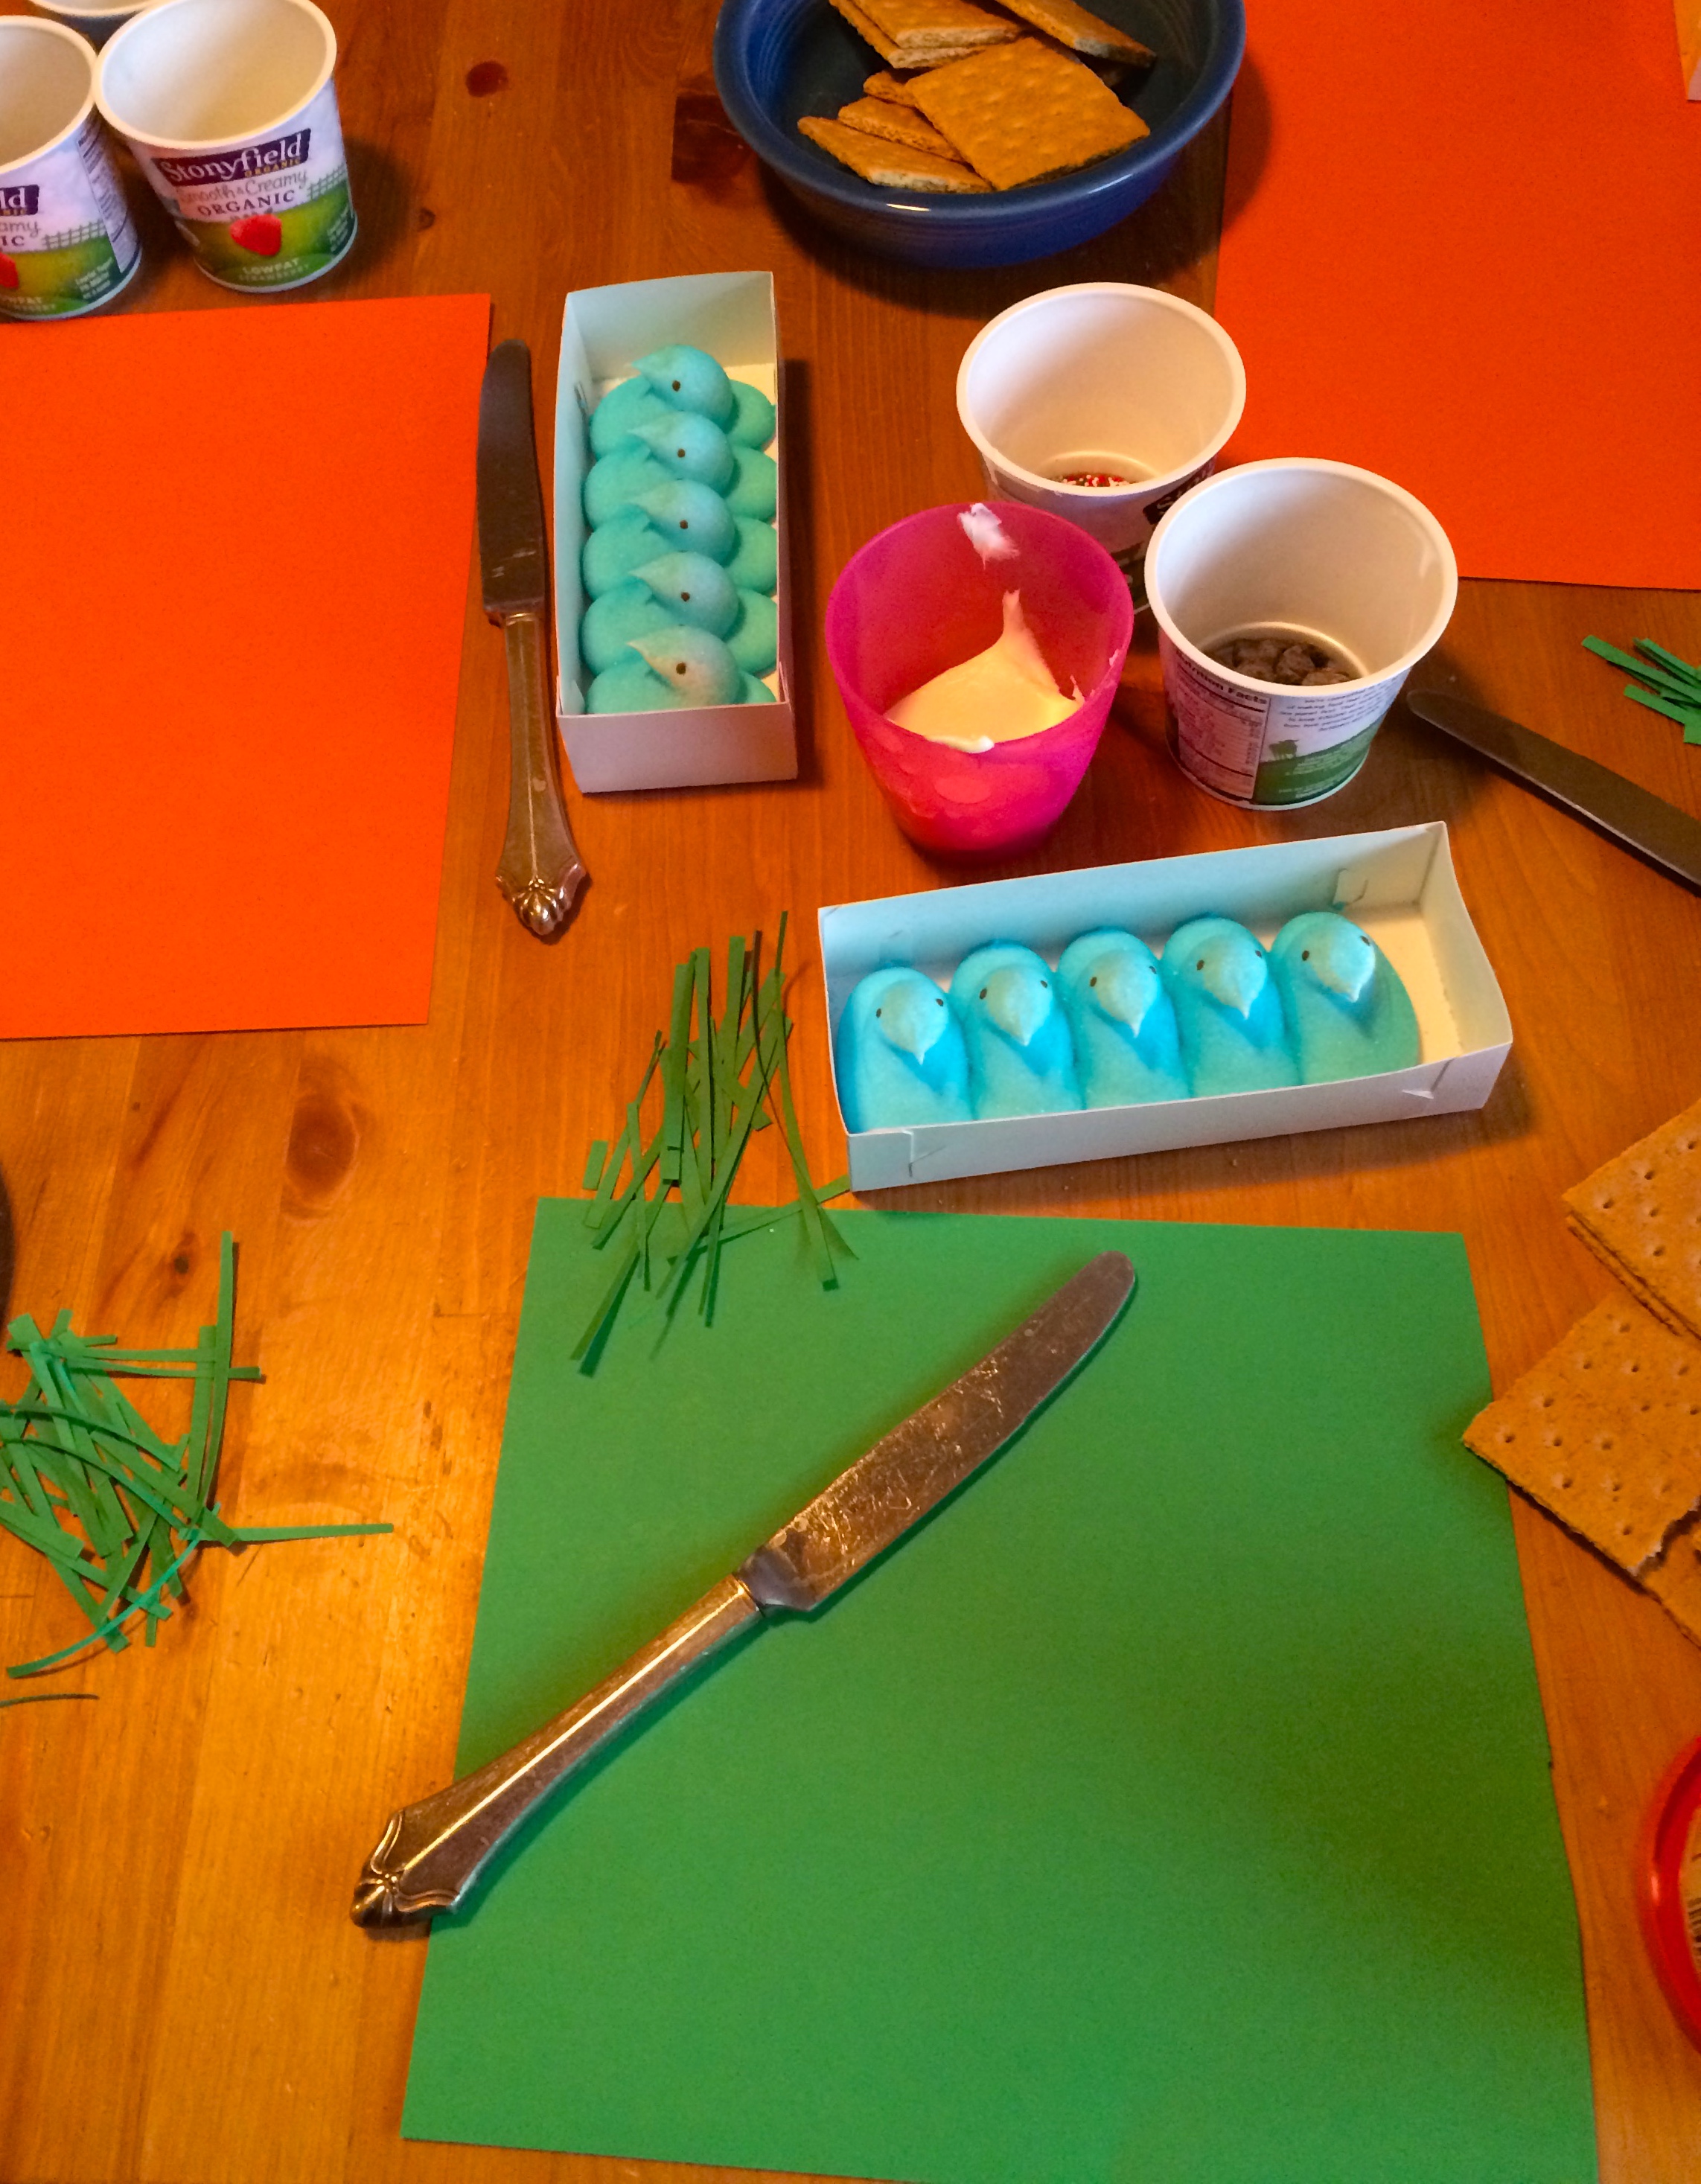
Plum and Bluey each had their own equal amount of supplies for construction and a butter knife for the icing. They got to work executing their vision of the perfect Peep house.
Tip: An angled roof was quite the challenge and needed two people working together to make it work. A flat roof is much easier and required no adult assistance.
Plum and Bluey had a fantastic time and were more than happy to sample the supplies as they worked.
Category Get Crafty! | Tags: Art,Creativity,Holidays,kids | Comments Off on Spring Crafts
February 25, 2015 by admin
 One quiet afternoon, Bluey came out of his room with an Etch-a-Sketch.
“Can we take this apart and see how it works? Maybe we can fix it?”
Since the toy was already mostly non-functional, it seemed like a fun adventure.
All we had to go on was the knowledge that there was some sort of powder inside, and some sort of controls that scratched the powder off the glass. We didn’t know much more.
Tip: We did a quick google search to confirm that the powder was non-toxic and harmless. So no worries there! But we wore safety goggles as a precaution.
There are no discernible screws or other points of entry into the Etch-a-Sketch. Apparently, the folks at Ohio Arts don’t encourage this sort of activity. Undeterred, we brought out a flat headed screwdriver, and ultimately a chisel, to split the connection between the red front, and the black back of the device.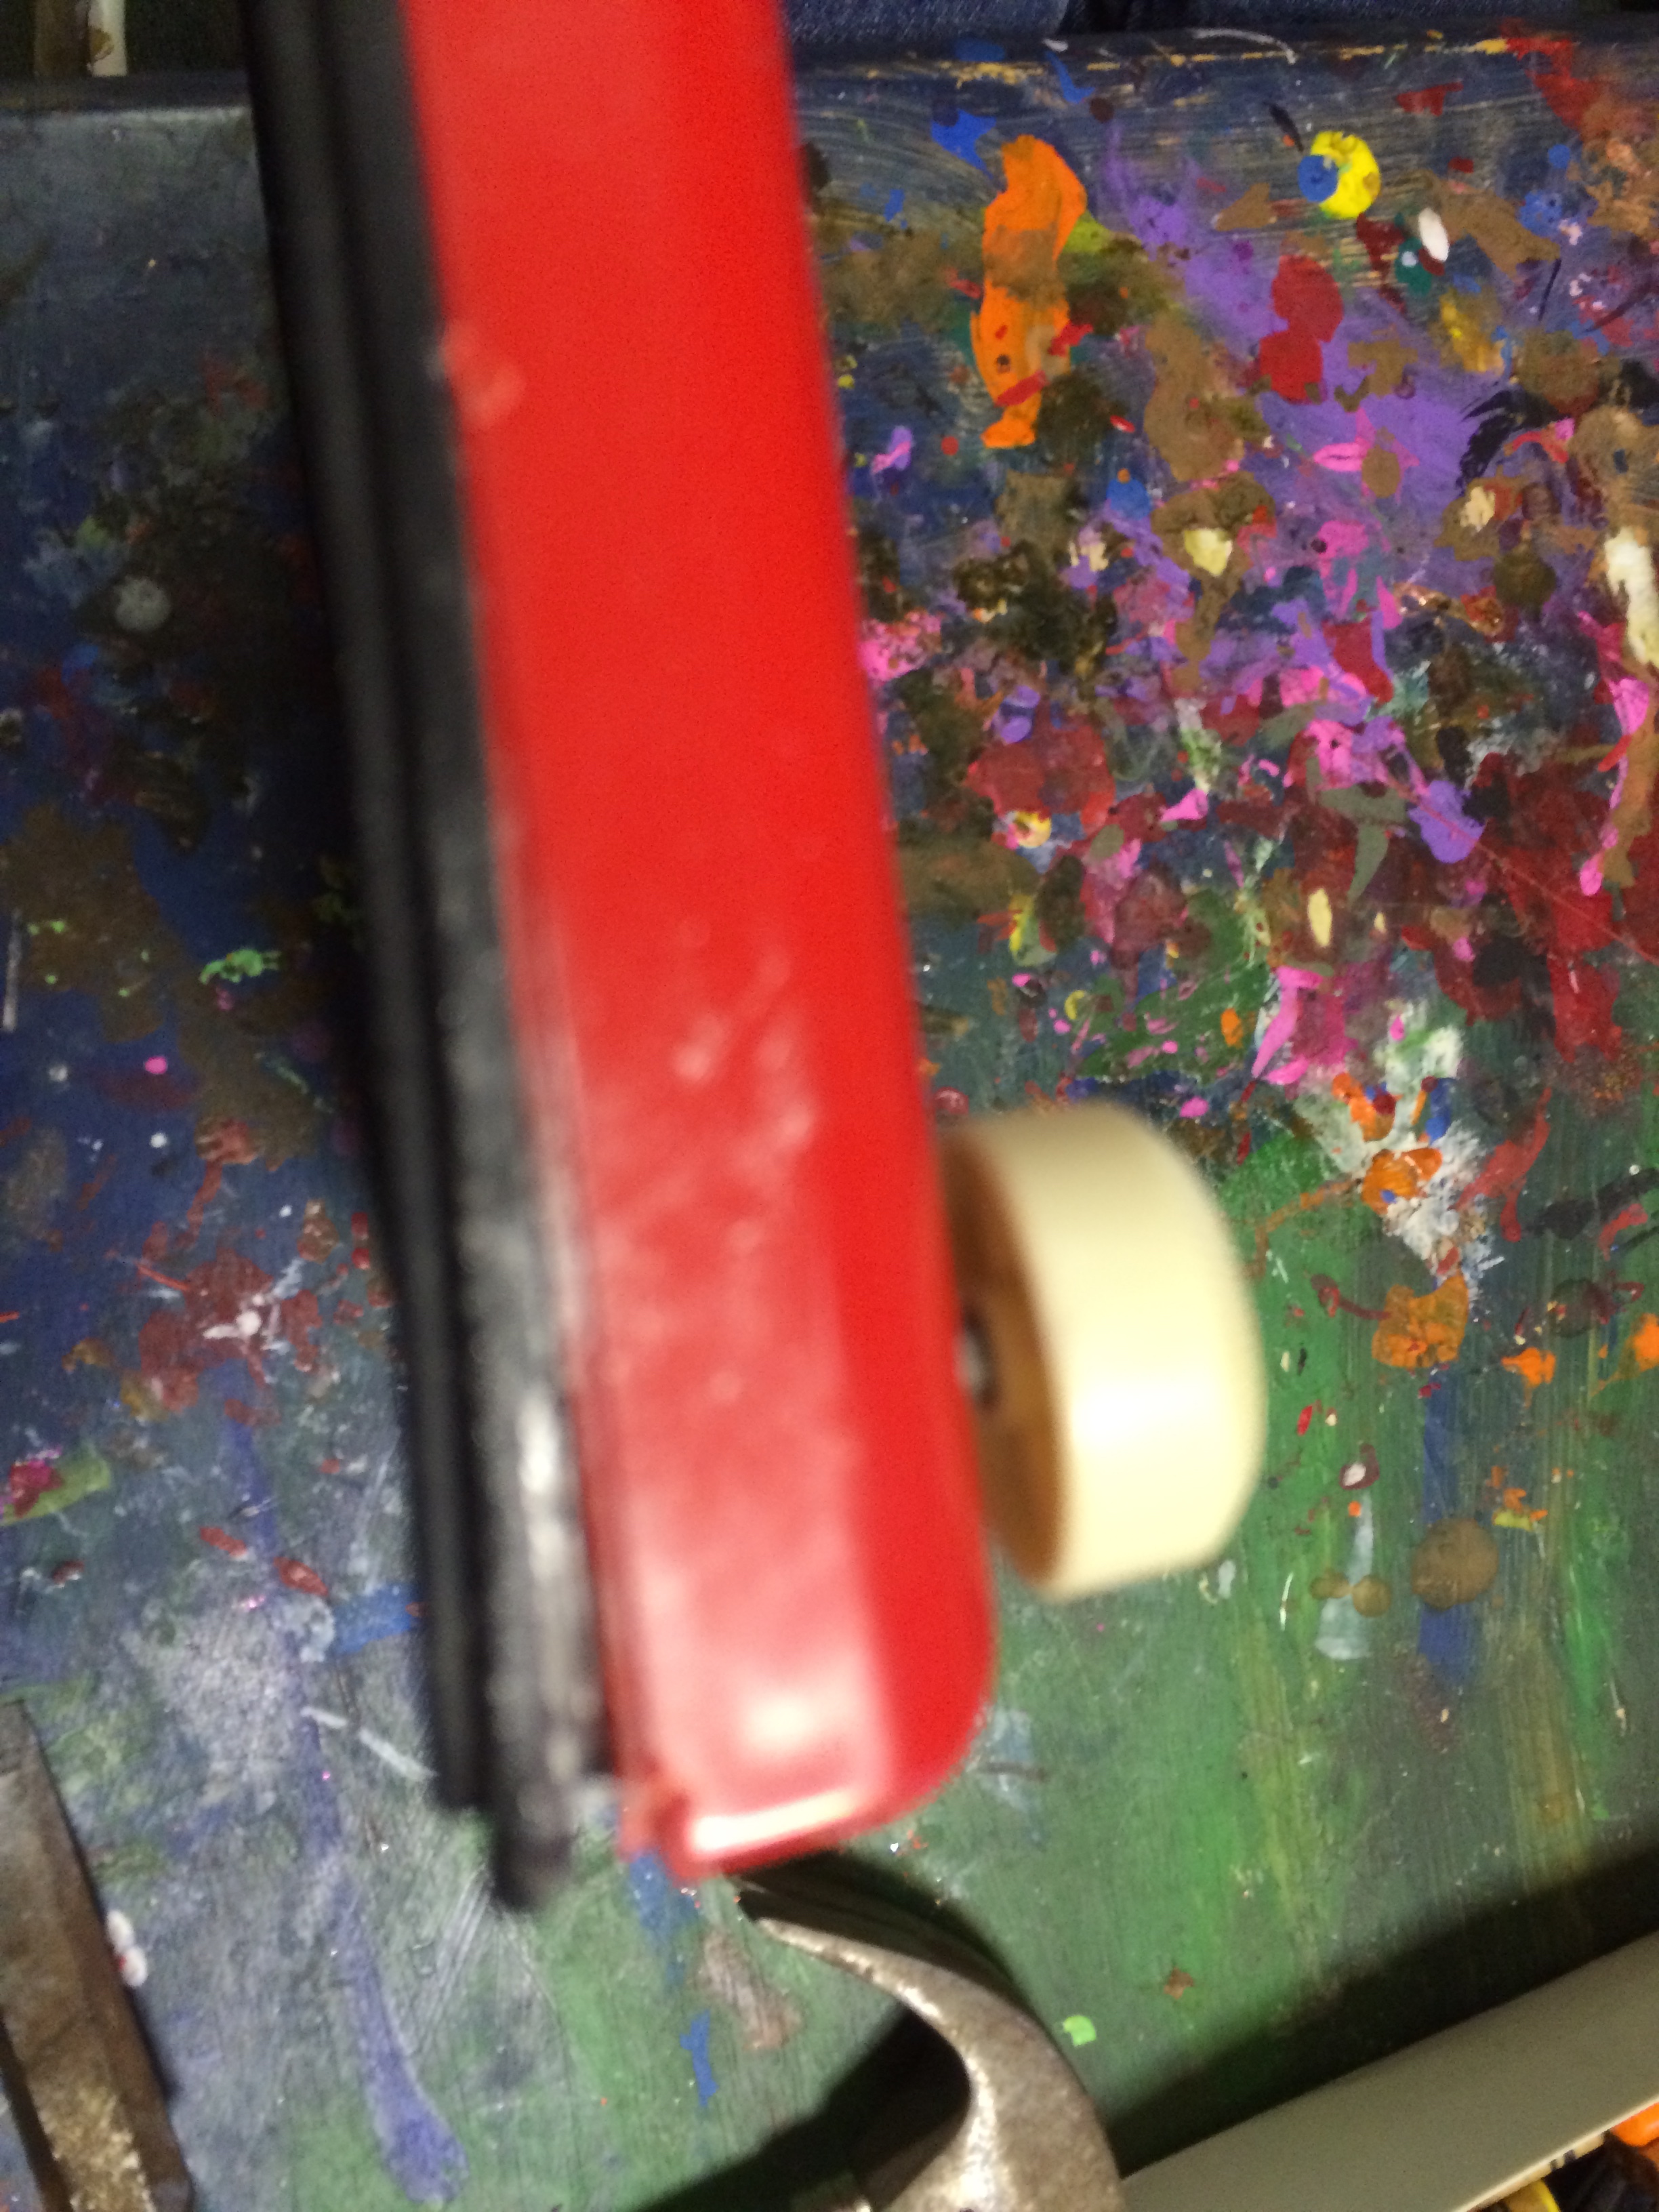
Inside, and spilling onto our arts and crafts table, we found a super-fine aluminum powder, and the clever string and pulley system that controls the stylus.
Tip2: Be prepared for a huge mess, if you take this on. The powder gets everywhere, coating surfaces like paint. But it all cleans up relatively easily, so don’t be discouraged.
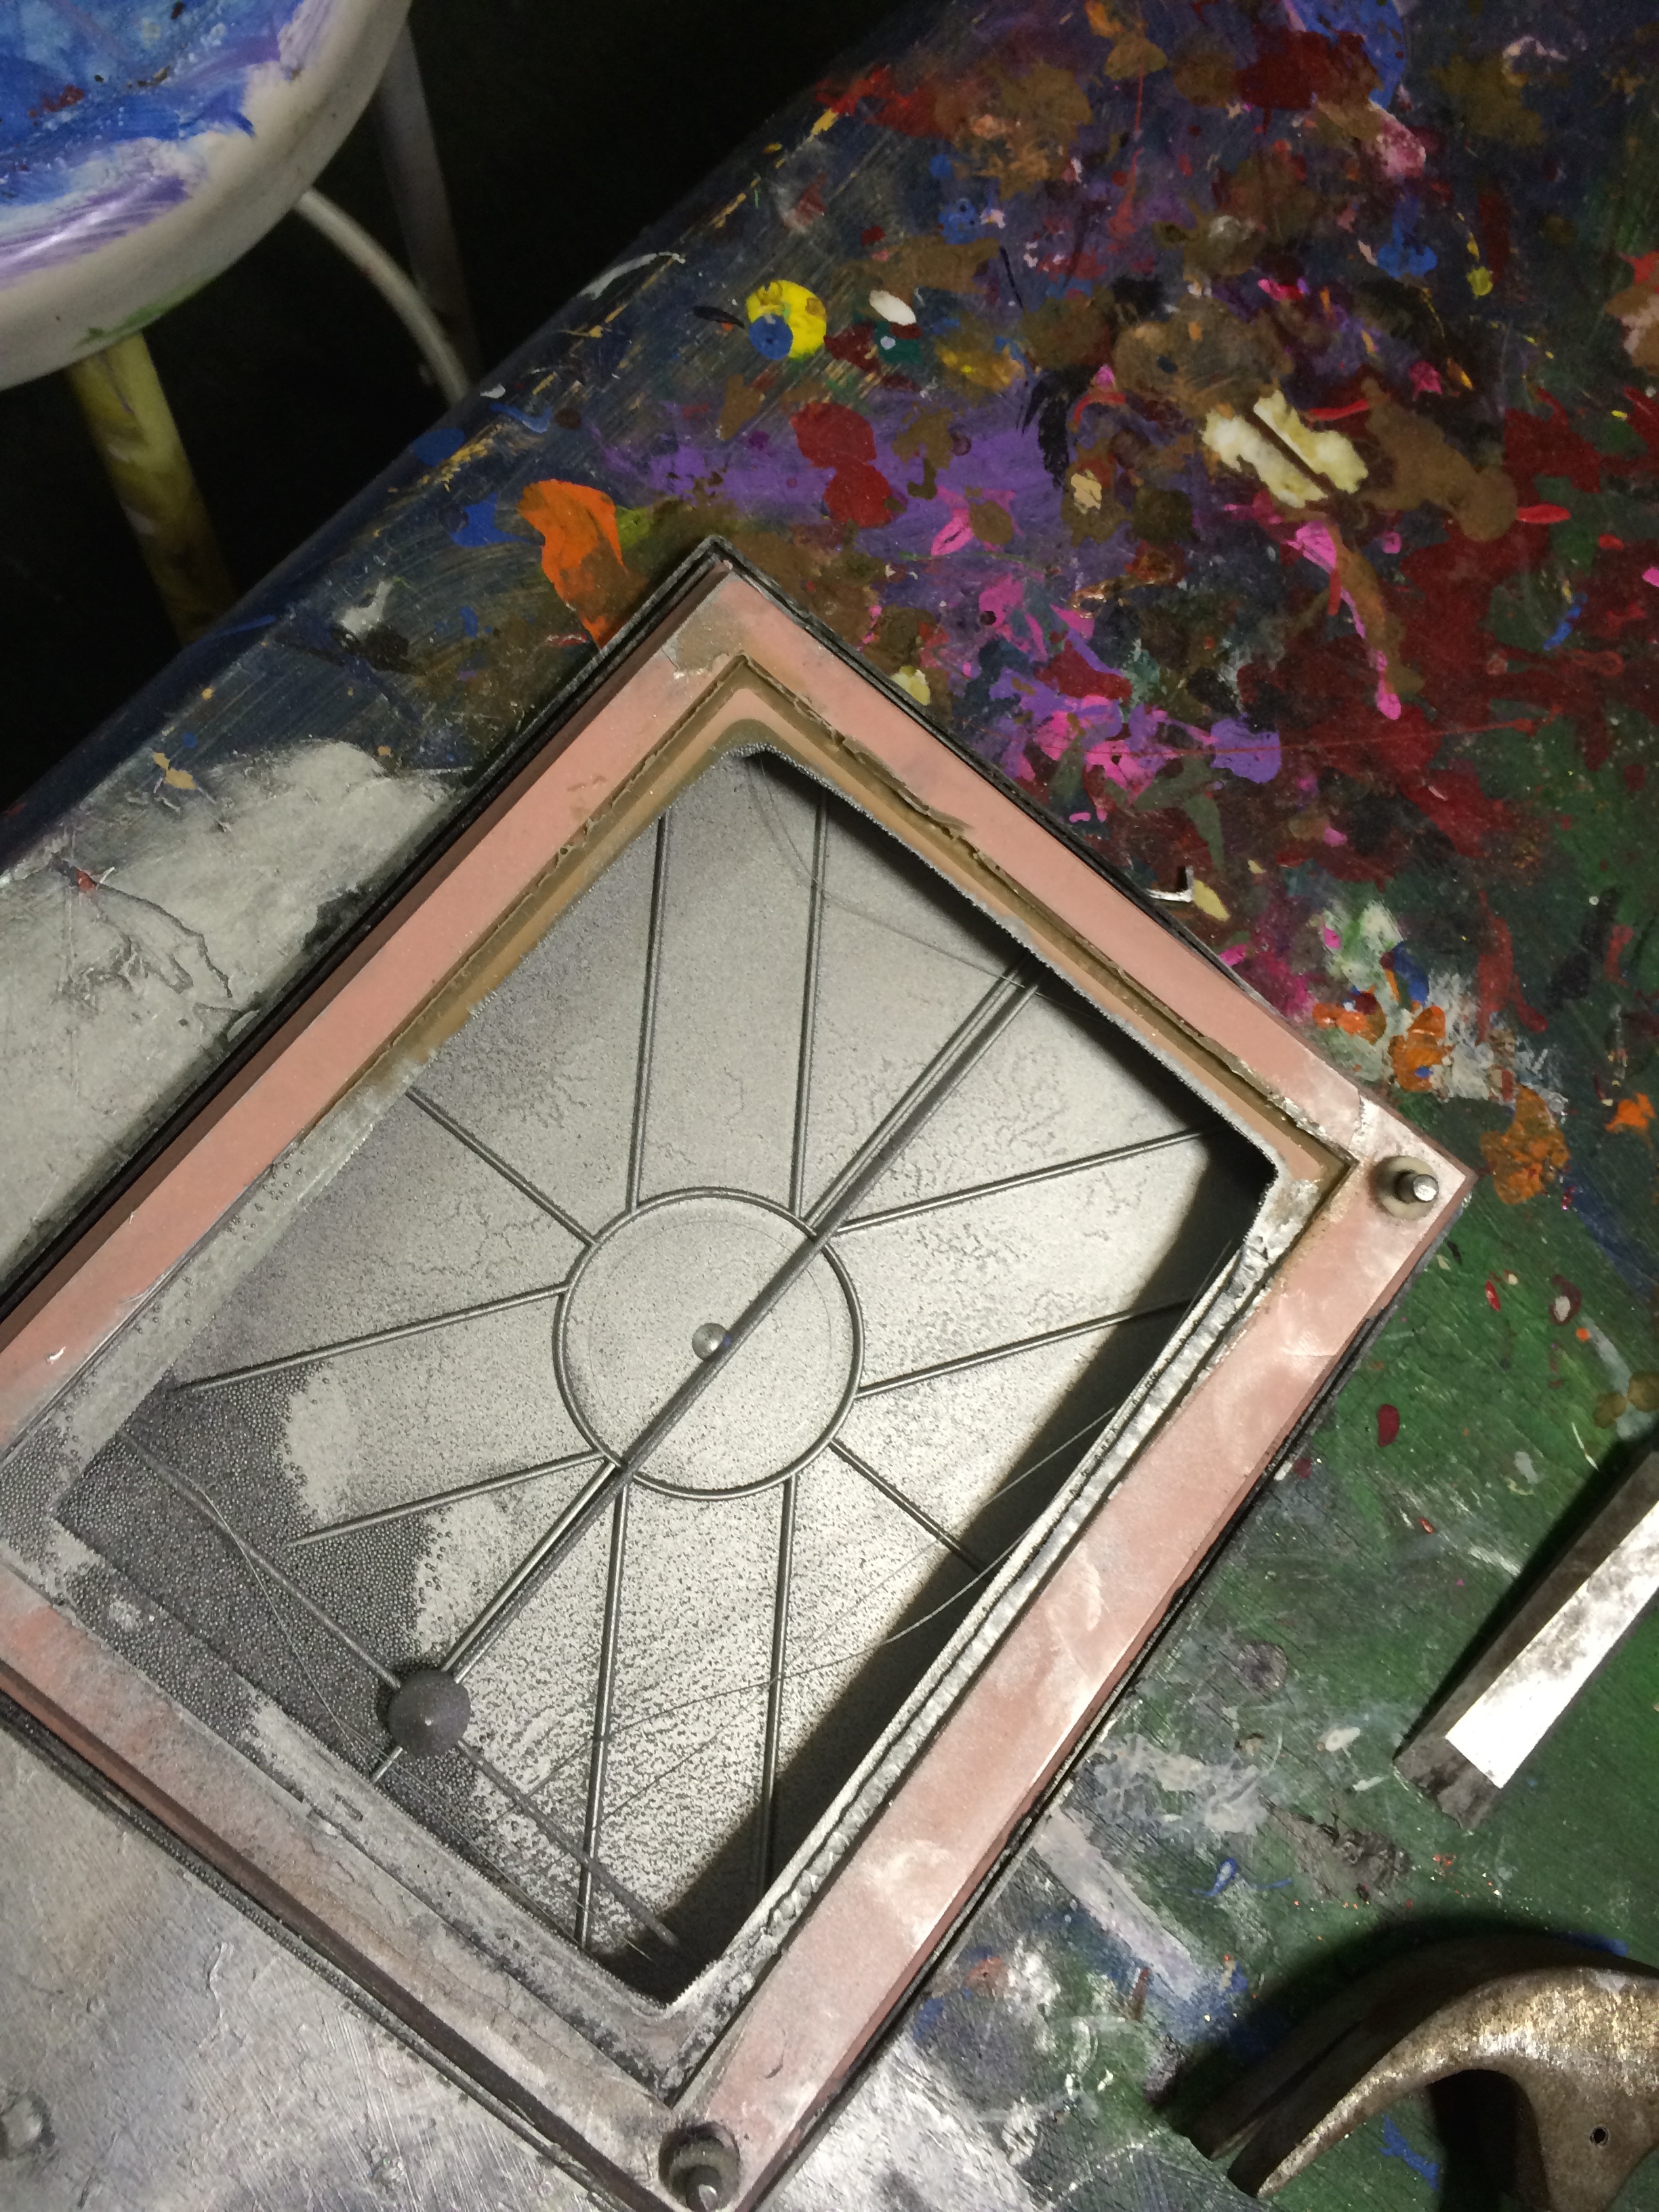 Seeing how the Etch-A-Sketch works was a lot of fun, and well worth the effort. We’d wondered for years what was inside, and had to satisfy ourselves with a vague: “some sort of powder or sand.” Now we know what the powder is and how the mechanism functions. We weren’t able to fix the toy, but we had lot of fun figuring out how it works!
Category Homeschool | Tags: Creativity,homeschool,Learning,Science,unplugged | Comments Off on Journey To The Center Of The Etch-A-Sketch
February 18, 2015 by admin
![]() Why is it that Michaels craft store is so easy to overlook? It is not a part of our heavy store rotation – like Target. But every time we visit Michaels, we question why we don’t frequent it more often.
Why is it that Michaels craft store is so easy to overlook? It is not a part of our heavy store rotation – like Target. But every time we visit Michaels, we question why we don’t frequent it more often.
Bluey loves a crafty or tinkering activity. And if you can catch Plum at the right time, she’ll eagerly join in the fun. Michaels offers a fantastic selection of craft and building model kits, as well as lego knock offs, and a line of construction sets.
If you join Michaels mailing list, download their store app, or simply google your nearest location – you can enjoy 40% off any regular priced item. This readily available coupon brings a large amount of products well under $10. More often than not, you can also find coupons for about 20% off an entire purchase. And Michaels after holiday clearance sales are fantastic!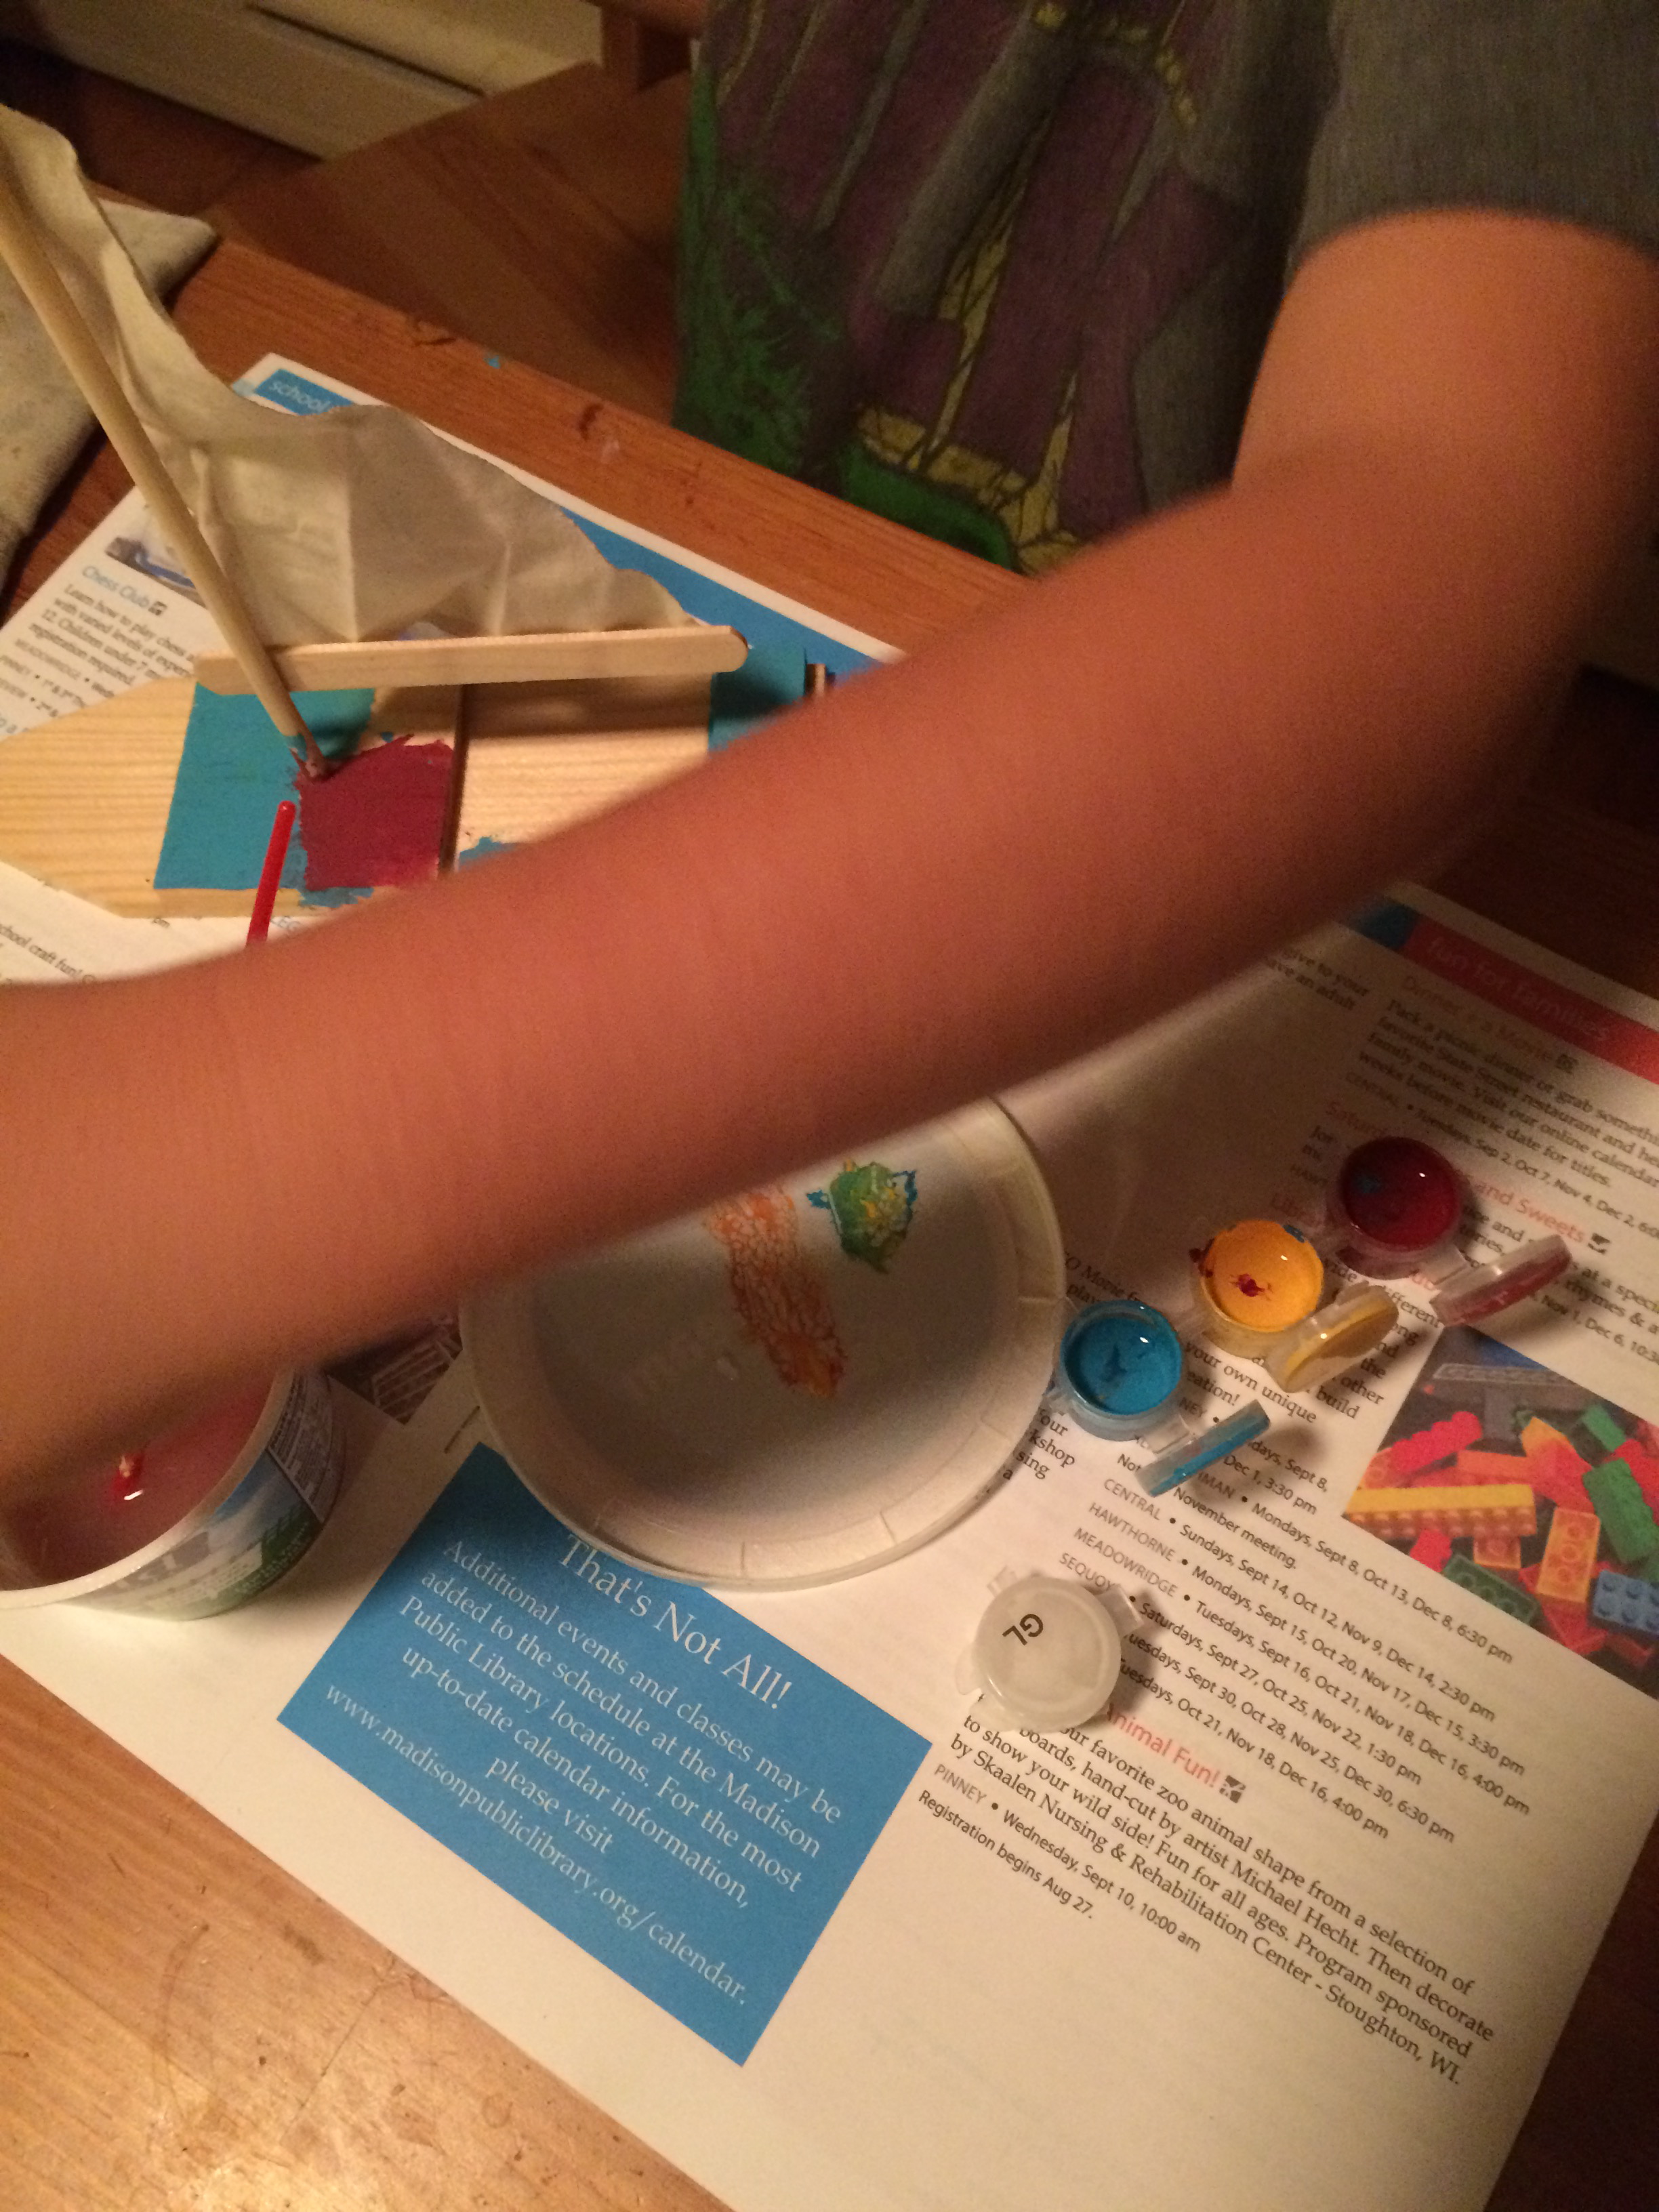
Tip1: Be prepared to wait in line upon checking out. We don’t know why, but all Michaels seem to have a real problem ushering their guests through check out in a timely manner.
We understand that Michaels also offers a Kids club that allows you to sign up your children (3 years of age or older) for a 30 minute craft for around $2. And they also have a spattering of adult classes throughout the month. We haven’t explored these offerings yet. But they sound fun.
Tip2: You aren’t just limited to kits! Michaels has plenty of other low price point items for your family fun time. Consider getting a plain wooden box to decorate into a container for treasures. Or pick up a plain t-shirt and some fabric paint for some fashion design time.
Rather than purchasing yet another generic toy on a trip to Target, why not visit Michaels and get something that will challenge your child, encourage family time, cooperation, and creativity, as well as result in a unique finished product?
We’re already excitedly talking about our next trip for another car model kit!
Category Rambler Ramblings | Tags: Art,Creativity,family,kids,simple solutions,togetherness,unplugged | Comments Off on Don’t Miss Out On Michaels!
February 4, 2015 by admin
 Valentine’s Day is quickly approaching and our Bluey is very excited. We don’t really go out of our way for this holiday. But when our kids are jazzed about something in particular, we like to support their enthusiasm.
Bluey is determined to create Valentine’s cards and to decorate for February 14th. But unlike our stock of Christmas and Halloween supplies, we don’t have a lot of love themed, sparkly heart stuff. So we decided that we’d try to make most of our Valentine’s Day stuff from scratch.
This fun project combines Bluey’s desire to make Valentine’s decorations and his love of science!
Tip1: Even though we made these decorations for Valentine’s Day, you can have fun creating them for any holiday or event! Think of snowflake or star structures, to name just a few variations.
Shimmery Shapes (adult supervision required):
3 cups boiling water
½ cup Borax
Pipe Cleaners
Ribbon or String
Popsicle sticks or pencils (something stable that can extend over the lid of your container while supporting minimal weight)
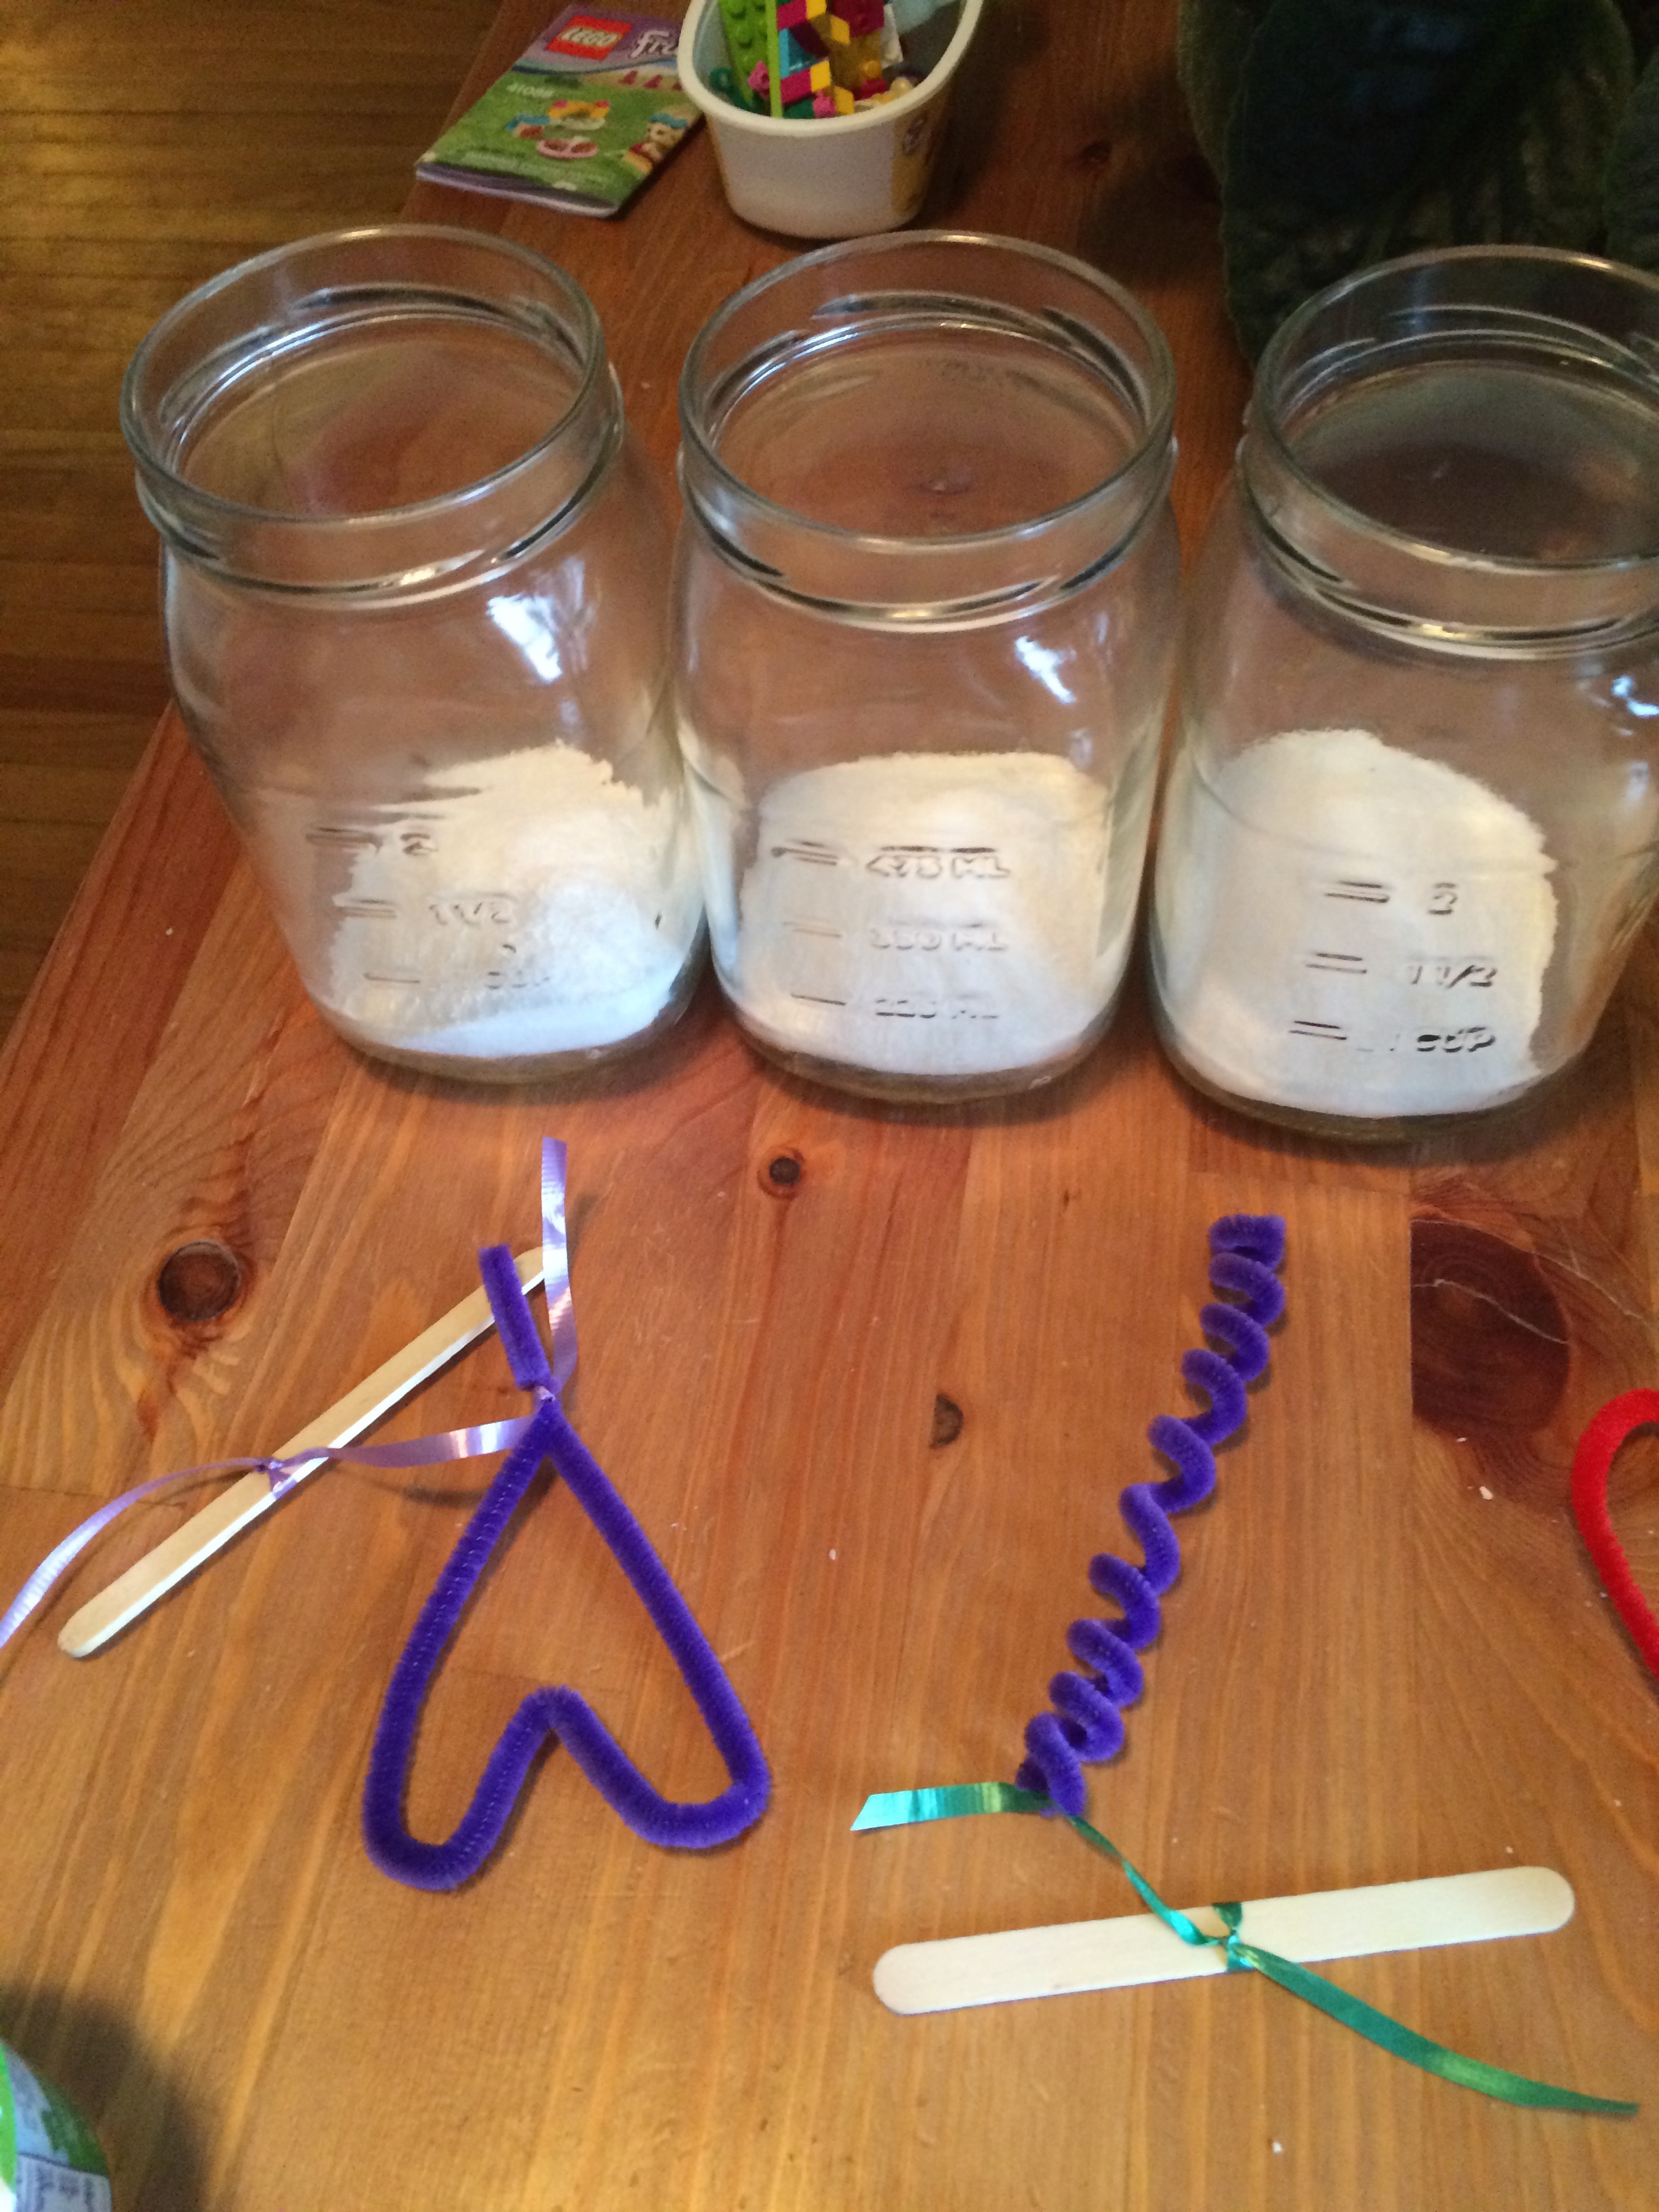 Manipulate your pipe cleaners into any desired shape.
Tie one end of a string to your shape and then attach the other end of the string to the center of a popsicle stick.
Add Borax and boiling water to a mason jar or other heat proof clear container. You want to utilize a container that you can see through as part of the fun of this project is witnessing the crystallization.
Mix the borax and water if necessary. A lot of the borax will settle to the bottom of the jar and that is okay.
Place your shape into the hot mixture and secure with the stick lying across the jar’s opening.
Leave undisturbed for at least 8 hours.
Tip2: You can create colored crystals by adding food coloring to the mixture before you hang your shapes.
This experiment/craft project gave us a chance to talk about crystals and how they are formed. The boiling water holds more Borax than cold water would. As the mixture cools, it can’t hold as much Borax. As the Borax molecules group together, they form these beautiful crystals. It’s related to what happens when it snows: warm clouds of water vapor get cooled, and become supersaturated. The water molecules group together and make snowflakes!
Tip3: Once your shape has crystalized, you may have to chip away at the bottom or the sides to release it from the container. And to clean your jars, you may have to add hot water to the hardened borax that has settled to the bottom.
We hope that you enjoy your shimmery shapes as much as our family. We plan to add some to home decorating and the rest will be gifted during Valentine card deliveries.
Category Get Crafty! | Tags: Art,Creativity,Holidays,kids,Science | Comments Off on Crafting And Science
January 4, 2015 by admin
 We love creating around here. We are constantly building new things, working on new projects, and talking about what we’ll make next. And we understand fully that pure creation doesn’t always follow a clearly marked path. It’s unpredictable and we like that about it.
Yet we also find that an environment too chaotic can hinder creativity. It’s hard to focus when everything is messy. And it can stop experimentation in its tracks.
“Where did we put the baking soda and scrap cardboard?”
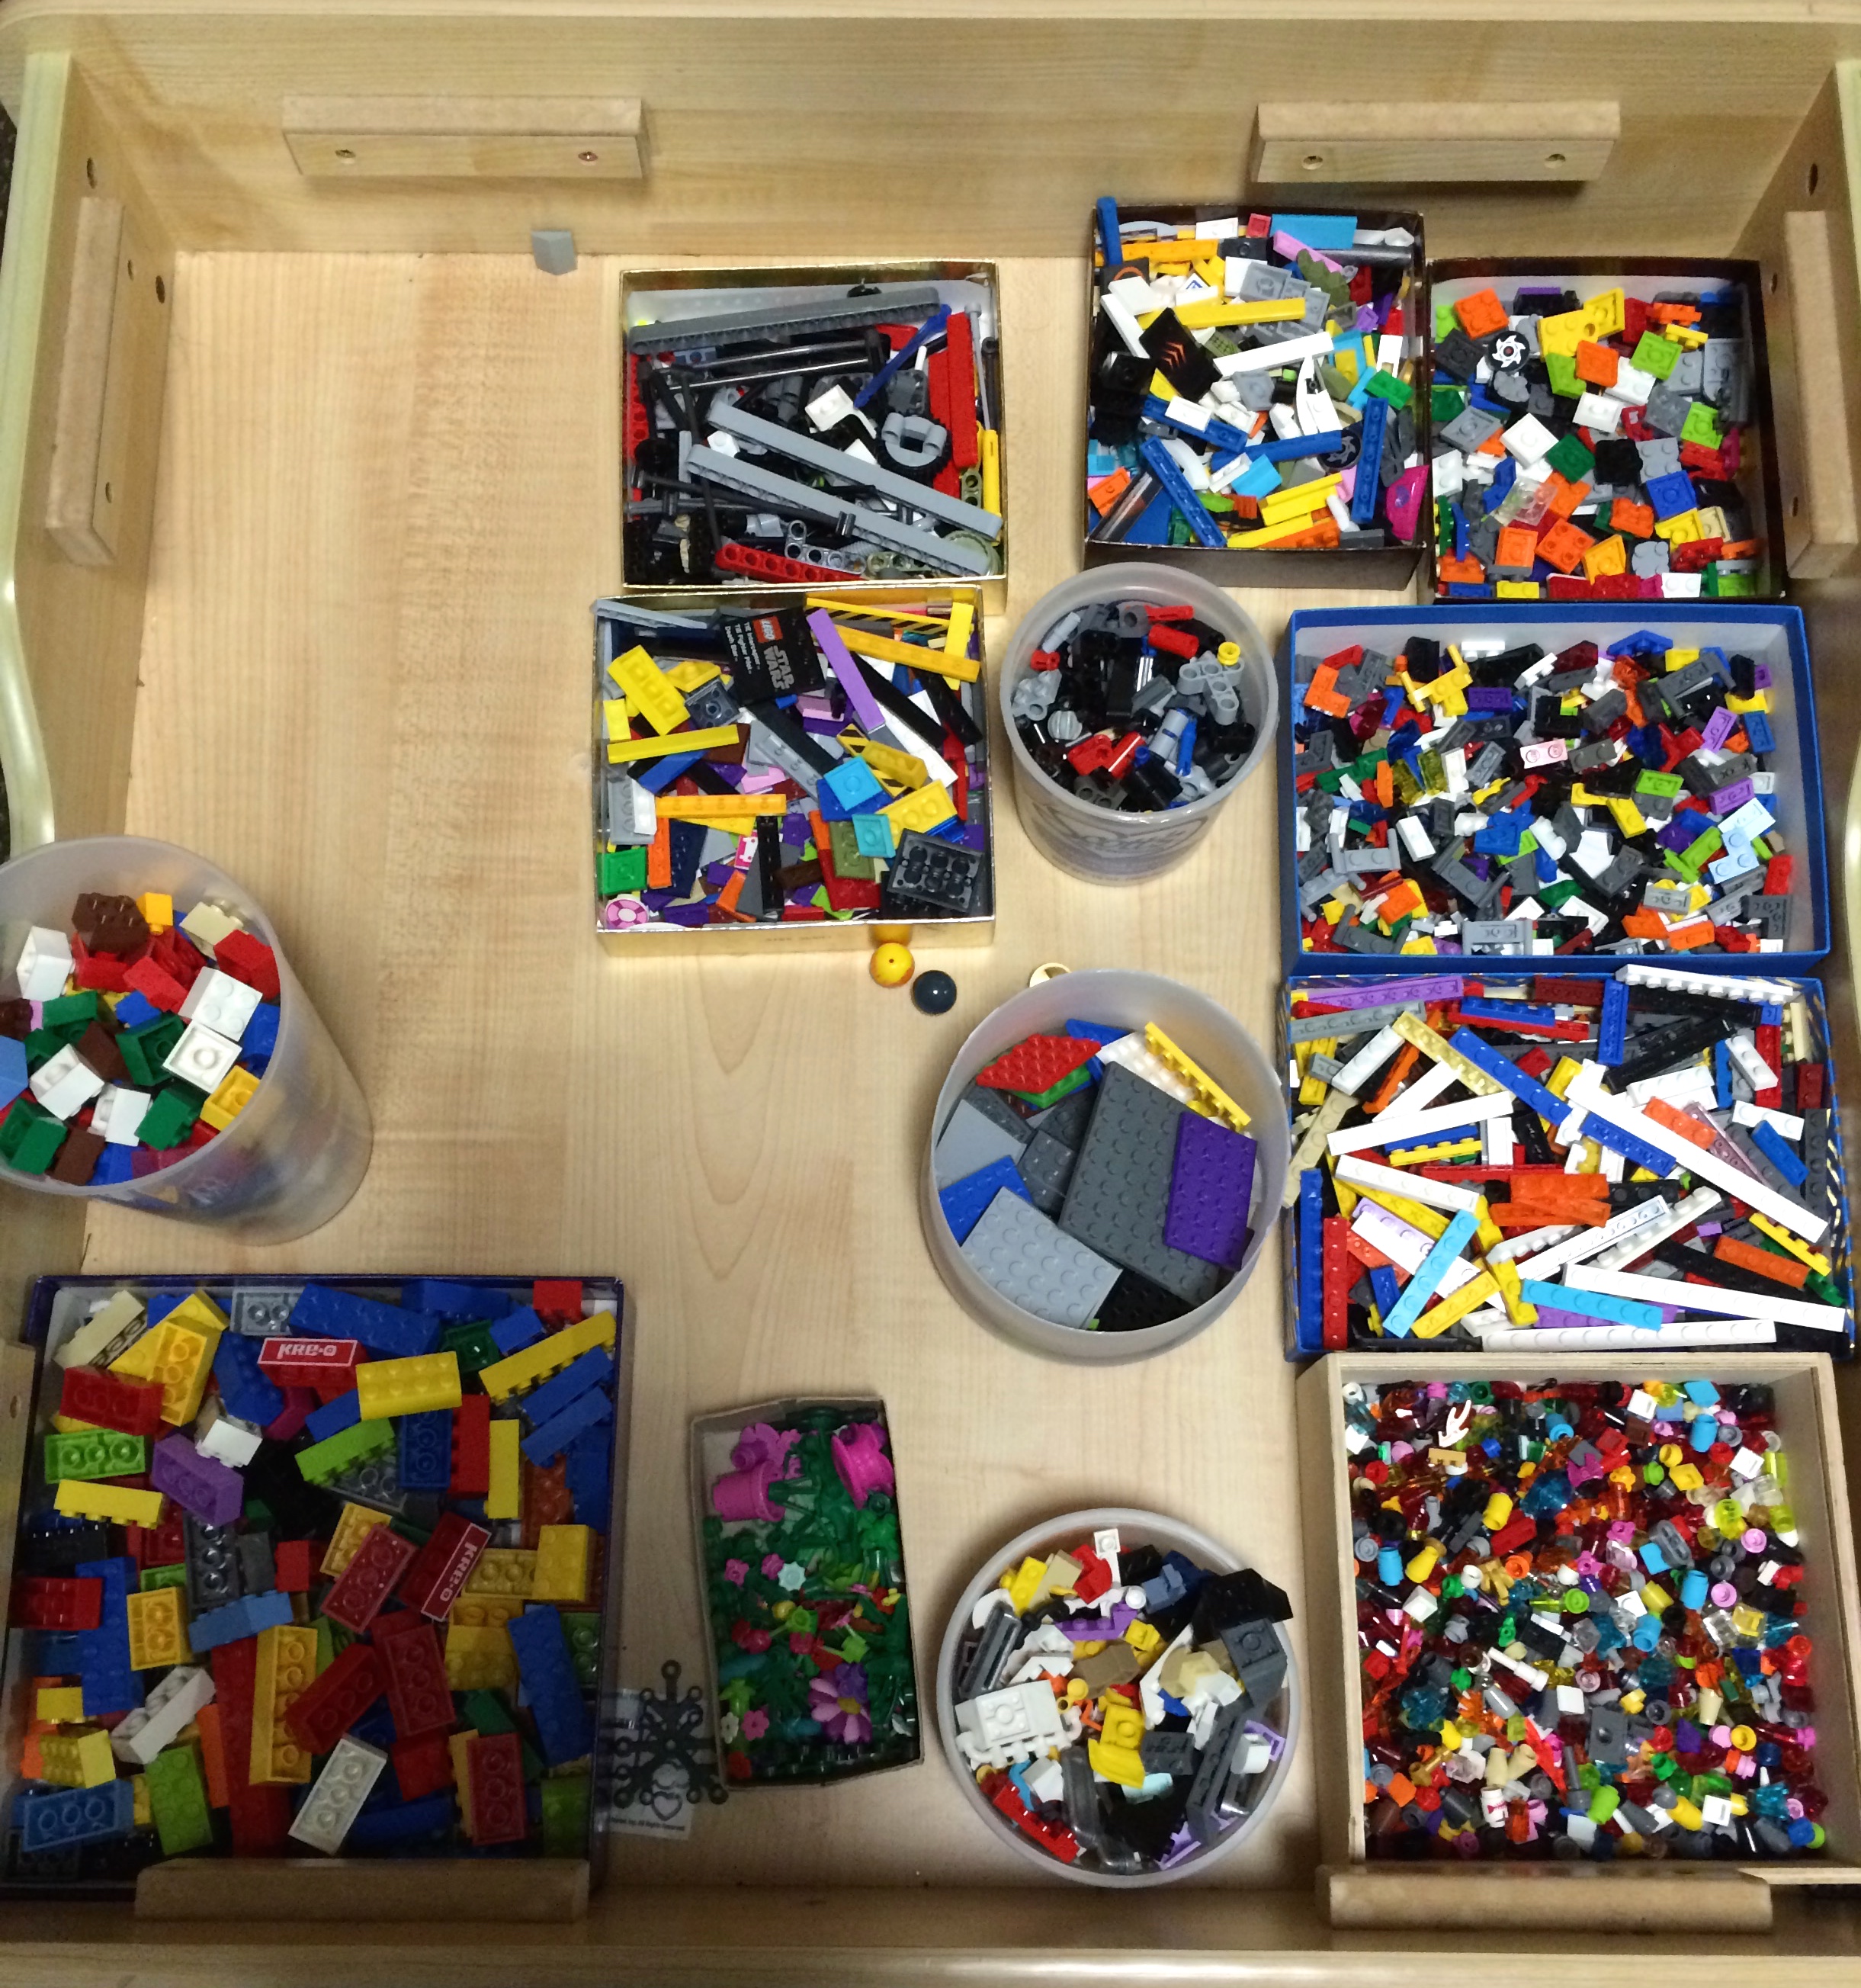
So when our (ever-growing) collection of Legos got a bit out of control, we spent some time trying to figure out the best solution. Our play had been hindered by constantly digging through a big vat of bricks to find the one needed piece.
Our first try was to sort by color. We divided our Lego table into six or so sections, each one filled with a color, or related group of colors. This was a step in the right direction. We saw immediately that it helped a little- to have a smaller amount of pieces to sort through when trying to finish a build.
But it didn’t really work right. For one thing, Legos come in so many colors, we quickly ran into questions about which section certain colors went. But more importantly, we found that when building and trying to complete a particular project it was more important to find the right SHAPED piece, rather than the right COLOR. It was too difficult to find a tiny 2×1 flat piece buried at the bottom of the entire spectrum of red section. It’s much simpler to find a 2×1 red piece in a bin full of 2×1 flat pieces.
So we reset our table with a series of smaller bins to hold different shaped pieces: 2×2 bricks here, long flat pieces there, windows and doors in a section all together.
It works great!
We find now that creativity is flowing strong at the Lego table. When we think about the Legos based on shapes, it is easier to see how they might all fit together. And easier to build say, a trap door by sorting through the different hinge options in the hinge bin and finding what works, than sorting through a huge mass of pieces, hoping to randomly stumble upon one that works.
Bring some order to your Lego collection and watch the creative juices flow!
Category Get Crafty! | Tags: Art,Creativity,kids,simple solutions,unplugged | Comments Off on Organizing For Creativity
December 31, 2014 by admin
 As we welcome in 2015, we at ThriftyRambler wanted to take a few moments to reflect on 2014. Here are some of our favorite posts of the year:
http://www.thriftyrambler.com/2014/12/21/the-macgyver-solution/
http://www.thriftyrambler.com/2014/11/02/the-joy-of-listening/
http://www.thriftyrambler.com/2014/10/22/gender-frustration/
http://www.thriftyrambler.com/2014/08/29/begin-the-vegan/
http://www.thriftyrambler.com/2014/05/28/lego-to-go/
http://www.thriftyrambler.com/2014/05/23/tree-lover/
http://www.thriftyrambler.com/2014/02/14/winter-biking/
http://www.thriftyrambler.com/2014/01/01/knowing-your-ingredients/
http://www.thriftyrambler.com/the-thriftyrambler-kindness-project/ (launched in 2013 but continues throughout the years!)
http://www.thriftyrambler.com/2014/11/07/chili-with-tvp/
We are thrilled interact with all of our readers and we thank you for being a part of this homegrown project. We are excited to see what the coming year has in store for all of us! We encourage you to continue to reach out to us with ideas or comments.
Wishing all of you a peaceful, loving and prosperous 2015.
Category Rambler Ramblings | Tags: Animals,Community,Creativity,family,good eats,kindness,Learning,unplugged,vegan | Comments Off on Best of 2014
December 21, 2014 by admin
 As new hermit crab owners, we’ve been preoccupied with making sure our little friends are happy and comfortable.
Maintaining the preferred level of humidity in their sandy crabitat is one piece that has proved difficult for us.
We tried various ideas from misting the tank regularly, to making sure the sand was well moistened. Nothing seemed the right solution for keeping the humidity steady. And to the extent any of our methods helped, they all required a very hands-on, all day approach. What if we went away on a day trip? Surely, there just had to be an easier way.
So we started shopping for alternatives. When we saw the prices for crab tank humidifiers, we balked. After all we have already invested in our crustacean friends, there had to be a more affordable option.
We returned to our YouTube sources and saw various ideas for ways you could make your own humidifier for much less than any store brought option. So we took on this DIY task.
Building our own humidifier turned out to be quick, easy and only a few dollars investment.
Supplies:
Fish tank air pump
Length of air pump tubing
Air Stone
Plastic Bicycle Water Bottle
Glue Gun
Wire Cutters
Technique:
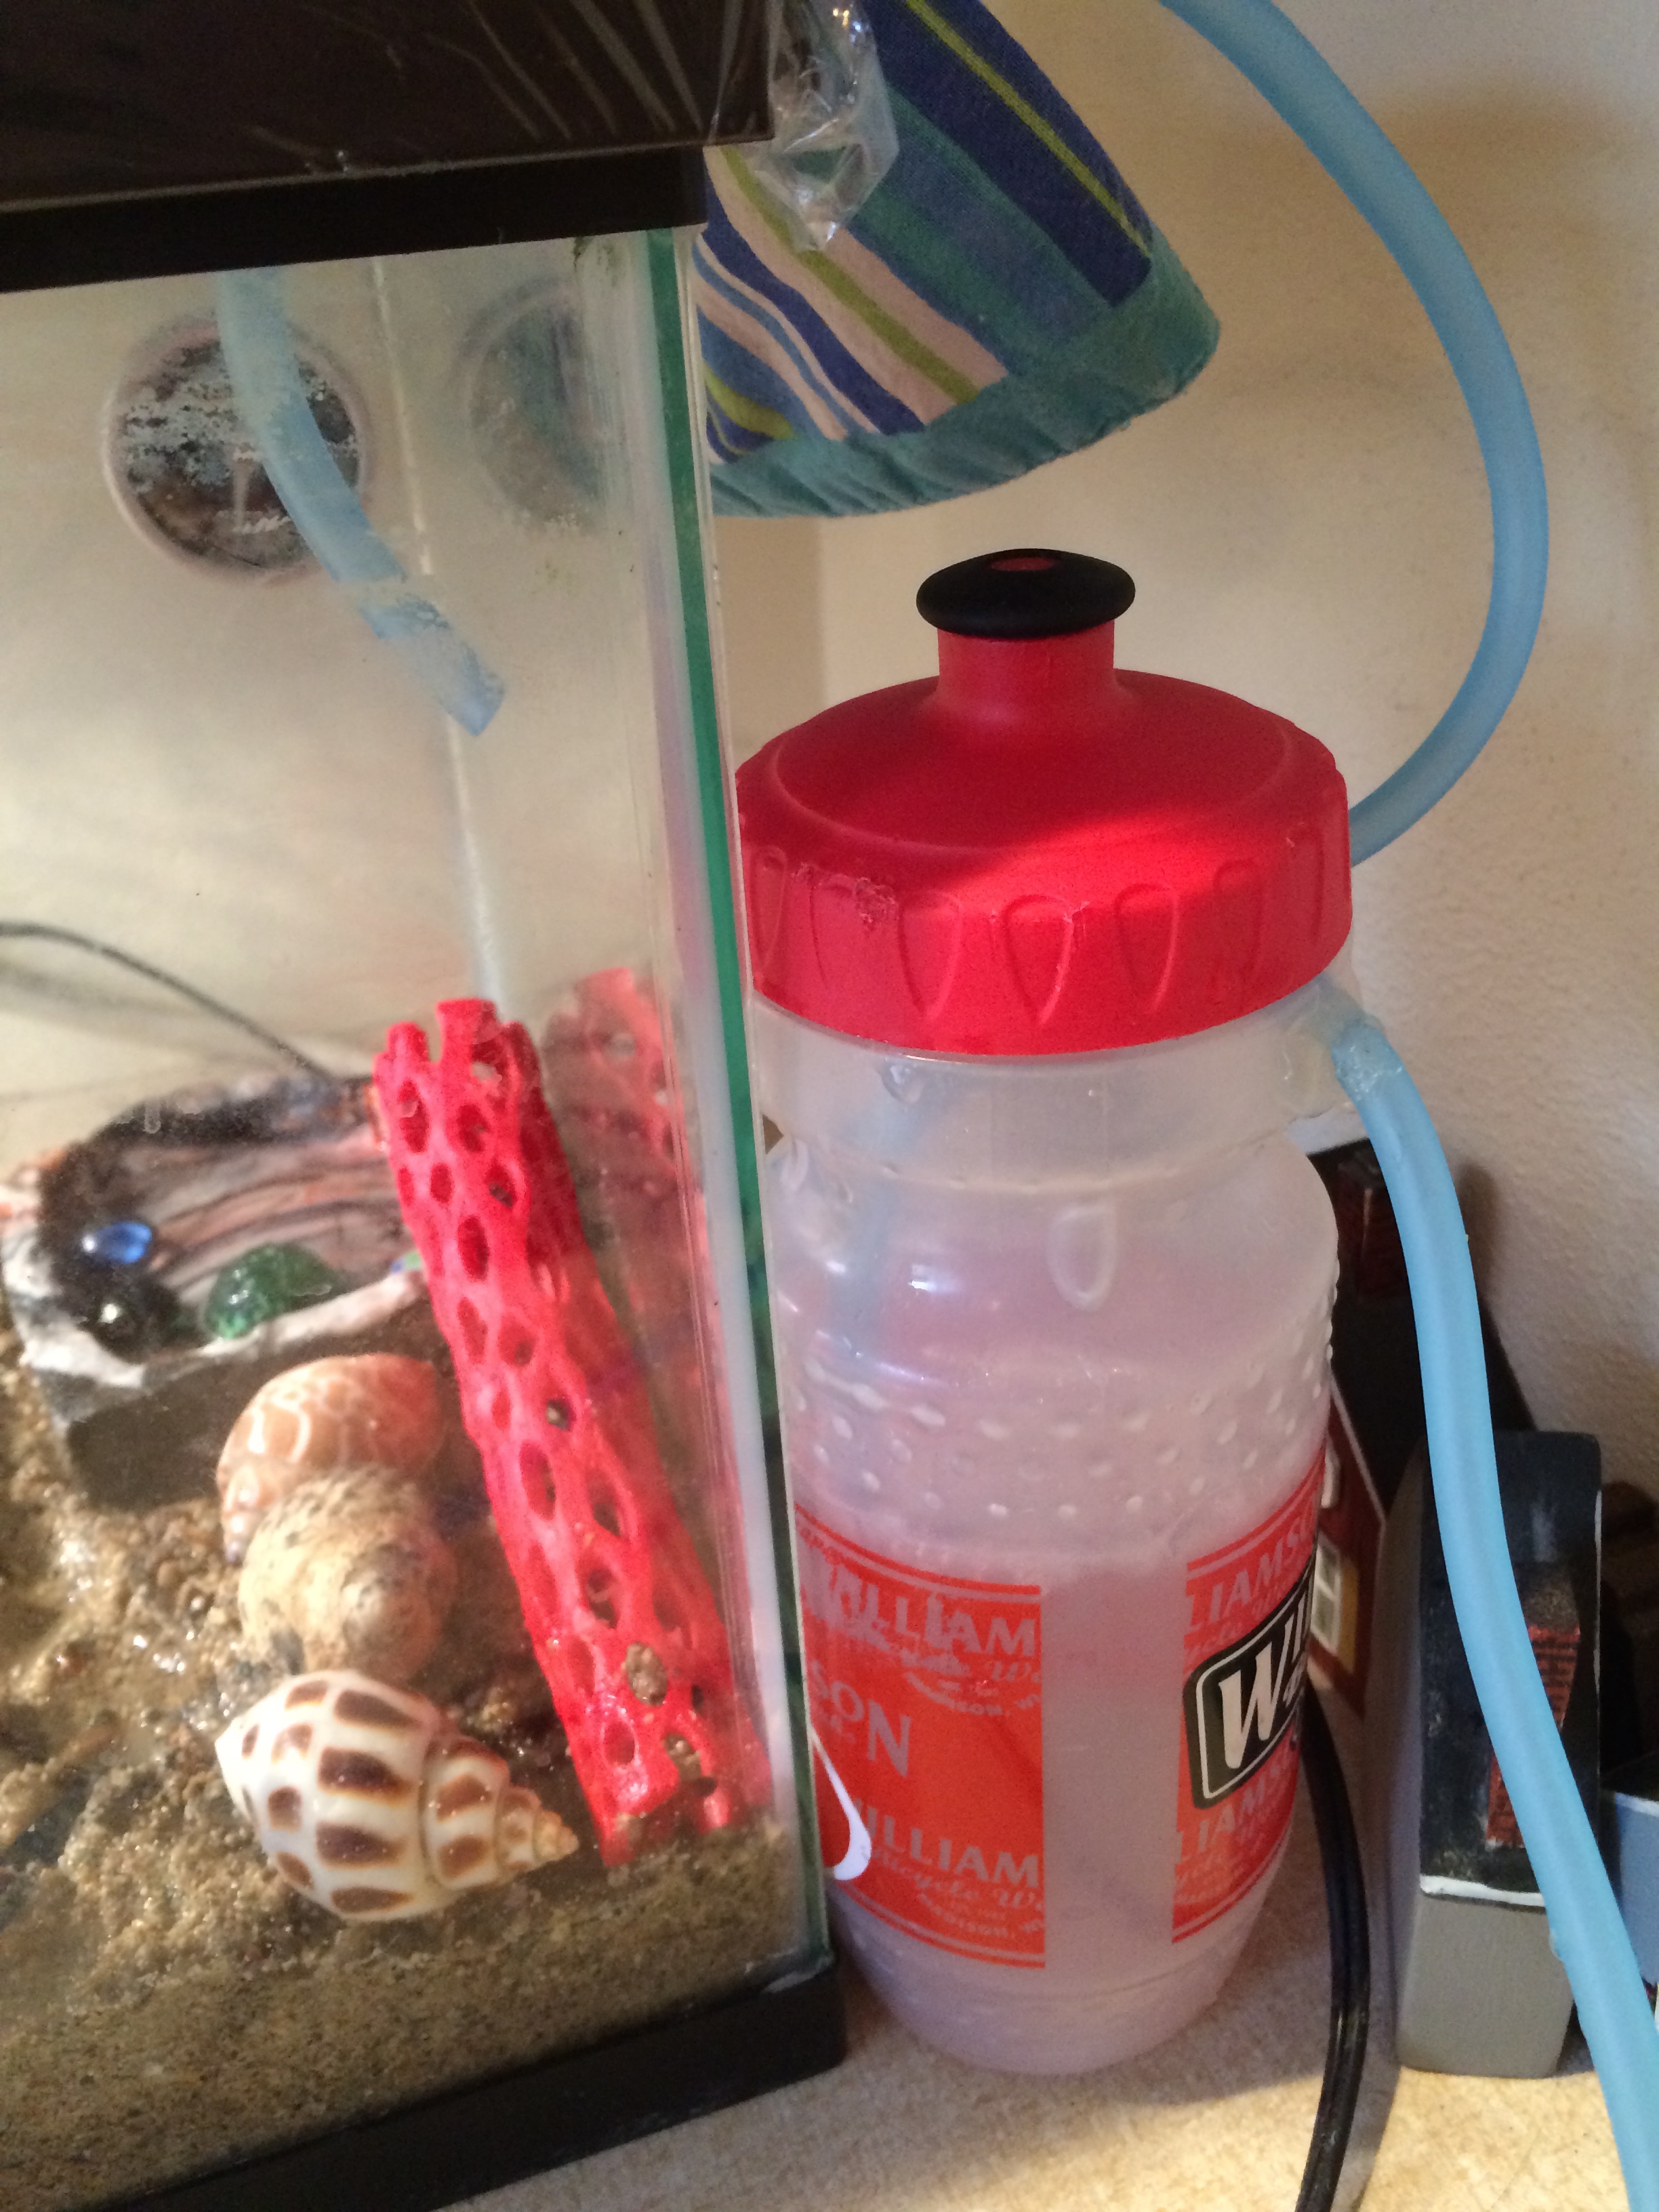
We first used a screwdriver to punch two small holes in the top side of the water bottle. We placed these holes just under the rim of the lid. This way, refilling the bottle wouldn’t require disassembling the whole system.
Next we cut a length of tube to go from the pump to the bottom of the bottle. We attached the air stone to this tube.
Another tube went from the top of the bottle, up into the tank. We used wire cutters to cut through the wire mesh removable top of the crabitat, just enough to let the tub fit through.
We used a glue gun to seal the the tubes at the edge of the bike bottle.
Then, all we had to do was wait for the glue to dry, and put some water in the bottle.
How It Works:
The air stone creates bubbles, which rise to the top of the water, creating super-humid air at the top of the bottle. The second hose then leads this humid air to the tank. Presto! A nice, humidity boost to the air of the crabitat.
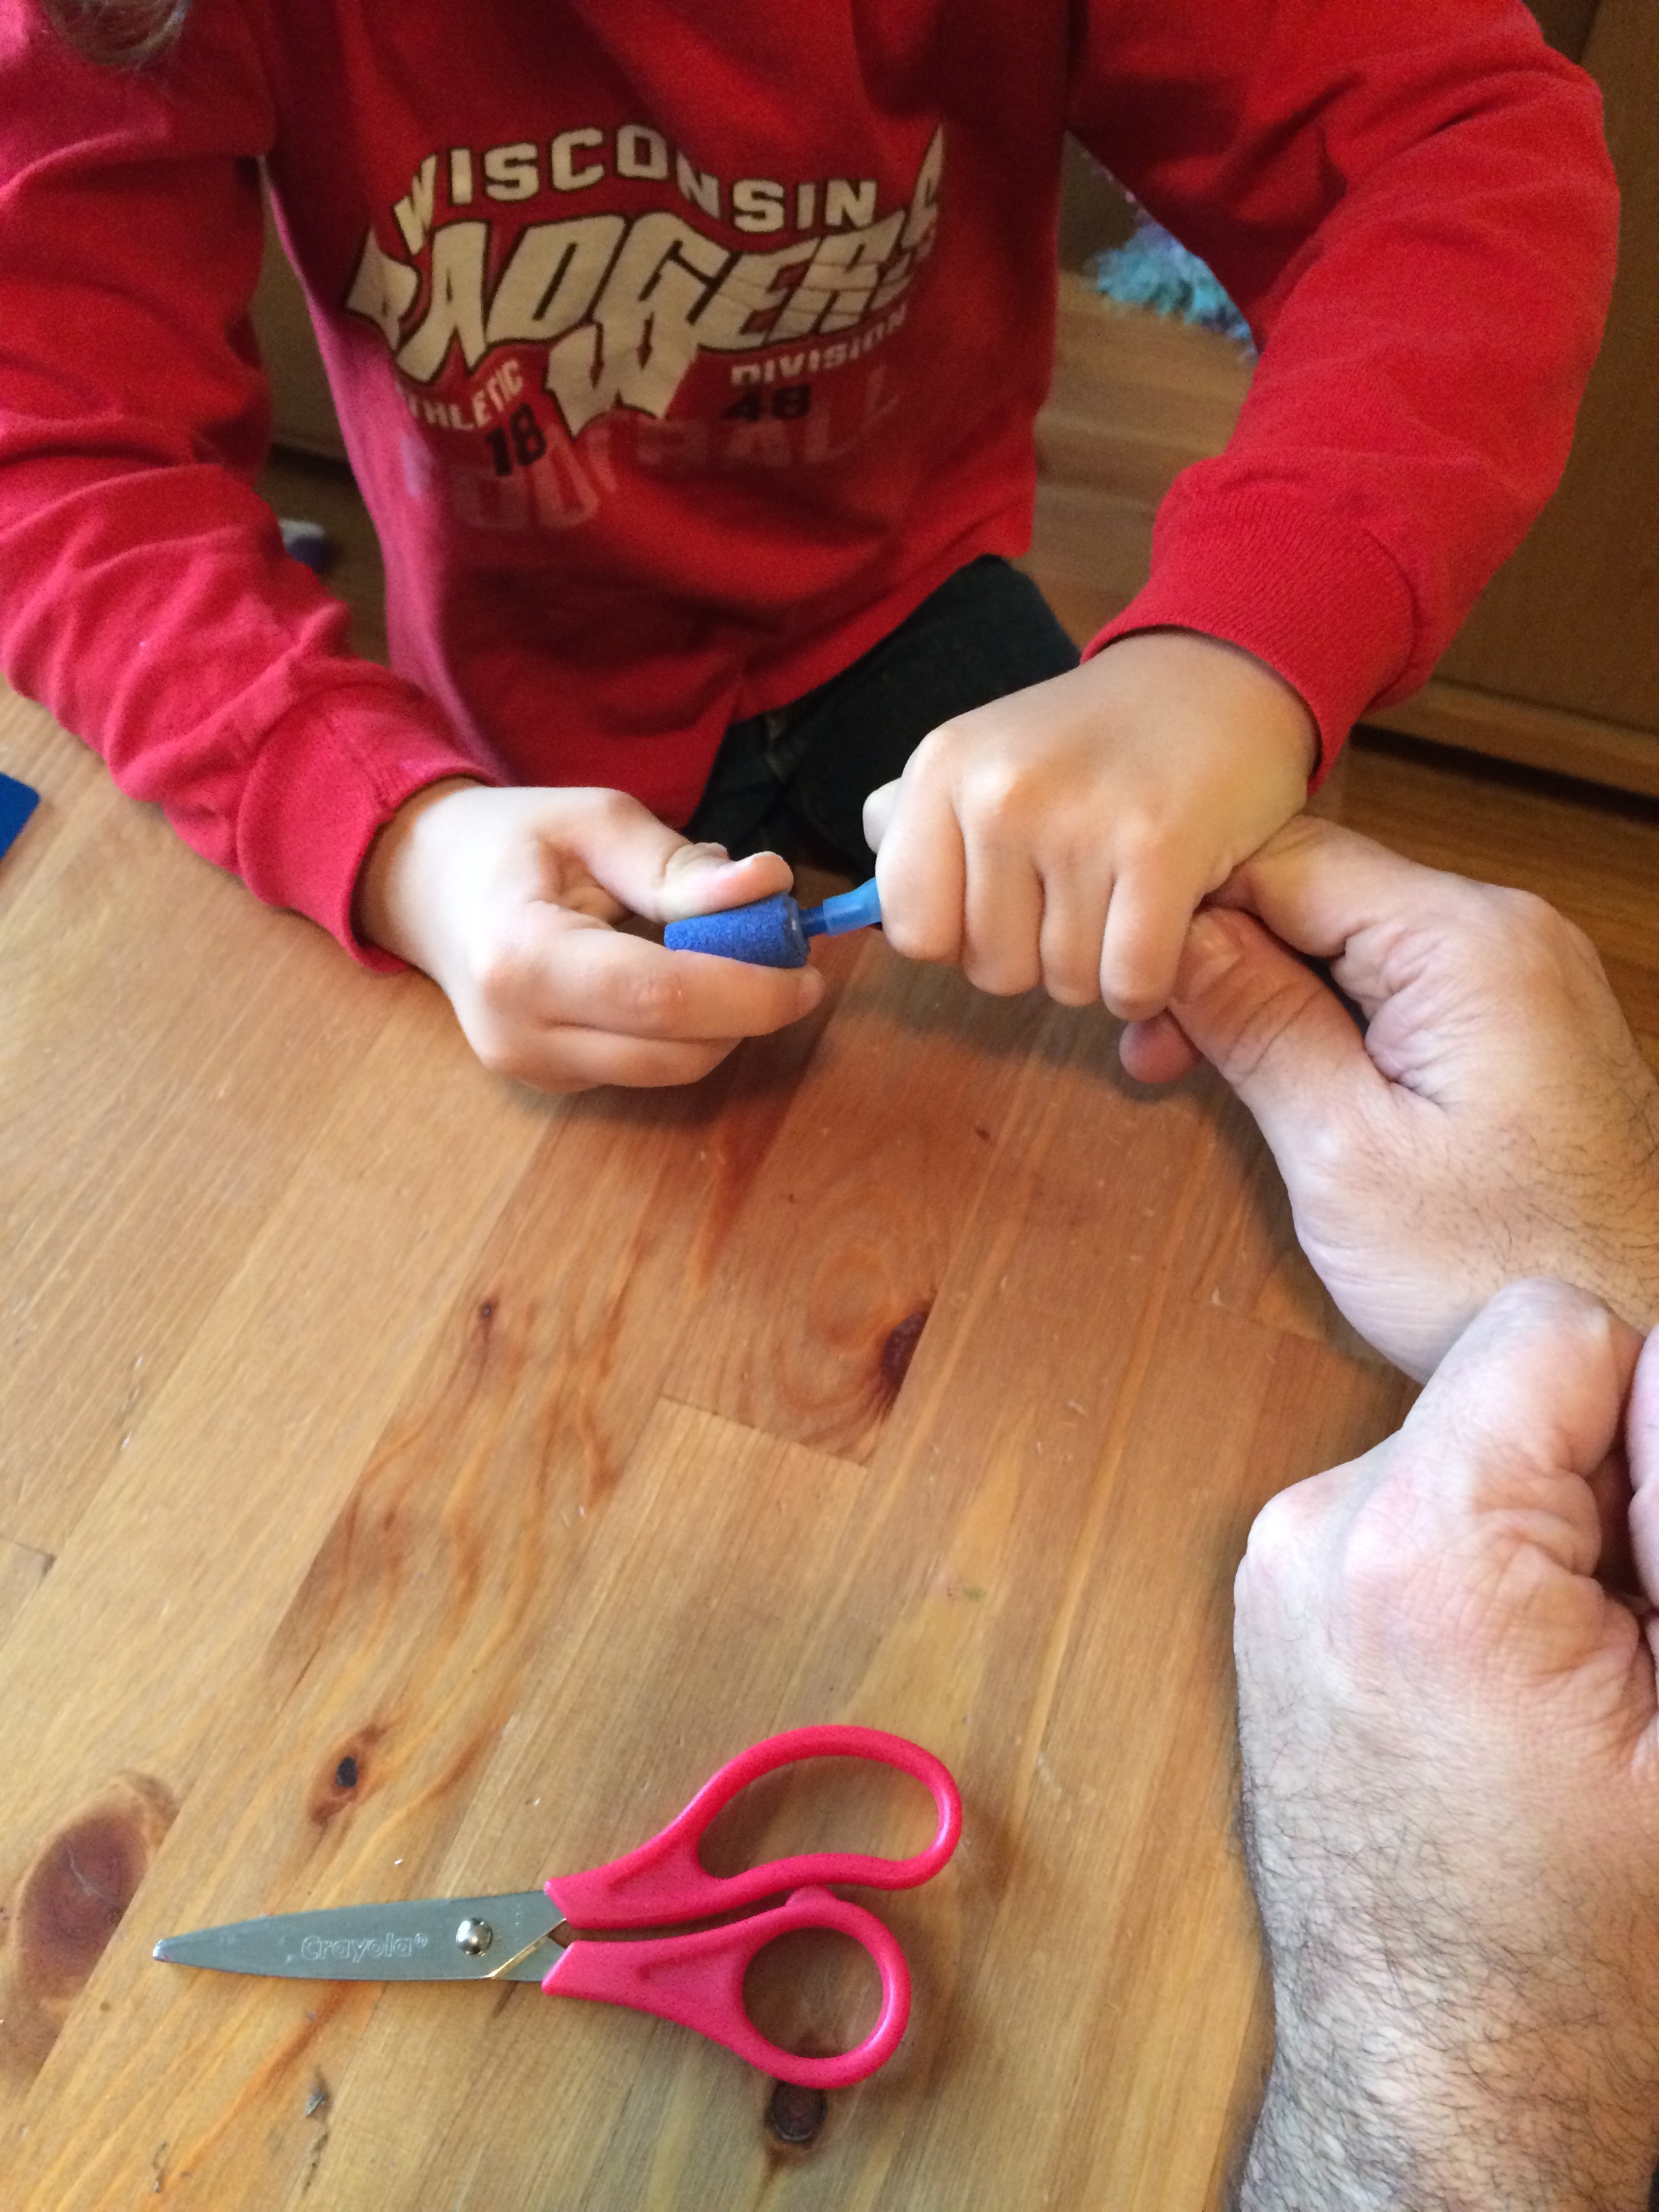 We were so pleased that we could make this on our own, with only a purchase of a few materials! Our Bluey helped with the whole project (a great home lesson!) and was suitably proud of how well it all worked out.
Category Get Crafty! | Tags: Animals,Creativity,kids,Learning,Science,simple solutions | Comments Off on The MacGyver Solution