RSS Feed

Posts Tagged ‘Gardening’

  1. Come Kale Or High Water

    July 6, 2015 by admin

    IMG_1266We are always looking for ways to introduce nutritious snacking option to our kids.

    Kale chips are a low calorie, super easy, and very tasty choice that you can make at home in less than ½ hour.

    Pick up a good bunch of Kale from your local farmer’s market or favorite grocery store.  Wash the leaves and then dry all of them thoroughly.  Next, cut the leafy green away from the stalk.  But don’t just throw out those stalks!  You can save them for soup stock!  Or chop them down and saute them into your next stir fry.  Or feed them to bunnies!IMG_1263

    We hear kale is pretty easy to grow in your garden.  We haven’t tried that yet, but we’ll let you know when we do!

    Tip1: If you fold the kale along the stalk, you can easily cut straight down to separate both halves from the stem.

    Use your fingers to rip down the leafy parts into chip size pieces and put them into a large bowl.  Toss theKale with olive oil and coarse kosher sea salt and set aside.  Line a cookie sheet with tinfoil or parchment paper.

    Tip2: We put a coat of olive oil on our tinfoil.

    Distribute the Kale in an even layer on the cookie sheet.  Cook at 350degrees for 10 minutes.  Rotate your tray and perhaps flip your kale.  Cook for an additional 10 minutes or until you’ve got your desired crispness.

    Enjoy!


  2. Vegan Pizza

    August 1, 2014 by admin

    Occasionally we want to cut down on the amount of dairy products we consume.  Or we just crave a dinner that’s a little bit lighter than a full-on traditional pizza.  And we’re considering what it might mean for our family to go fully vegan- could we still have versions of our favorite foods?IMG_6955

    Well, pizza is one of our family’s faves.  This recipe proves that we can still have delicious, filling pizza prepared vegan.

    It’s simple and pretty quick to put together.

    First, you’ll need some dough.  Start this step a few hours before you plan to eat, so the dough has time to rise.  We recommend two hours.  But you can cut that by a lot (even less than an hour!) and it will still work out OK.

    Ingredients:

    1 1/2 Cups Flour

    1 T Sugar

    1 T Dry Yeast

    1 t Salt

    2/3 Cup Water

    6 t Olive Oil

    Process:

    Mix all ingredients together in a big bowl, cover and set aside for about 2 hours.

    Now, for the pizza toppings:

    Ingredients:

    1 Red Pepper

    1 Red Onion

    8 oz. Sliced Mushrooms (we used button)

    Small bunch of fresh Basil, chopped

    Salt & Pepper to Taste

    1 t Oregano

    1/4 to 1/2 Cup Your Favorite Marinara: homemade or a favorite store brand- you decide!

    Vegan Parmesan Cheese (we used Go Veggie!)


    Process:

    Saute veggies to help bring out flavors, about 5 minutes.  Use veggies from your garden if you can!

    IMG_6946Roll out/ toss dough into a round, about 14 inches across. Place on a pizza/cookie pan dusted with cornmeal.

    (Optional) Precook dough 5 minutes or so, at 350 degrees.  This can help keep the pizza from being too soggy in the middle once you add your toppings.  But it’s ok to skip this step.

    Spread marinara on pie, and finish off with sauteed veggies.  Sprinkle with a light topping of vegan parmesan.IMG_6945

    Bake 15 minutes at 350.

    Eat and enjoy!  There may just be something to this vegan thing.


  3. Zucchini Hot Pot

    July 23, 2014 by admin

    IMG_6822Here’s a great soup we recently created: Zucchini Hot Pot Soup.   It’s a Korean-based soup, modeled after a beefy soup recipe in one of our cook books.  We adjusted it to become a vegetarian soup and couldn’t be more pleased with the results.  It’s a spicy soup, refreshing on a summer day, or warming in winter.

    It’s also ridiculously easy to put together.  And a great use for summer’s zucchini bounty!

    If your kitchen cupboards aren’t already stocked for Korean cuisine, you’ll need to pick up a few things at a specialty grocery store.  Or you may luck out and find these items in the “Ethnic Foods” aisle of a larger supermarket.

    Miso Paste:  A paste made of fermented soybeans with other ingredients including mushrooms and grains.  It’s sort of like a bouillon for asian cooking.   Miso comes in a variety of types.  You may want to start with a ‘mild’ variety, and work your way from there.  Miso can be used in many other recipes as well.

    Korean Hot Red Pepper Paste:  This peppery paste gives the soup and other Korean dishes their unique heat.  We found some at our local supermarket, from the Bibigo Brand.

    Now, on to the soup!

    Ingredients:

    2 T Miso

    3 T Korean Pepper Paste

    1 T Minced Garlic

    1 T Sesame Oil

    1 Medium Onion, Diced

    2 – 3 Cups Stock or Water

    1 Zucchini, cut into bite sized pieces

    1 package (12 oz.) Tofu

    Scallions for Garnish

    Salt to Taste


    Tip: The miso and pepper paste both have some salt, so depending on your stock and desire of saltiness, you may not need any additional salt.

    Process:

    1.  Saute onion in sesame oil, pepper paste, miso and garlic a few minutes.

    2.  Add stock or water and bring to a simmer.

    3.  Add zucchini and tofu, simmer until zucchini is ready to eat.

    4.  Serve over brown rice with scallion garnish.

    Yum!


  4. Three Bean Chili

    July 11, 2014 by admin

    We love a good bowl of chili.  It’s great in the summer.  Despite how hot it may be outside, a steaming bowl of chili always hits the spot.  And in the depths of winter, it will warm you to your core.   Our chili recipe goes together pretty quickly.  But as with most good chilis, it benefits greatly from being allowed to sit and simmer on the IMG_6659stove for a long time.

    Tip: This chili includes many ingredients you might grow in your garden or acquire at farmer’s market!

    If you can prepare the whole meal the night before you plan to eat it, and let it simmer for a long while in the background.

    Ingredients:

    • 1/2 Cup each: Dried Black Beans, Chick Peas, Kidney Beans
    • 2 Bell Peppers, Diced  Try to get two different colors, if you can.  We like red and green.
    • 1 T Olive Oil
    • 1/2 T Fennel Seed
    • 1 T Coriander Seed
    • 1 T Cumin Seed
    • 1 t Mexican Oregano  (Italian Oregano will work, but the Mexican variety is available in most supermarkets…)
    • 1 T Chili Powder – More if you want to up the heat
    • 3 Tomatoes, chopped
    • 1/2 Cup Green Beans, Chopped
    • Water as needed
    • Salt and Pepper to taste


    Process:

    • Boil the beans in three separate pans for about an hour.
    • Saute peppers in bottom of a large stock pot.
    • Grind seeds and Oregano and warm along with peppers.
    • Add tomatoes and heat through.
    • Add cooked beans and green beans.
    • Add enough water to make a slightly thin chili, the excess water will cook off during the simmer.
    • Add salt and black pepper to taste.
    • Simmer for as long as you can manage, preferably at least two hours.


    Enjoy as is, or topped with cheddar cheese, sour cream or green onions.  Also tastes great eaten with tortilla chips or over brown rice!


  5. Family Gardening

    May 11, 2014 by admin

    When seeking out fun activities for the family, we regularly check in with the happenings at our local colleges and universities.  You never know what you might get to see or do.IMG_5788

    We recently had the best day attending the University of Wisconsin Family Gardening Day!

    Hosted by the Science Outreach Department, Family Gardening Day is held at the D.C. Smith Greenhouse, the Allen Centennial Gardens and the Steenbock Library.  Each location set up a few booths to help educate people about gardening, talk to some experts, and allow you to get your hands in some dirt!

    We had a great time.  We got to look through a powerful microscope at tiny little garden bugs.  We taste tested different varieties of carrots and we took home seeds from the seed library.

    But our favorite parts were all the plant give-aways!

    IMG_5782We made small terrariums complete with live plants, constructed living necklaces that will grow to become bean plants, and took home a ‘spaghetti garden’- a set of tomato, pepper, oregano and basil plants to plan and harvest this summer. All for free thanks to the generosity of the event planners.

    If you live near Madison, keep your eye on the UW for their next fun happening.  No matter where you live, remember to check out your local college or university for fun activities for you and your family!


  6. How Does Your Garden Grow?

    October 16, 2013 by admin

    IMG_1430We planted a small plot of garden this summer, and a small collection of containers.  Our kids had a big role in planting and maintaining the garden.  They dug soil, they raked compost, they chose plants and seeds.

    And now, as Fall is upon, we know they’ve seen the results! Everyday, there was something ripe in our little garden.  Something they grew, nurtured and harvested.  Something they are eager to eat.

    Our gardeners have harvested squash, melons, tomatoes, peppers, cucumbers, cilantro, parsley, basil, thyme, carrots, sunflowers, as well as numerous variety or ornamental flowers.IMG_0714

    As satisfying as it is for an adult to pull a tomato off the vine, it is ten times moreso for a child.

    Even a single pot can be home to a tomato plant that can grow to produce fruit.  We planted a very small plot, and produced hundreds of dollars worth of fresh vegetables.  We know we made a lot of mistakes too- planting too close together, or sowing at the wrong moment, etc.  But next year we’ll do even better.  We’ll gather more containers, pay more attention to pruning, and have even better results.

    No matter what your space, find a place for a garden in your life.


  7. The Kindness Project #4: Share The Bounty

    August 14, 2013 by admin

    IMG_1453We are happy to report that our garden is quite successful this season.  We have an abundance of tomatoes and a good crop of hot peppers.  Our melons, cukes, and squash are finally starting to spill out over our garden trellis.  We are harvesting more than we can eat.

    We have plans to dive into canning in 2014.  But for this current crop, we have to come up with an action plan so that our pickings don’t go to waste.IMG_1293

    As TR Mom recently pulled into the garage after work, she noticed one set of neighbors playing with their young kids in their front yard.  And it all suddenly became clear for this TR Household.

    We stuffed two paper lunch bags with our excess produce and walked it over to the neighbors.  It was a lovely icebreaker that helped move us beyond the friendly nod of our typical encounters.

    As this growing season continues to provide, we’ll knock on neighborhood doors to meet who we can and to deliver fresh produce for all to enjoy.

    Perhaps we’ll see you?


  8. Bring in Spring!

    February 20, 2013 by admin

    Bulb1  By Brenda Winter Hansen

    Are you and your wee ones getting cabin fever, wishing the world warm and in full bloom? Well, not even Punxsutawney Phil can make winter shorter, but with only a few special ingredients, you and the kids can bring your own personal spring inside.

    Bulb3Forcing bulbs has long been a gardening tradition, and was all the rage in the 1800’s. It works by chilling flower bulbs for a few weeks, then bringing them into a warm environment to force them to bloom earlier than they might have outside. Seeing plants grow before your eyes in the dead of winter is fascinating at any age, and the payoff of a beautiful flower with a heady perfume to freshen up the air is a memorable thrill. Kids love helping out, and will probably ask for it every year. Just make sure to put down newspapers if you’re going to use potting soil.Bulb4

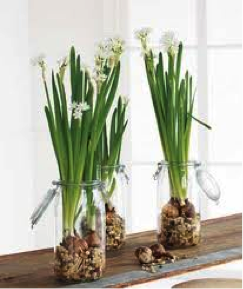
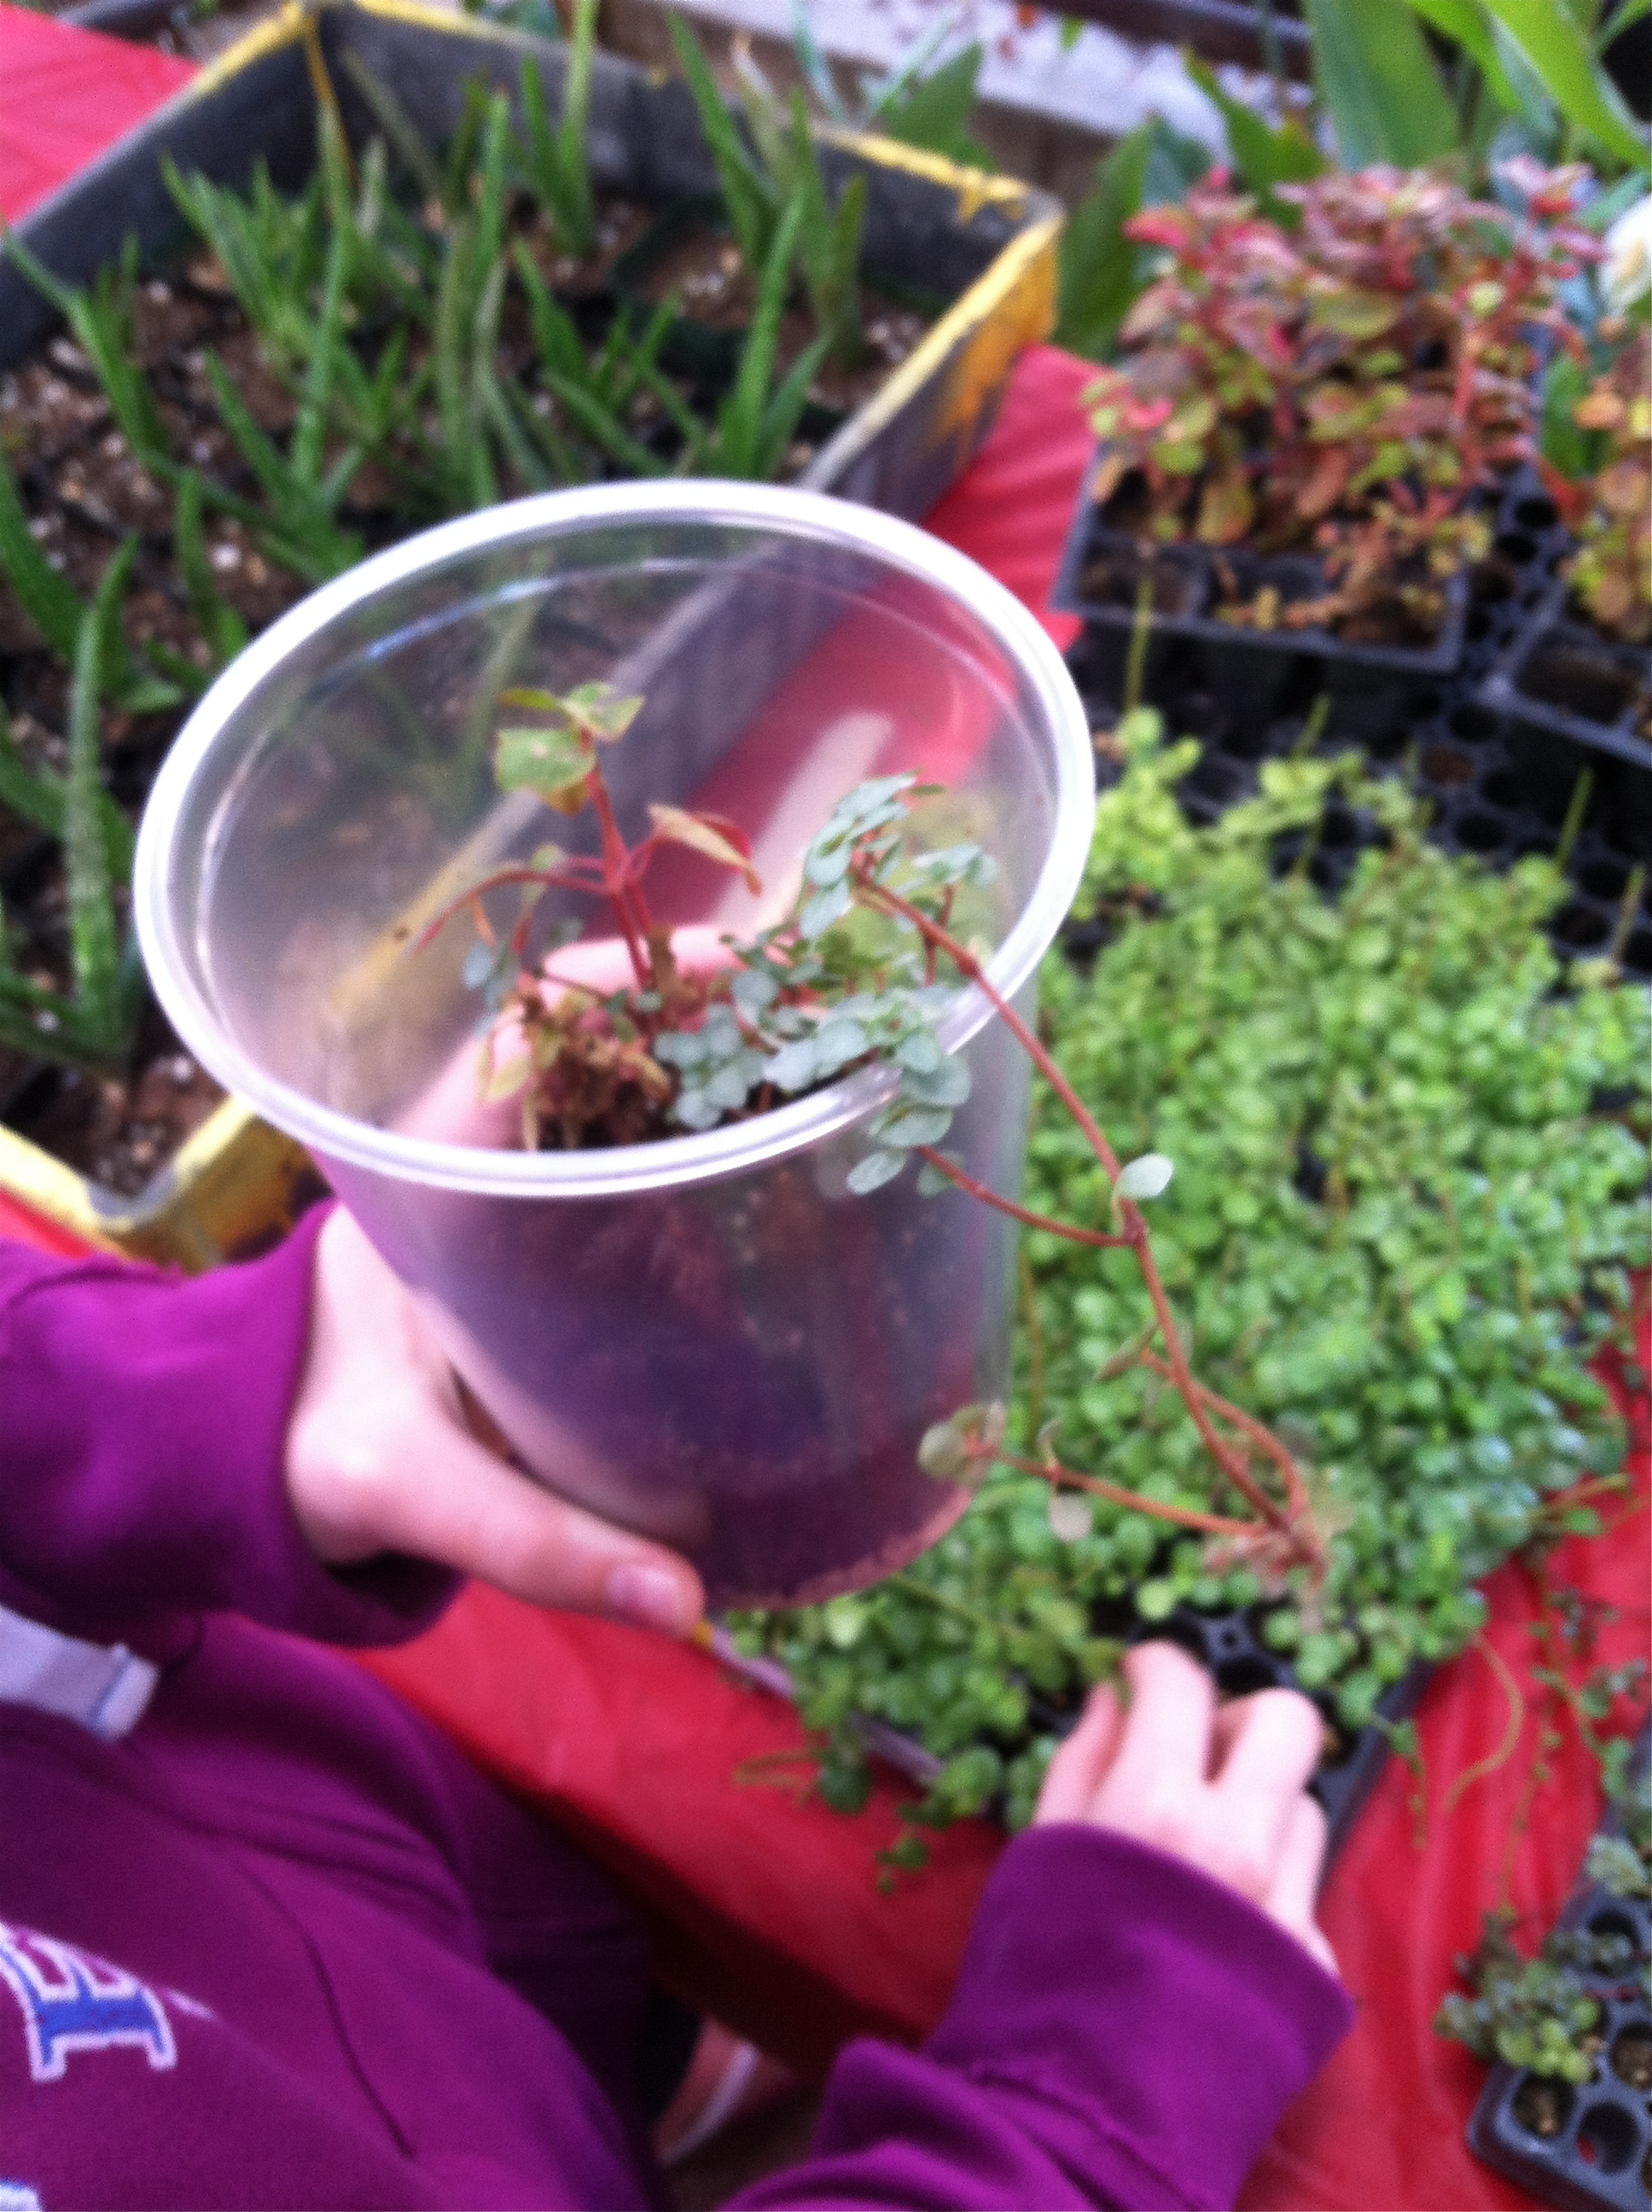
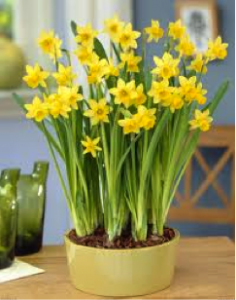
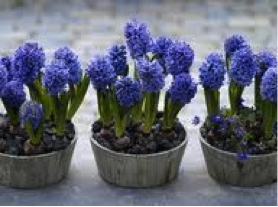
    You’ll need bulbs first. If you’re like me, you probably have some in your garage that you never got planted in the fall. I’ve had the best luck with paperwhites (a.k.a. narcissus), daffodils, hyacinth, and crocus, though amaryllis and tulips are also fine choices. Amaryllis are often sold in drugstores already potted and ready to force. They are pricier, but the fanciest of flowers to force. If you don’t have any bulbs on hand, ask neighbors if they have any they didn’t get planted. If they do, make sure to make a forced bulb garden for them too. Assuming the ground isn’t frozen, you can also dig them up, if you remember where they are. Local hardware stores or nurseries are also likely to have inexpensive bulbs that have been chilled long enough to be ready to force.

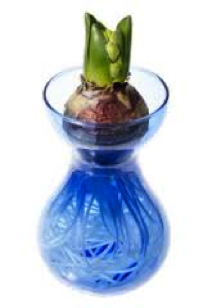
    Many resources say bulbs need to be chilled at a specific temperature for a specific number of weeks, but I’ve never paid much attention to those claims and have had great luck with late winter blooms. Once you have bulbs, it’s time to find containers. Narrow necked vases (called forcing vases) are perfect for paperwhites and hyacinth, but you can use old jam jars too. Narrow ones are good, but use some rocks, or several bulbs, to prop each other up if you use a wider jar. Wide shallow bowls, can be filled with rocks, pebbles, and just enough water to come to the top of them. Then, nestle a bunch of bulbs into the rocks (root side down, pointy side up!). The last way to force flowering bulbs is too find a shallow wide pot and sandwich the bulbs between two layers of potting soil, but make sure the points are just poking out of the dirt. The soil should be damp, not sopping wet.

    bulb2For all of these methods, leave the bulbs in indirect light until the first bits of green are poking out a bit. Otherwise the poor flowers might try blooming before it has much of a stalk. Once there is a stalk, give it a little more light and turn it a little everyday so the stalk grows straight. This is a great time to introduce phototropism to your offspring! Keep the kids interested by having them take notes and draw pictures every few days and you’ll have another fine example of art marrying science. Enjoy!

    For more info, check out: http://www.oldhousegardens.com/forcingbulbs.asp
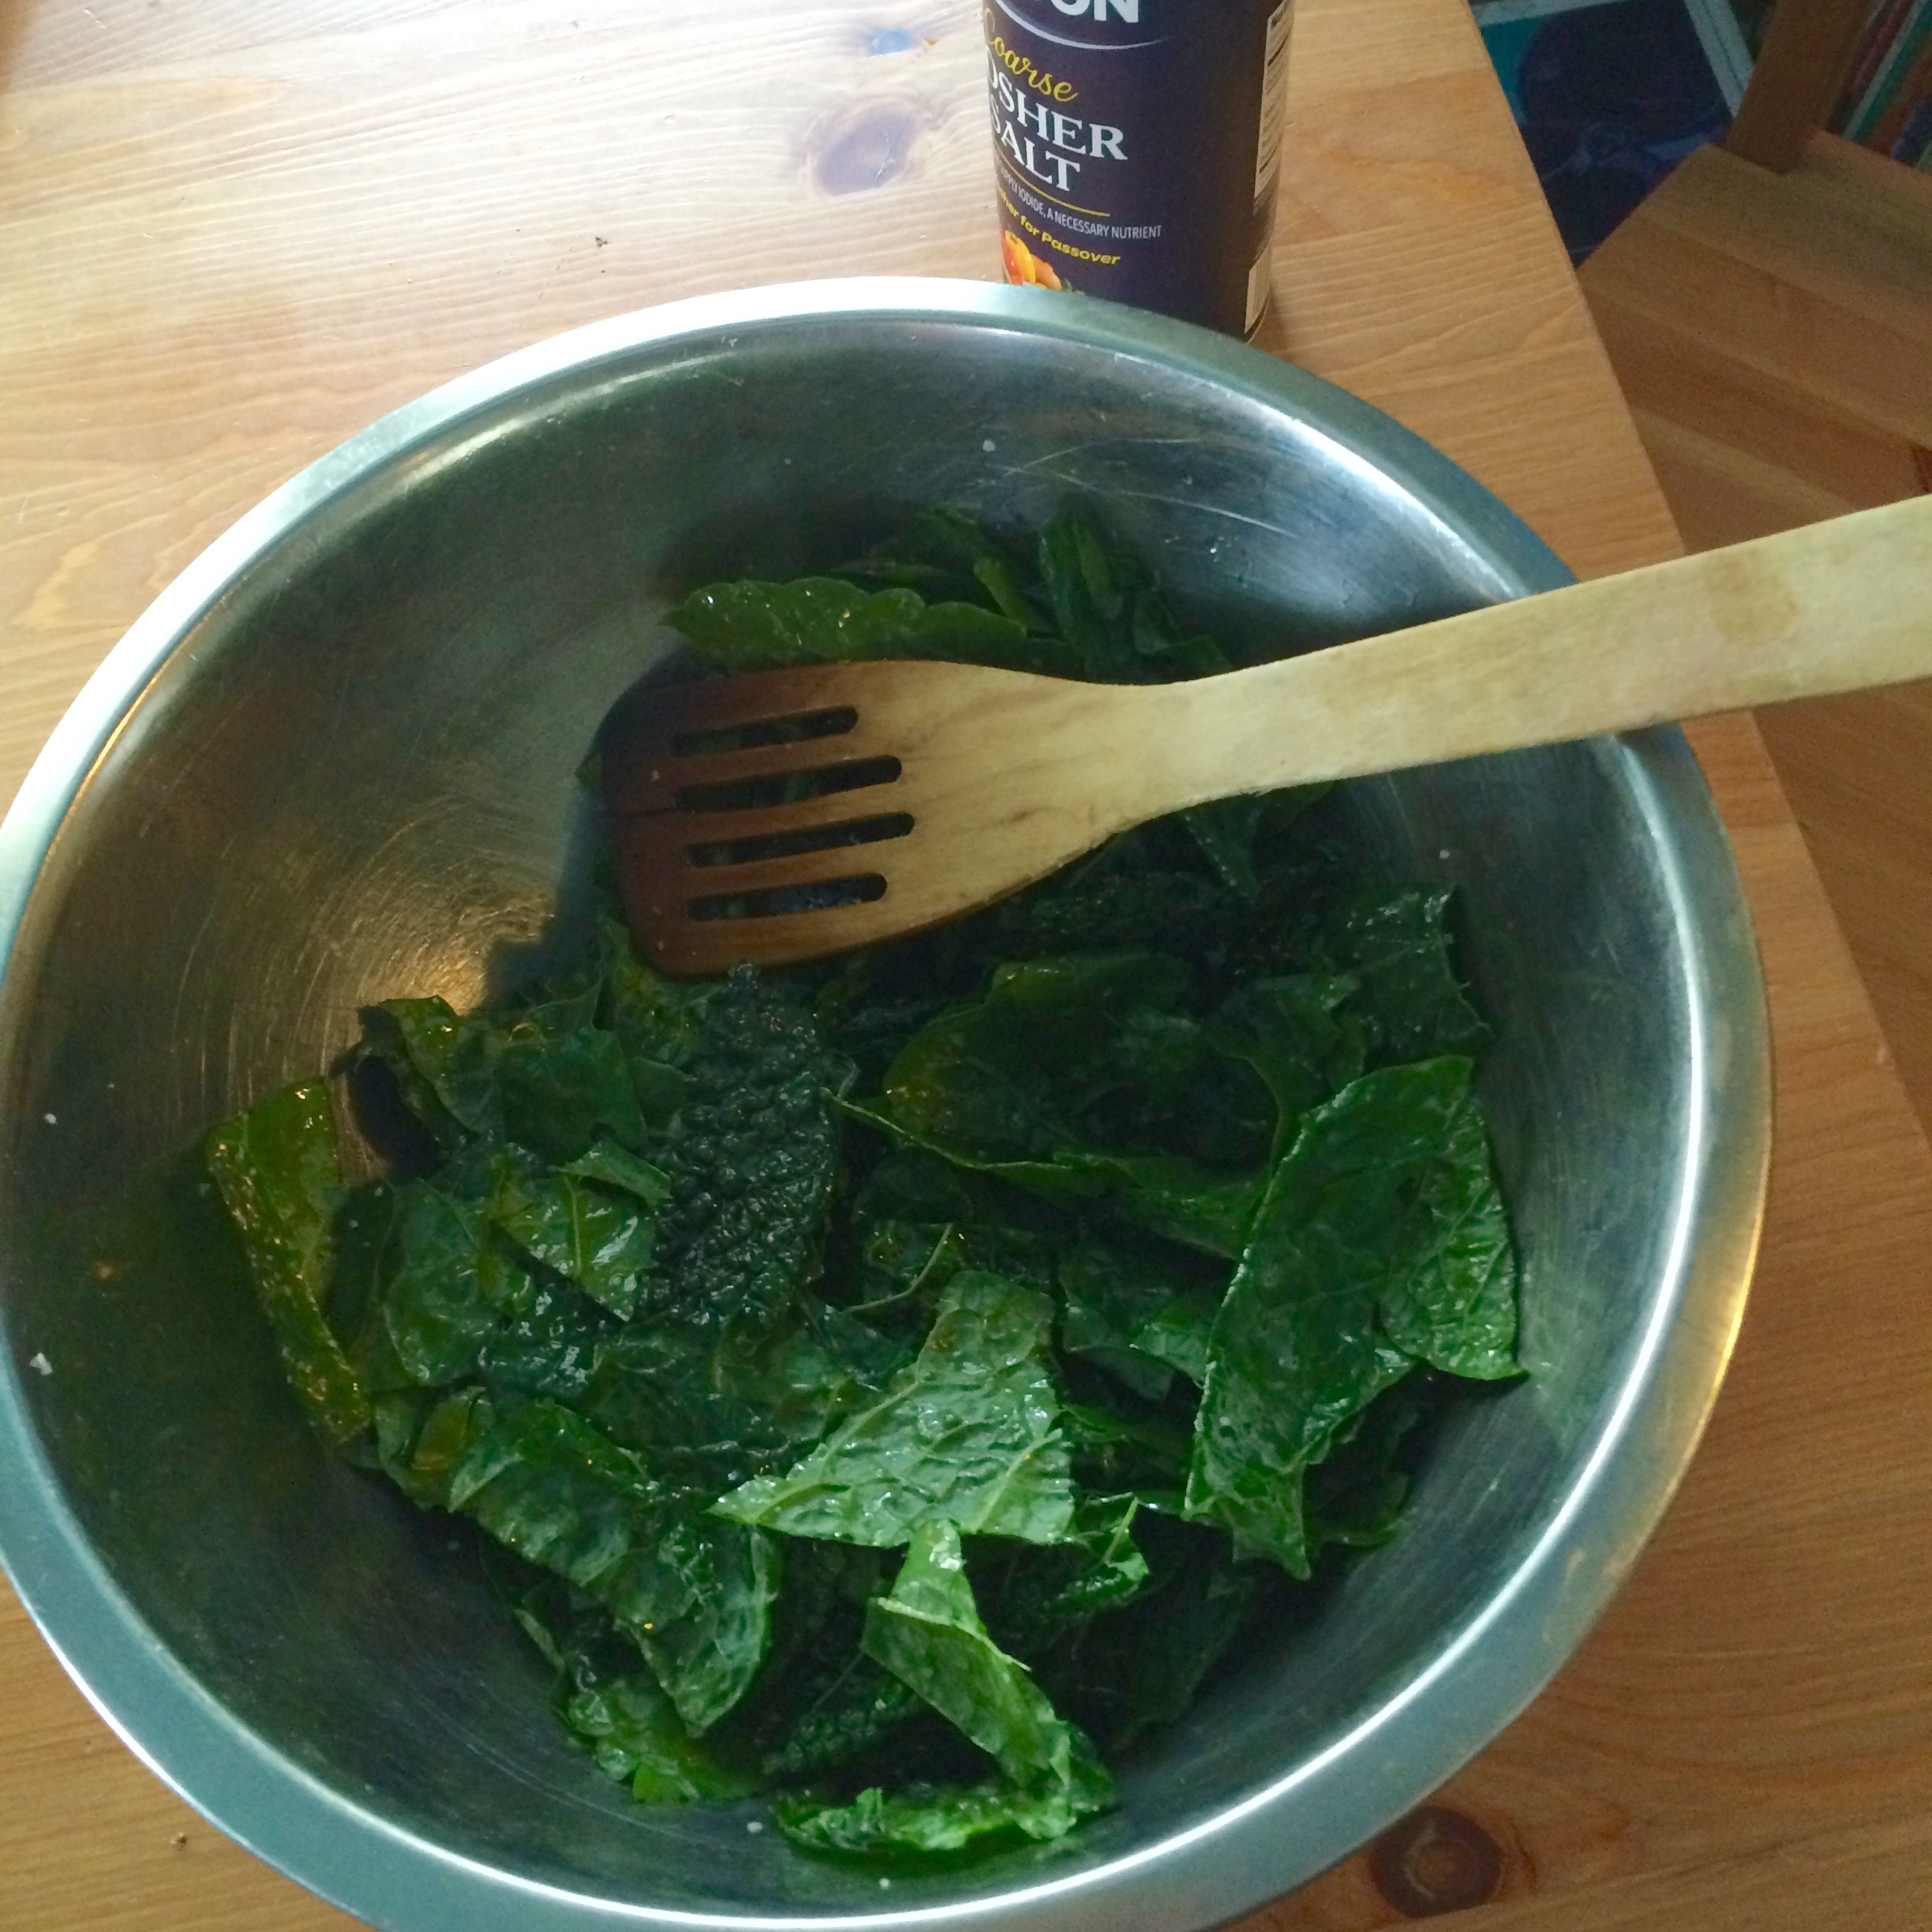
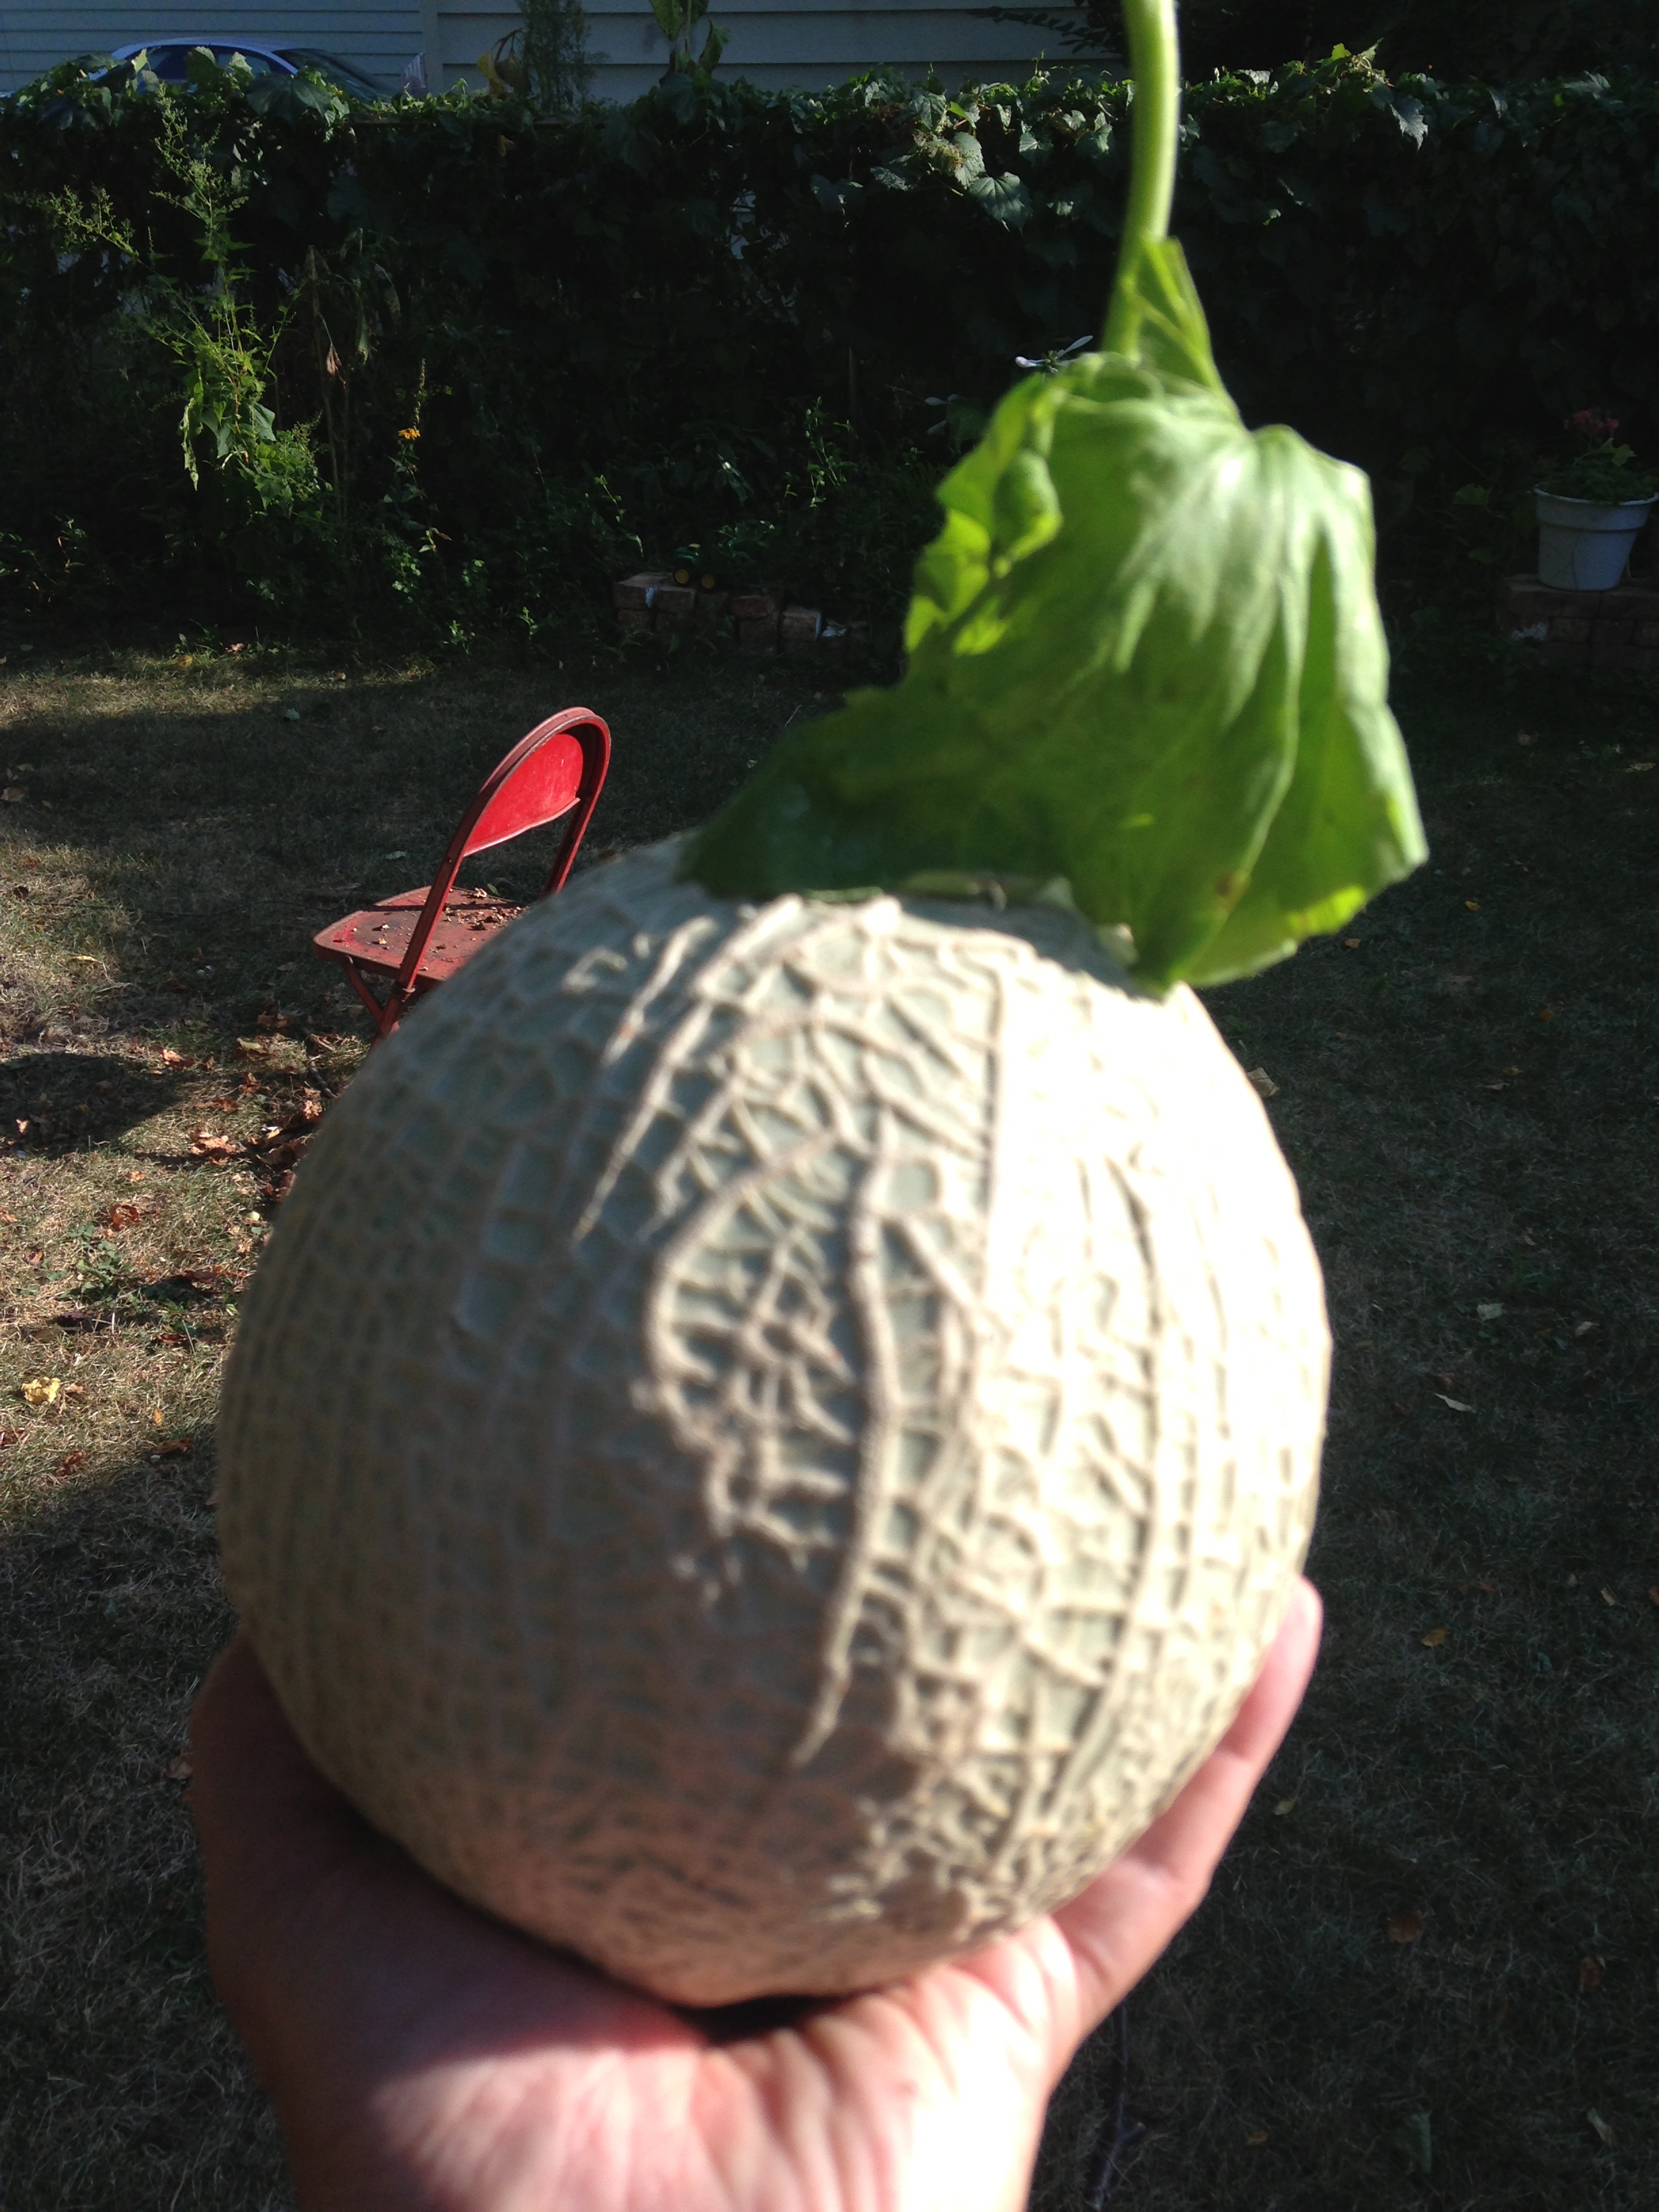
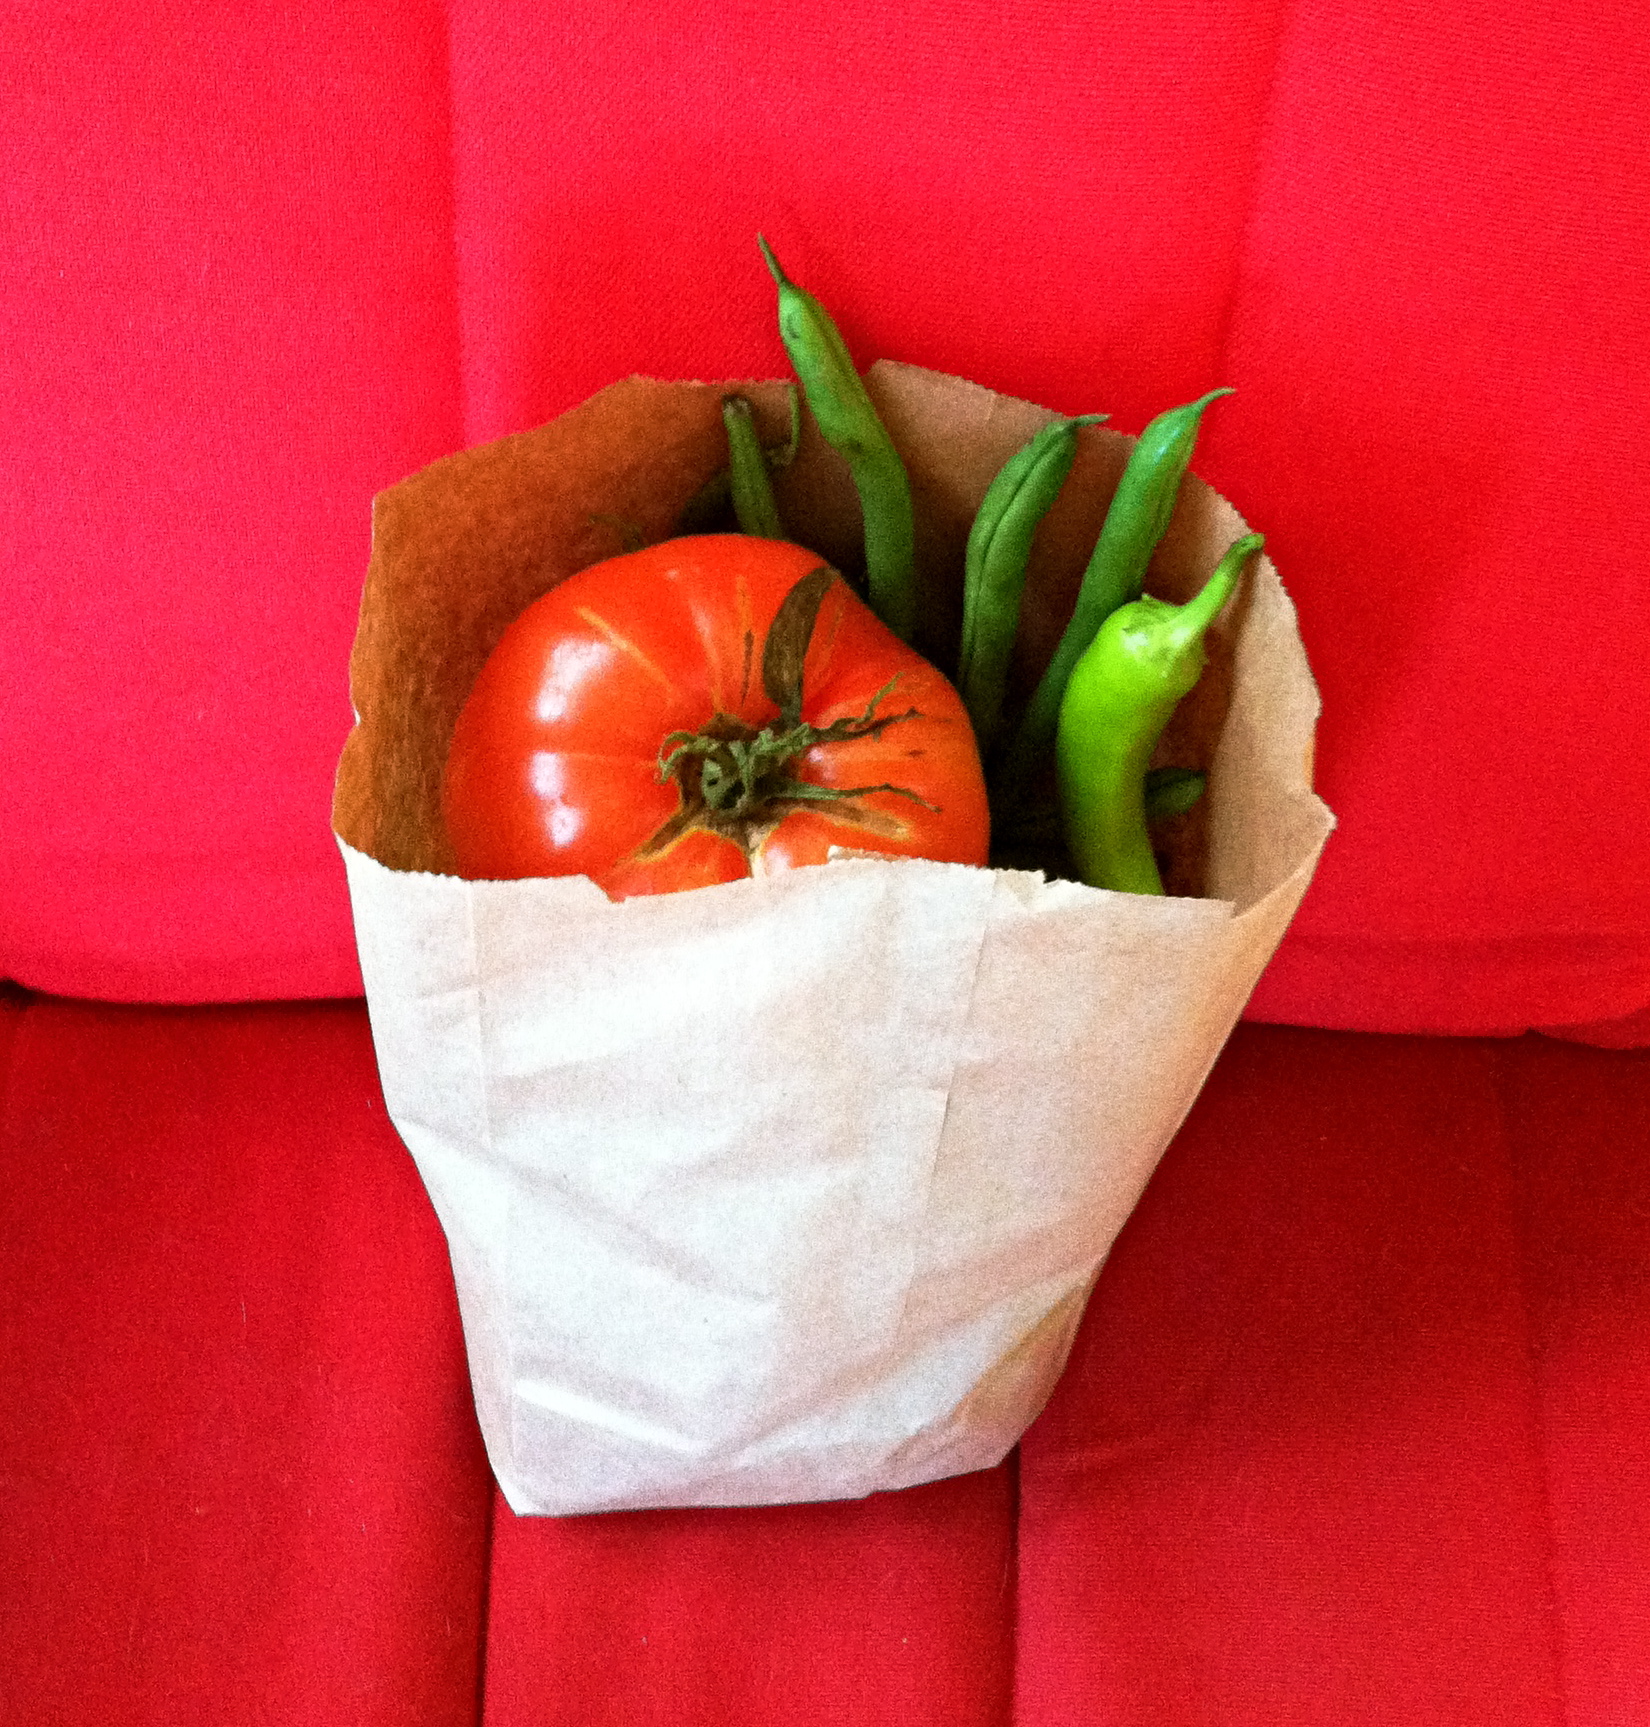

  9. Scallywags

    February 10, 2013 by admin

    OK, scallions aren’t very expensive.  But our TR family is constantly looking for ways to lower the weekly grocery bill, even if it’s by less than a dollar.  We found a way to IMG_1534reduce, or eventually eliminate, our need to buy scallions in the grocery.  We saw this trick on pinterest, and wanted to test it out before we shared it with the world at large.

    The process is so simple, you’ll be surprised you didn’t think of it sooner!  When preparing a recipe with scallions, just use the green tops as you would normally.  But when you get towards the white end, stop cutting.  Take this roots end of the scallion, and put it in a small glass of water on your kitchen windowsill.  A few days later, the green ends start growing again!

    We now have a small collection of green onions growing in water on the windowsill.  Our first foray into hydroponics  met with complete success!  It certainly makes us wonder what other veggies we could grow in water from the roots.  As our kitchen garden expands, we’ll let you know which plants we find the most successful.


  10. Old Farmers

    December 19, 2012 by admin

    Remember the Old Farmer’s Almanac?  When we were little, we frequently had a copy of this book floating around the house.  We used to love flipping through it, and reading weird facts about weather and farming—even though we grew up in the middle of Suburbia.2013_ofa_cvr_hole_1

    But the Old Farmer’s Almanac isn’t limited to historical data and weather tidbits.  For instance, it tells us that this year’s Winter Solstice, on December 21 at 6:12AM, is the ealiest since 1896!  The Old Farmer’s Almanac has adapted pretty well to modern technology and lifestyles.  They now feature a well-developed website, in addition to their standard paper-bound edition.

    The Old Farmer’s Almanac remains a trove of resources and games.  Need a recipe?  It’s in there.  Want info on pickling, the best days for fishing, silly jokes, or lore about the moon?  It’s all in there.  Gardeners will love the planting guides and calendars.  Birders will love the identification guides, as well as the advice for building feeders and birdhouses.  There’s even a section on parenting!

    Complete a simple sign-up to receive the Old Farmer’s Almanac email newsletter and you will get access to a whole bunch of nifty downloadable activities from their library.  We recommend that you check it out.  It’s an incredibly useful and fun resource for our family.