RSS Feed

Posts Tagged ‘Science’

  1. Science Expedition

    December 14, 2014 by admin

    IMG_2549
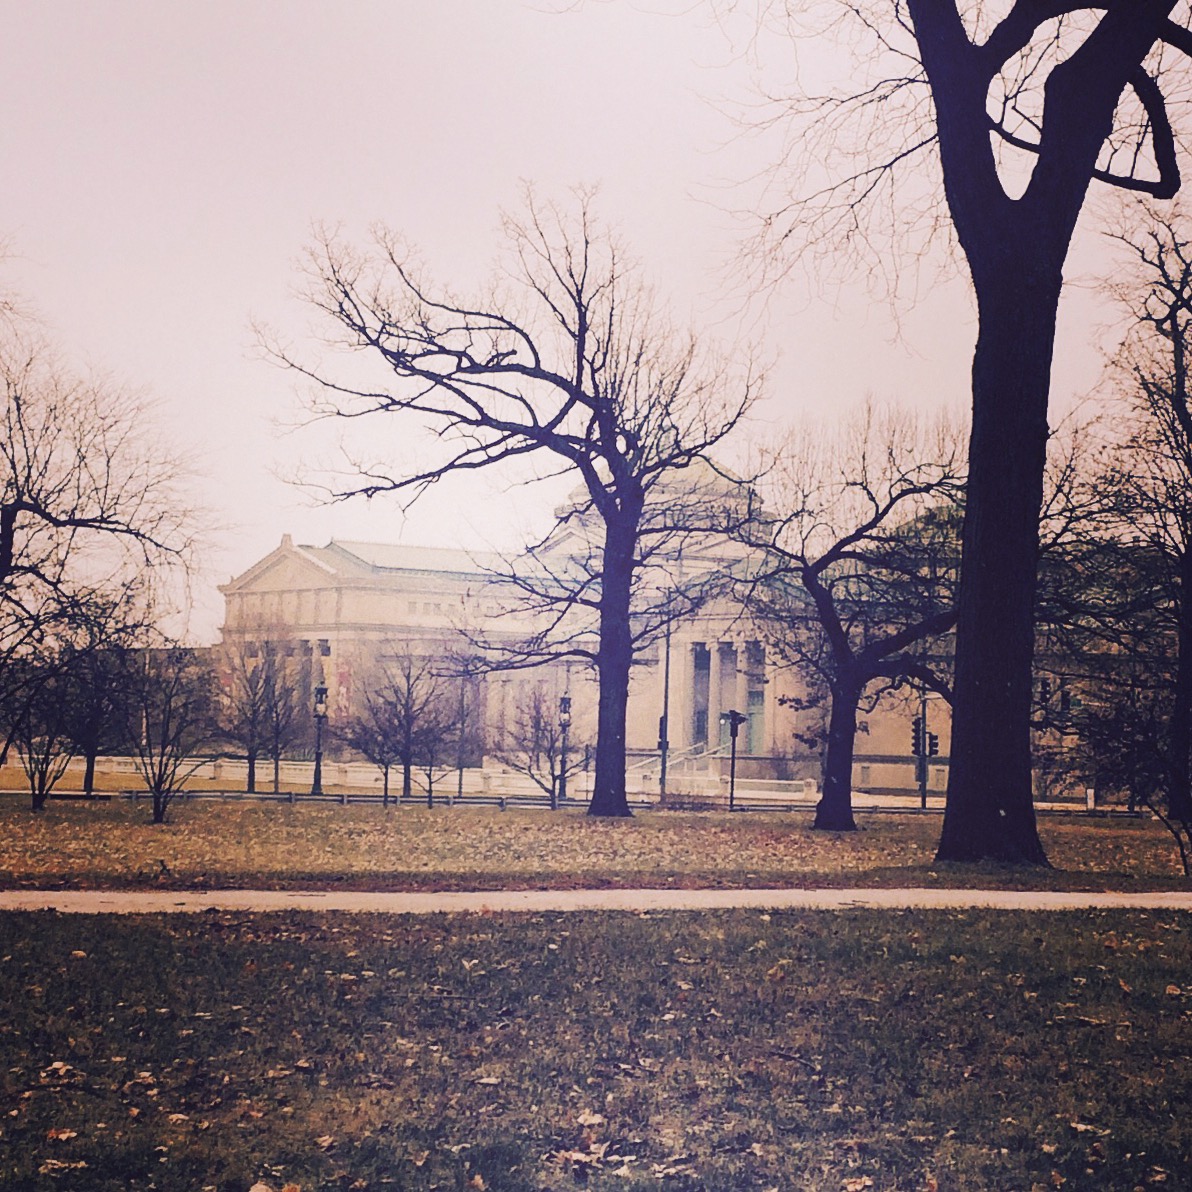
For Bluey’s birthday expedition this year, we surprised him with a trip to the Museum of Science & Industry (MSI) in Chicago.  It was quite a day and a great trip!

    We don’t often go on day trips of this magnitude (a 3 hour drive each way!) – but a special occasion calls for a special event!  We told Bluey and Plum about the trip a few days in advance so they’d both have time to prepare and get excited.  And it worked!  Our whole fam was stoked about this adventure.  None of us had ever been to MSI before, so we didn’t know exactly what to expect.  But everyone was ready!

    A few well chosen stops along the way fueled our spirits and we arrived at the Hyde Park neighborhood museum just a  few minutes after it opened. We were surprised that MSI was already getting quite full of visitors so early in the morning.

    Tip1:  MSI offers parking in an underground lot for $20 a day.  There is NO reason to pay this fee.  We found free street parking within a stone’s throw of MSI.  Just read the street signs carefully.

    IMG_9118We typically visit museums on the weekend, so we were a bit thrown by the number of school groups.  The nice thing about dealing with school groups is that the students are supposed to stay with their leader.  So in a museum this large, we found it fairly successful to blitz past the students and find other sections of the museum to explore.

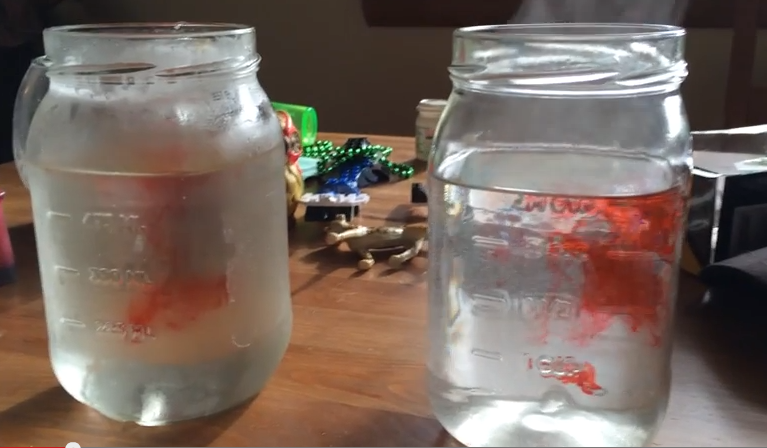
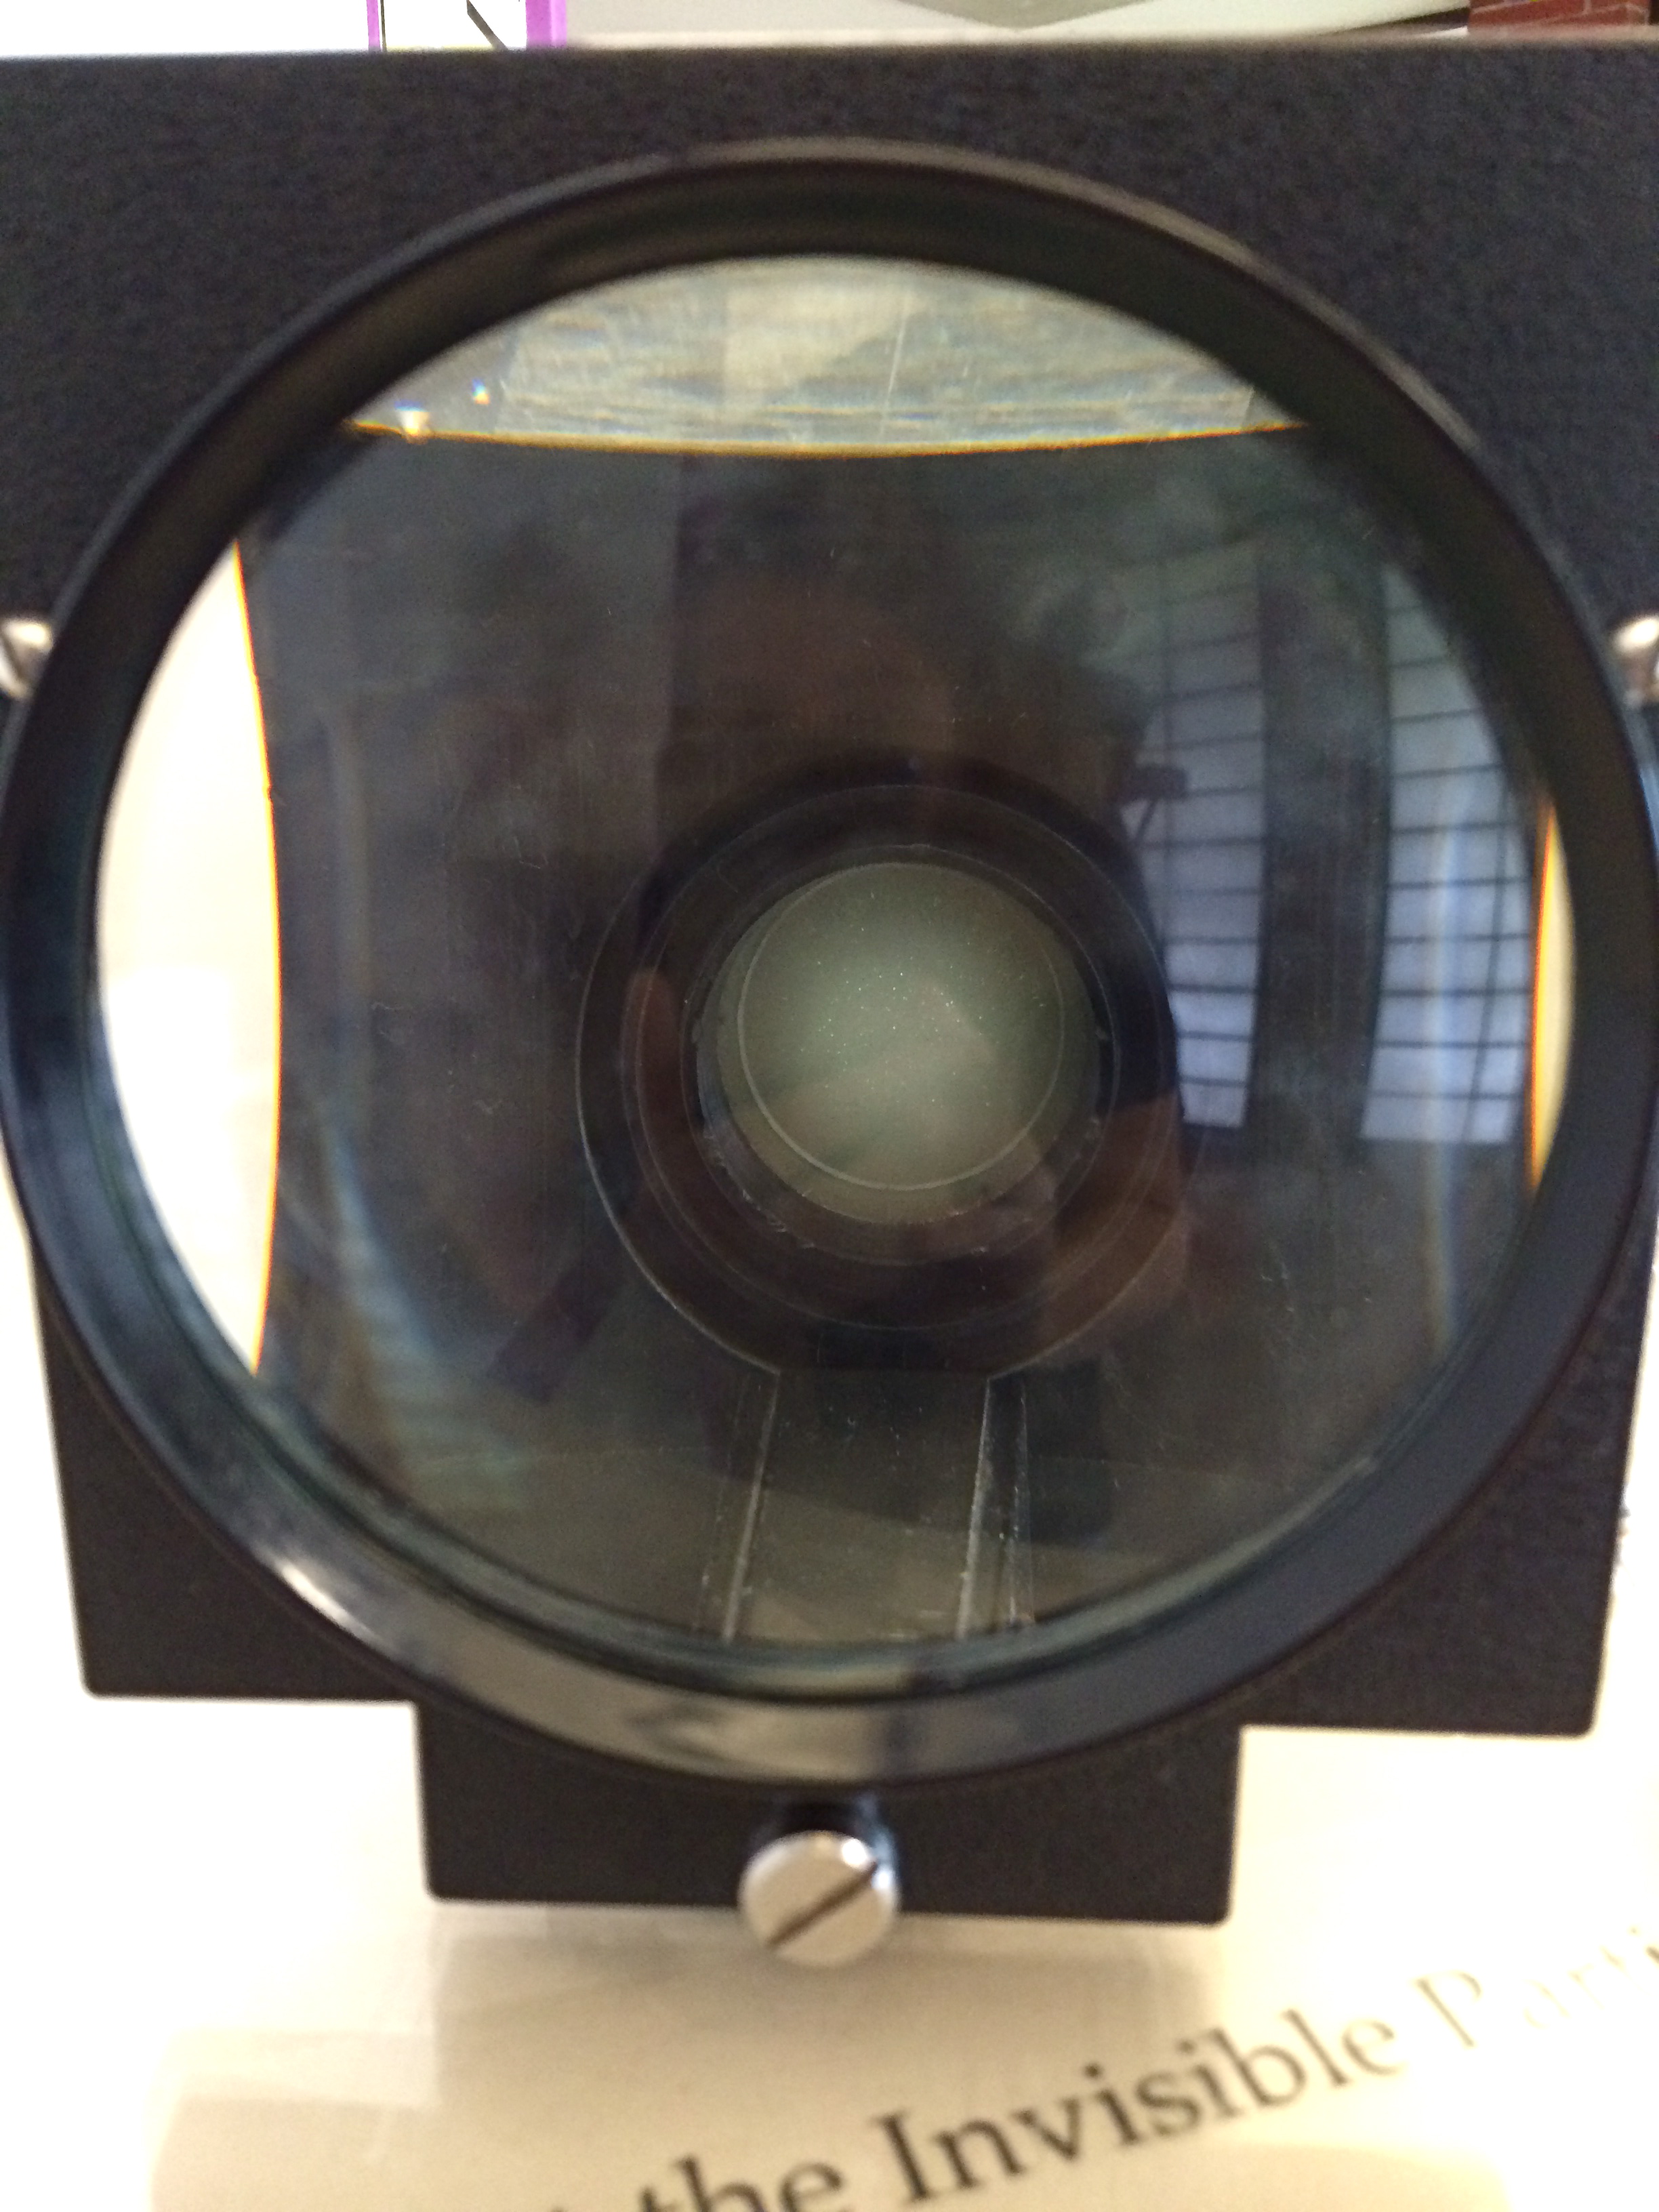
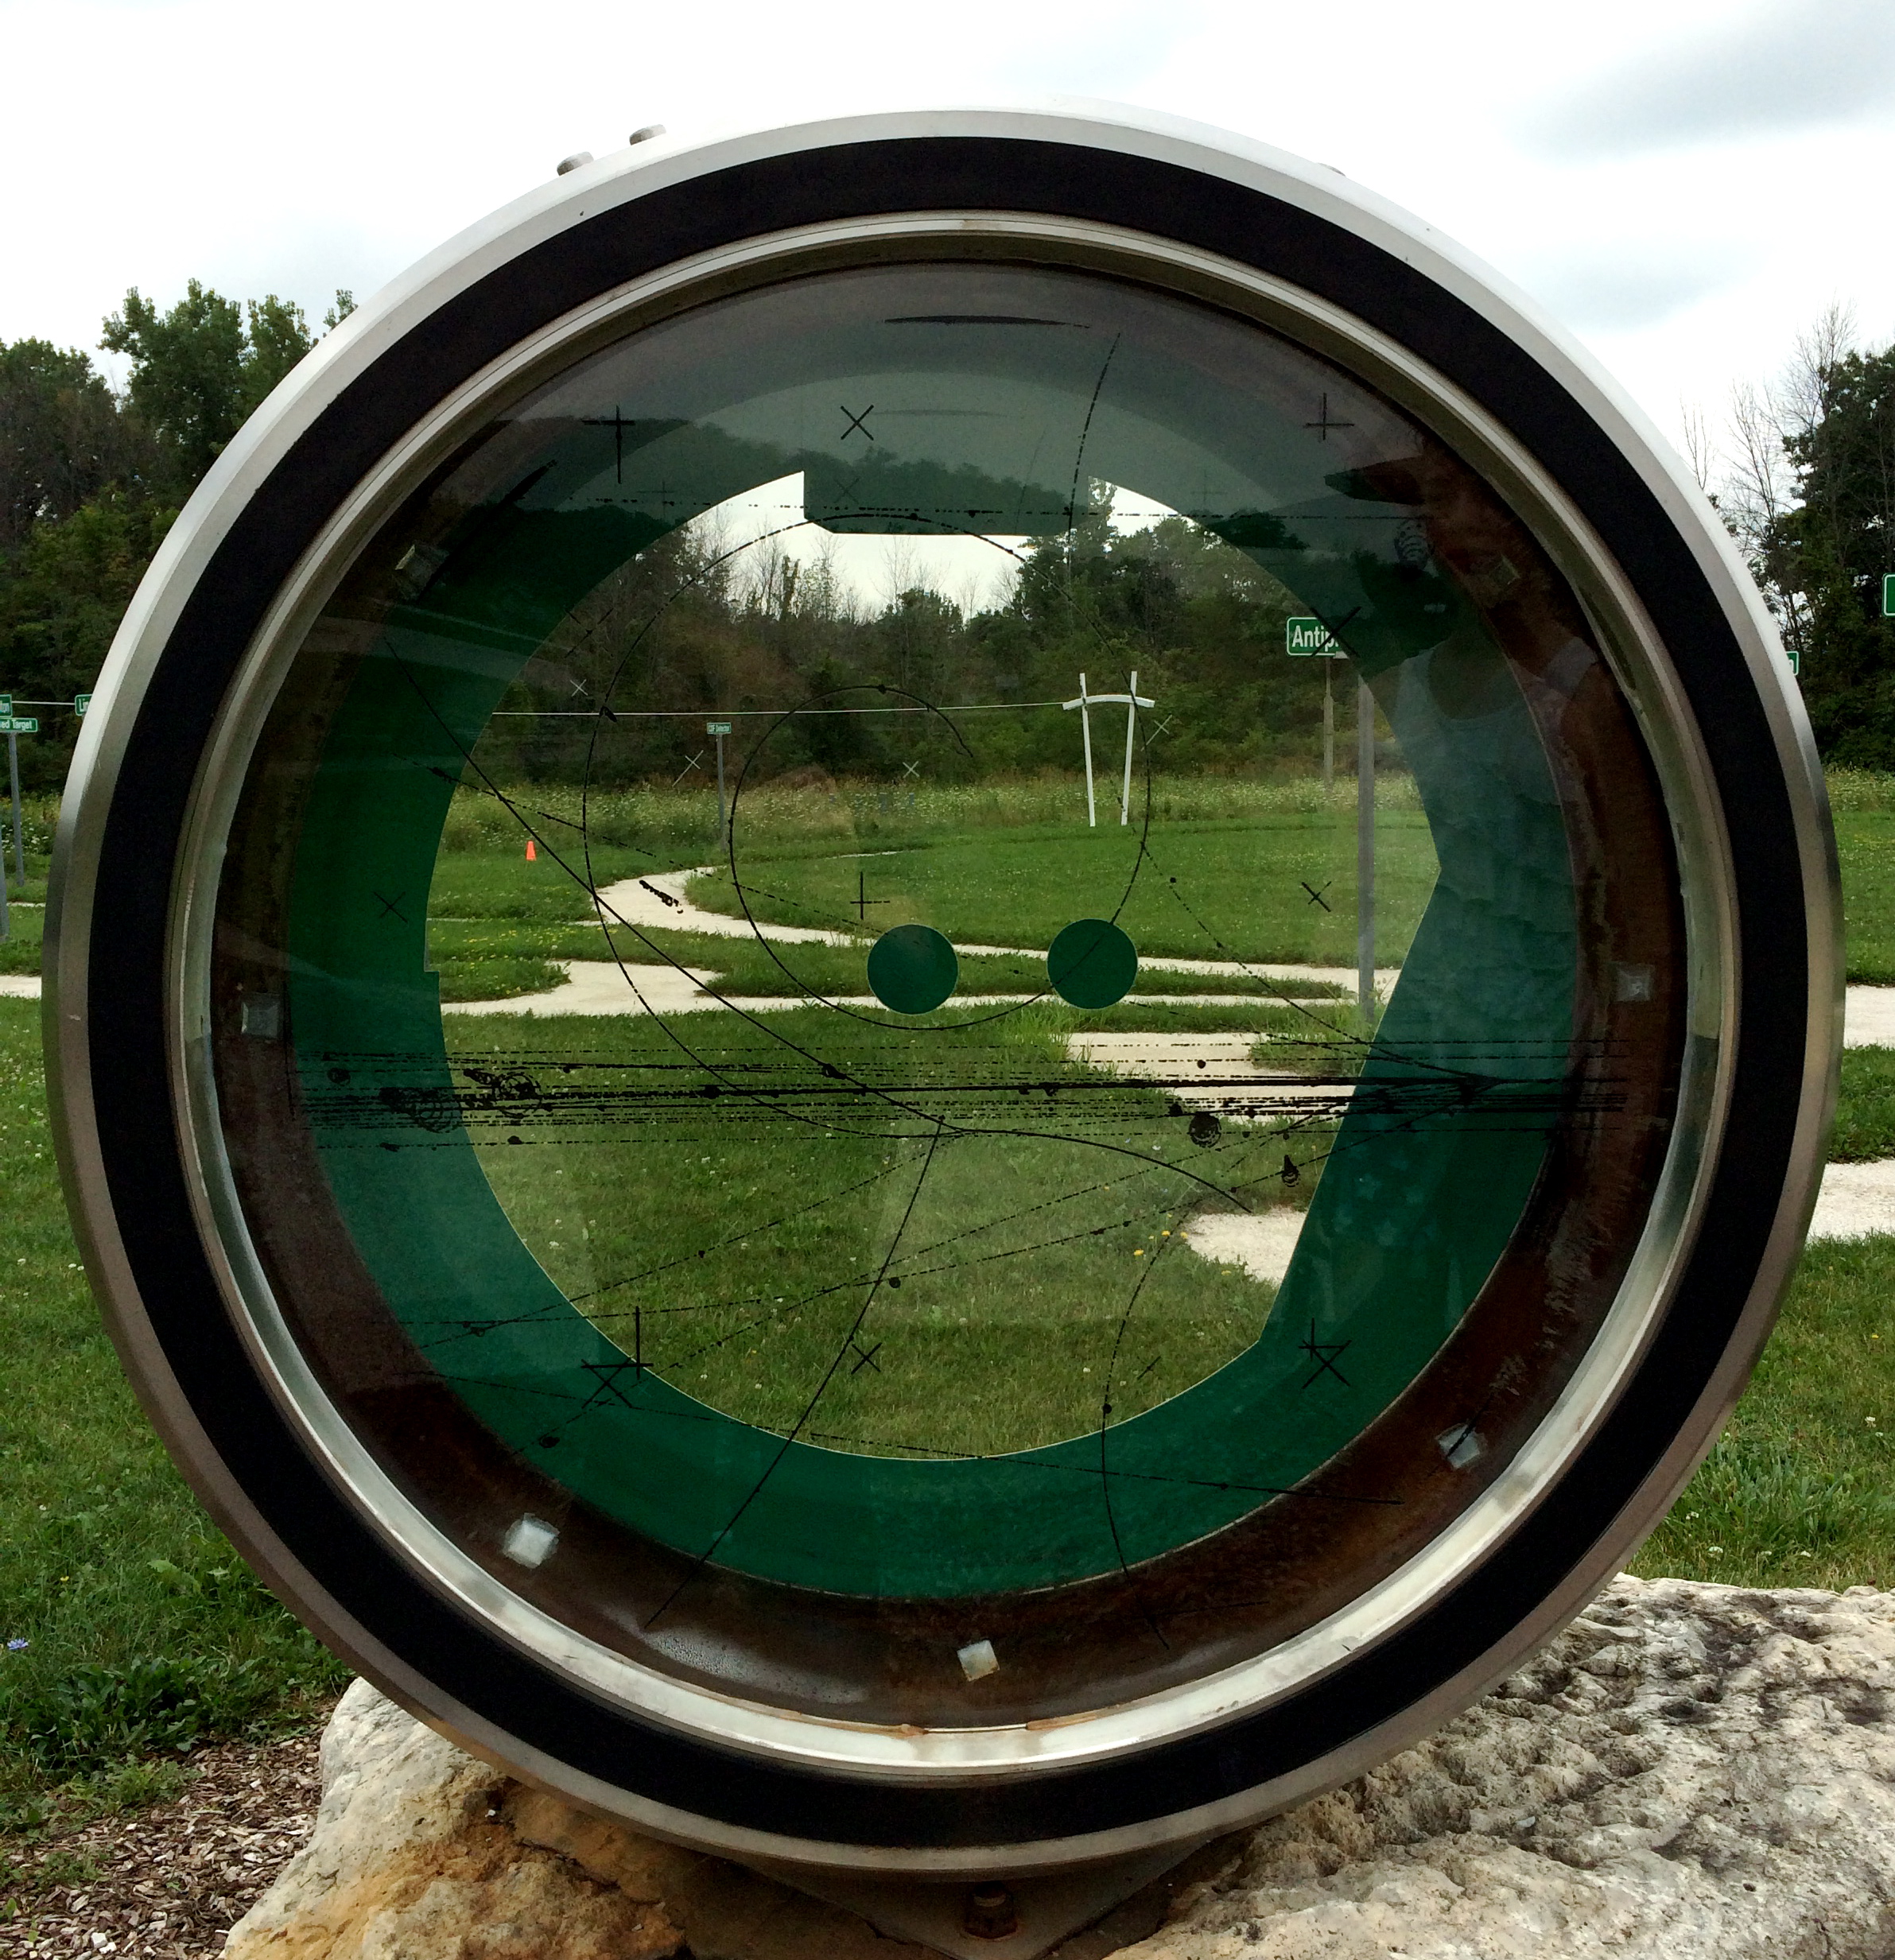
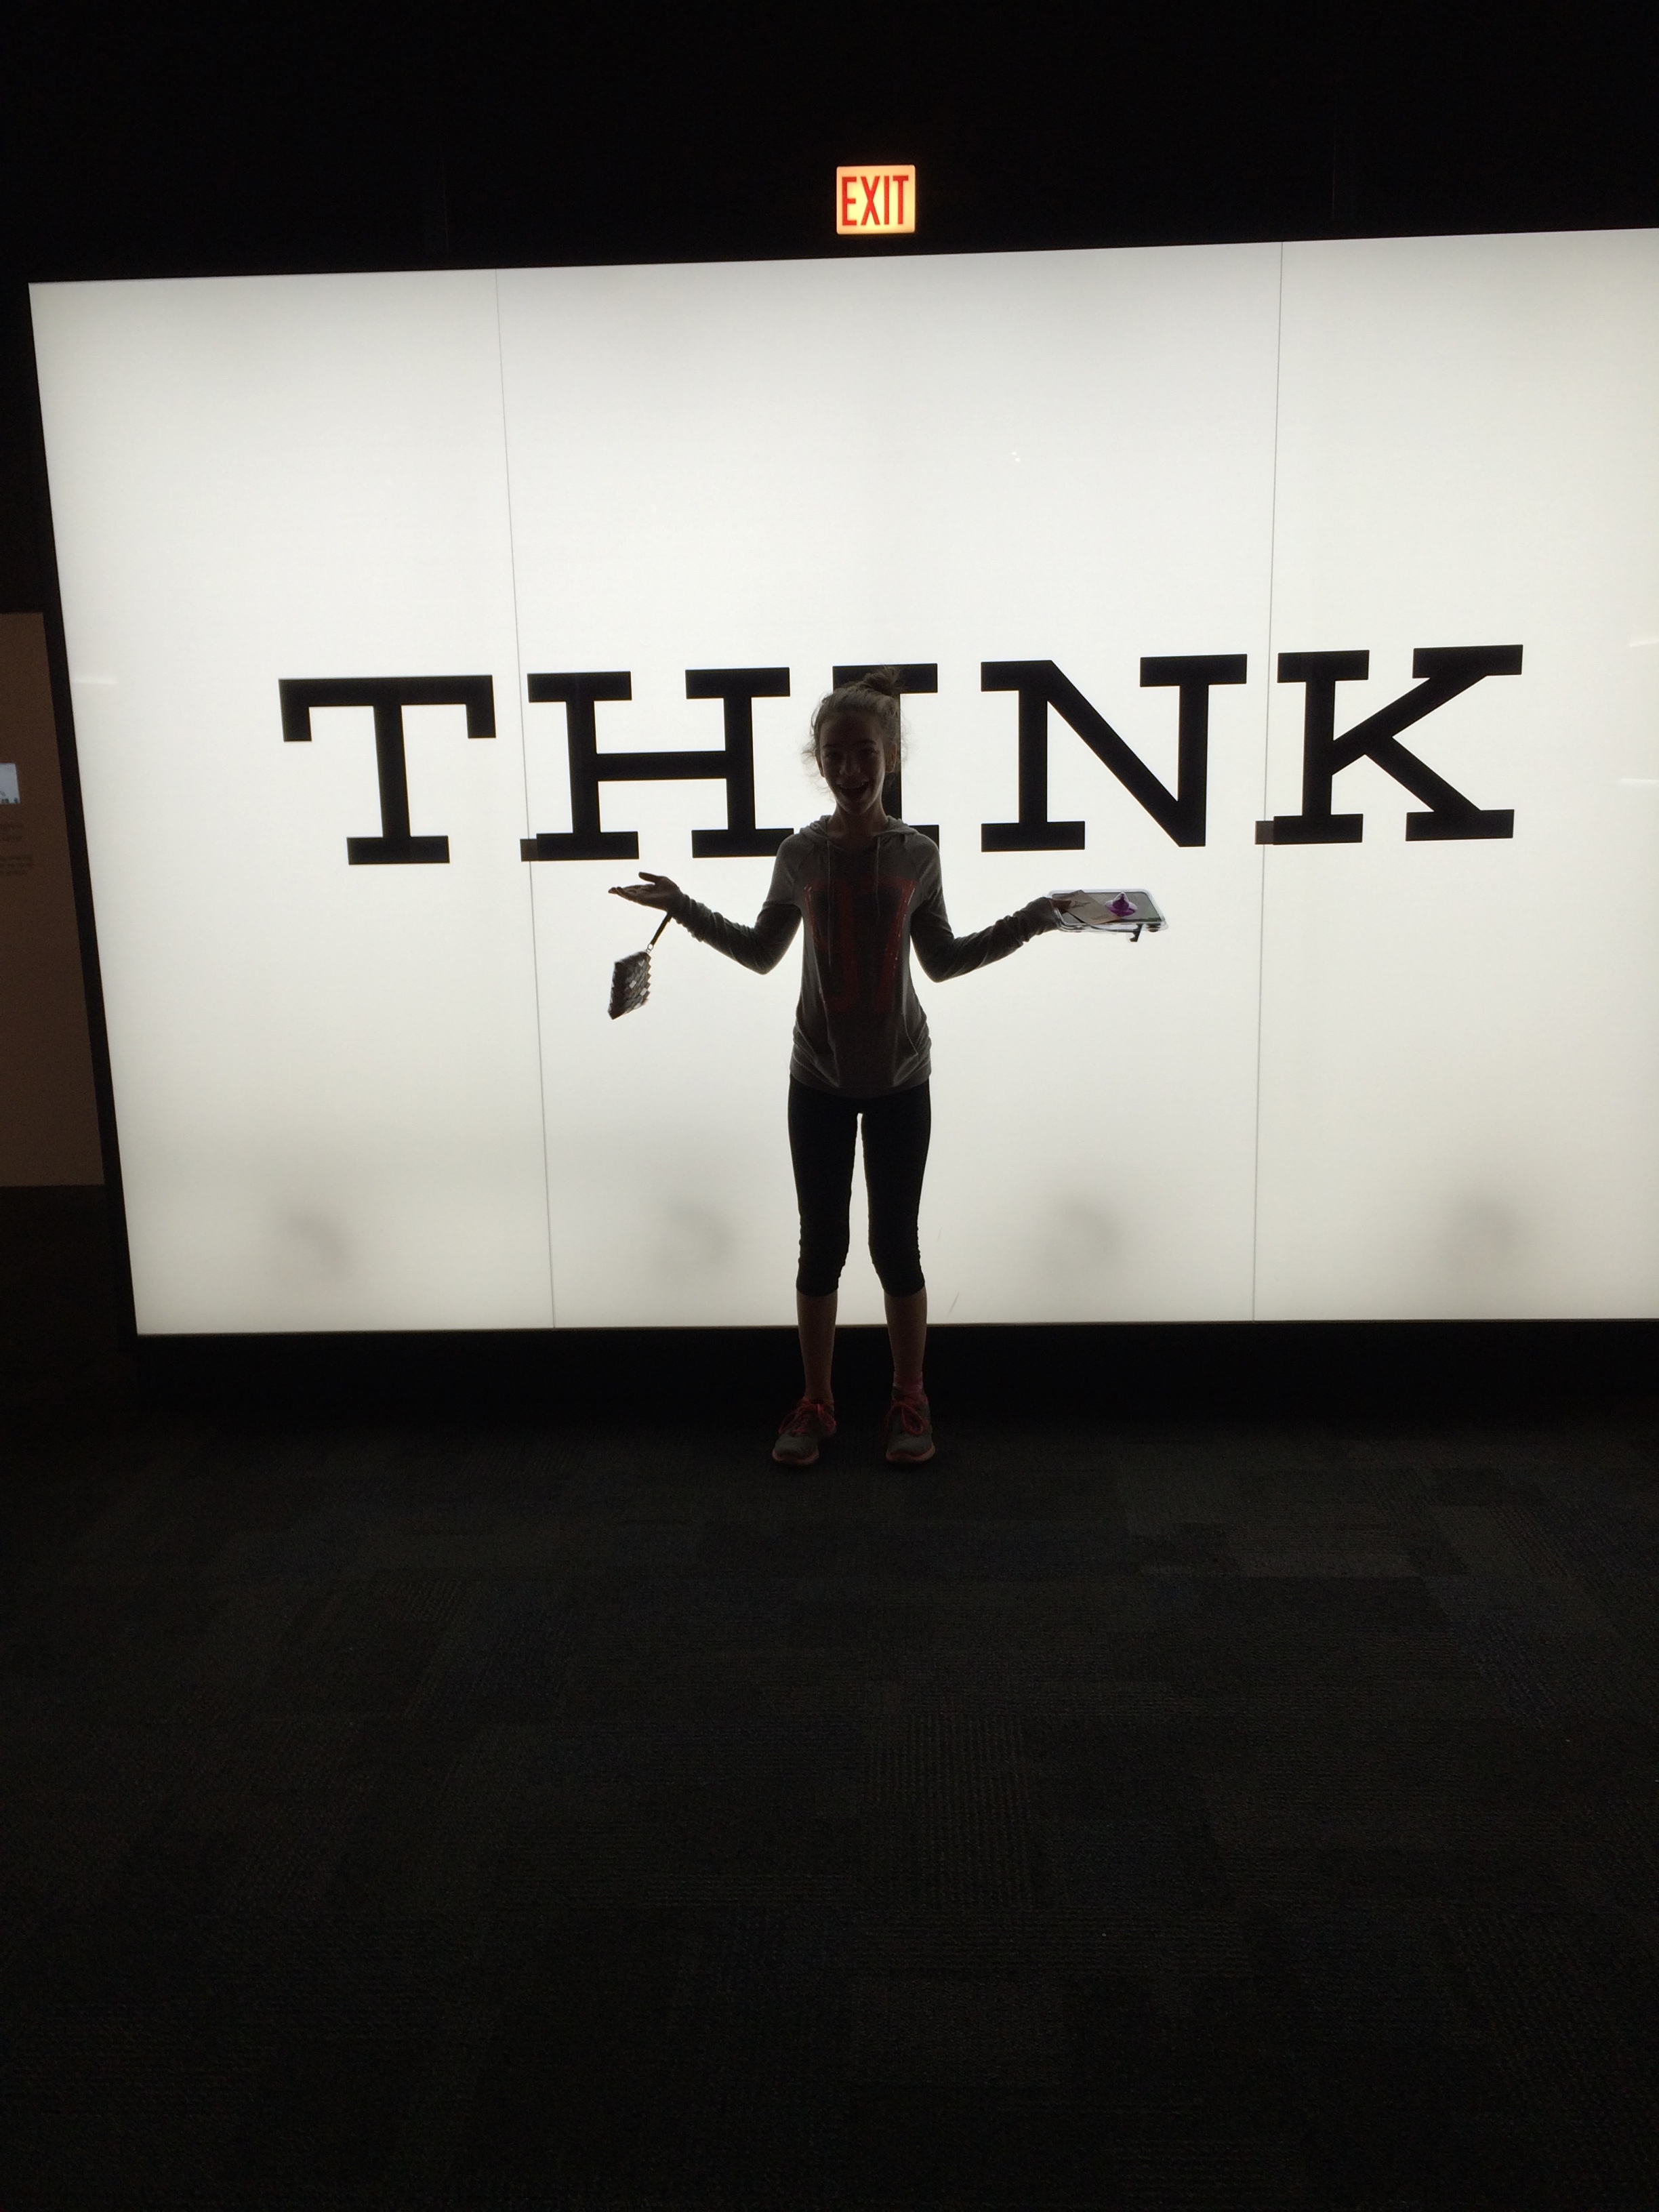
    And boy, is there a lot to experience!

    Tip2: We spent a long time at the Museum and probably only saw about half of it.  We recommend taking time before your visit to map out exhibits that are important to you.  Then come back a second time to explore the areas you missed.IMG_2541

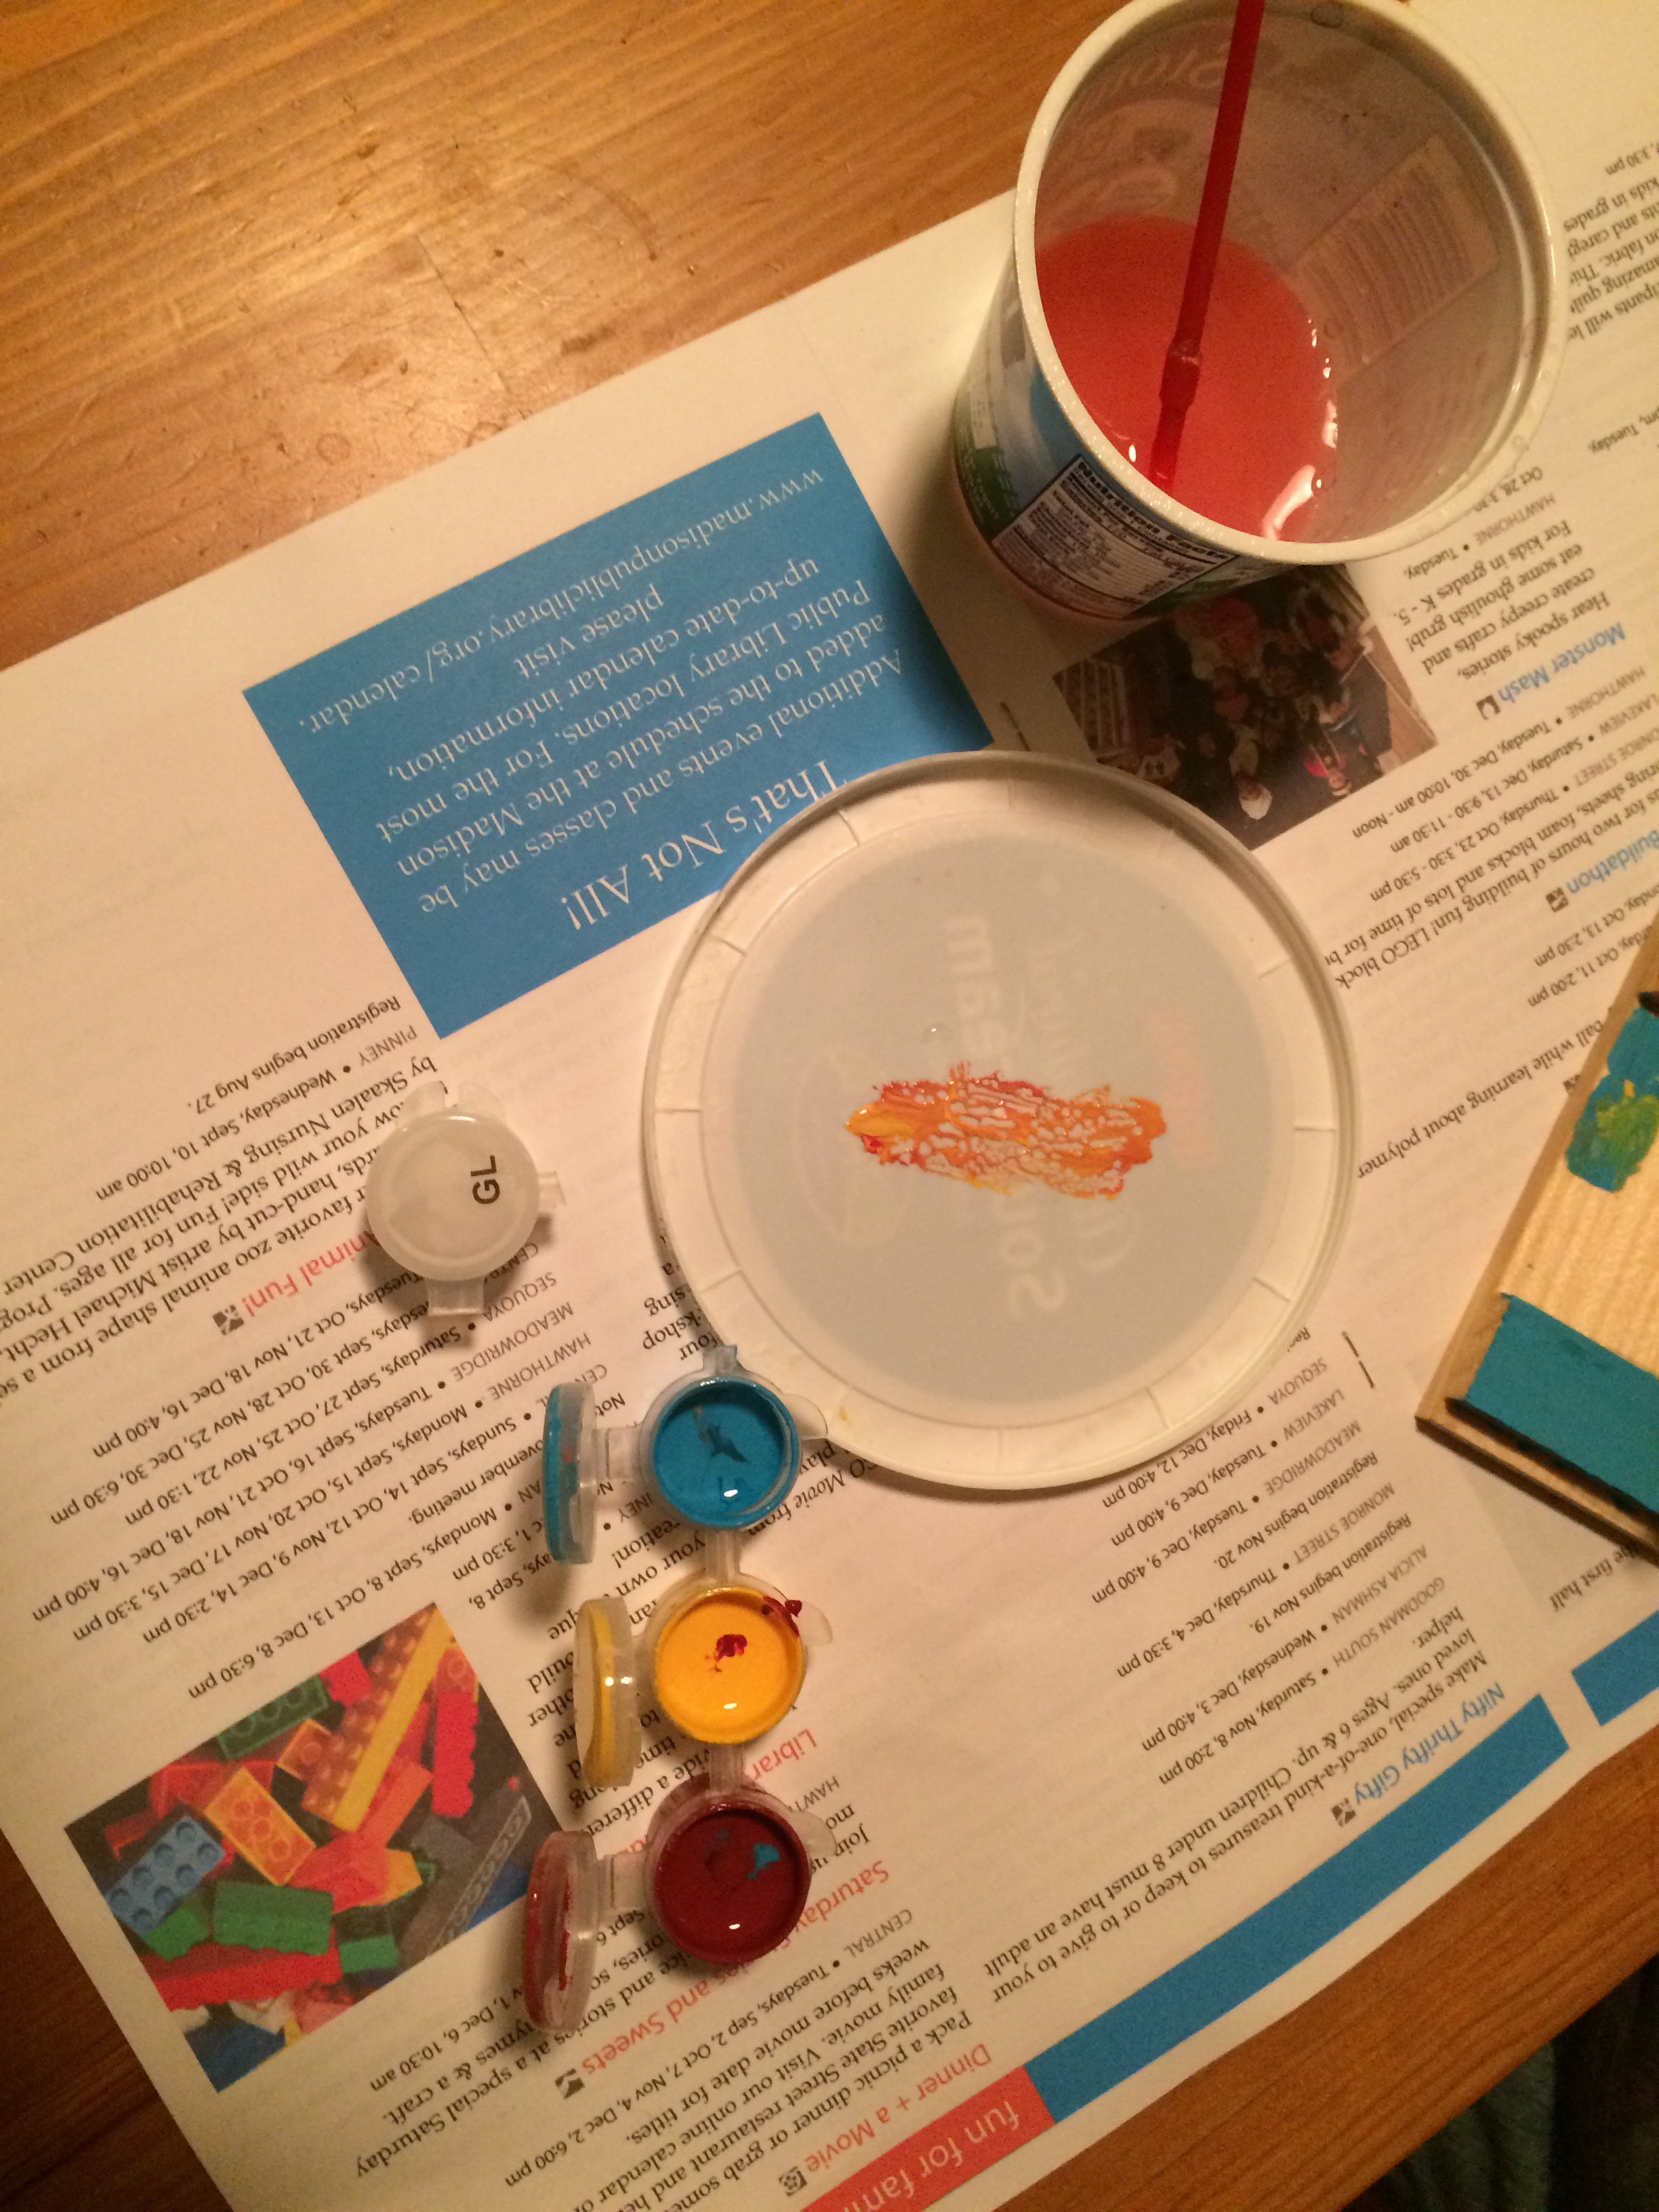
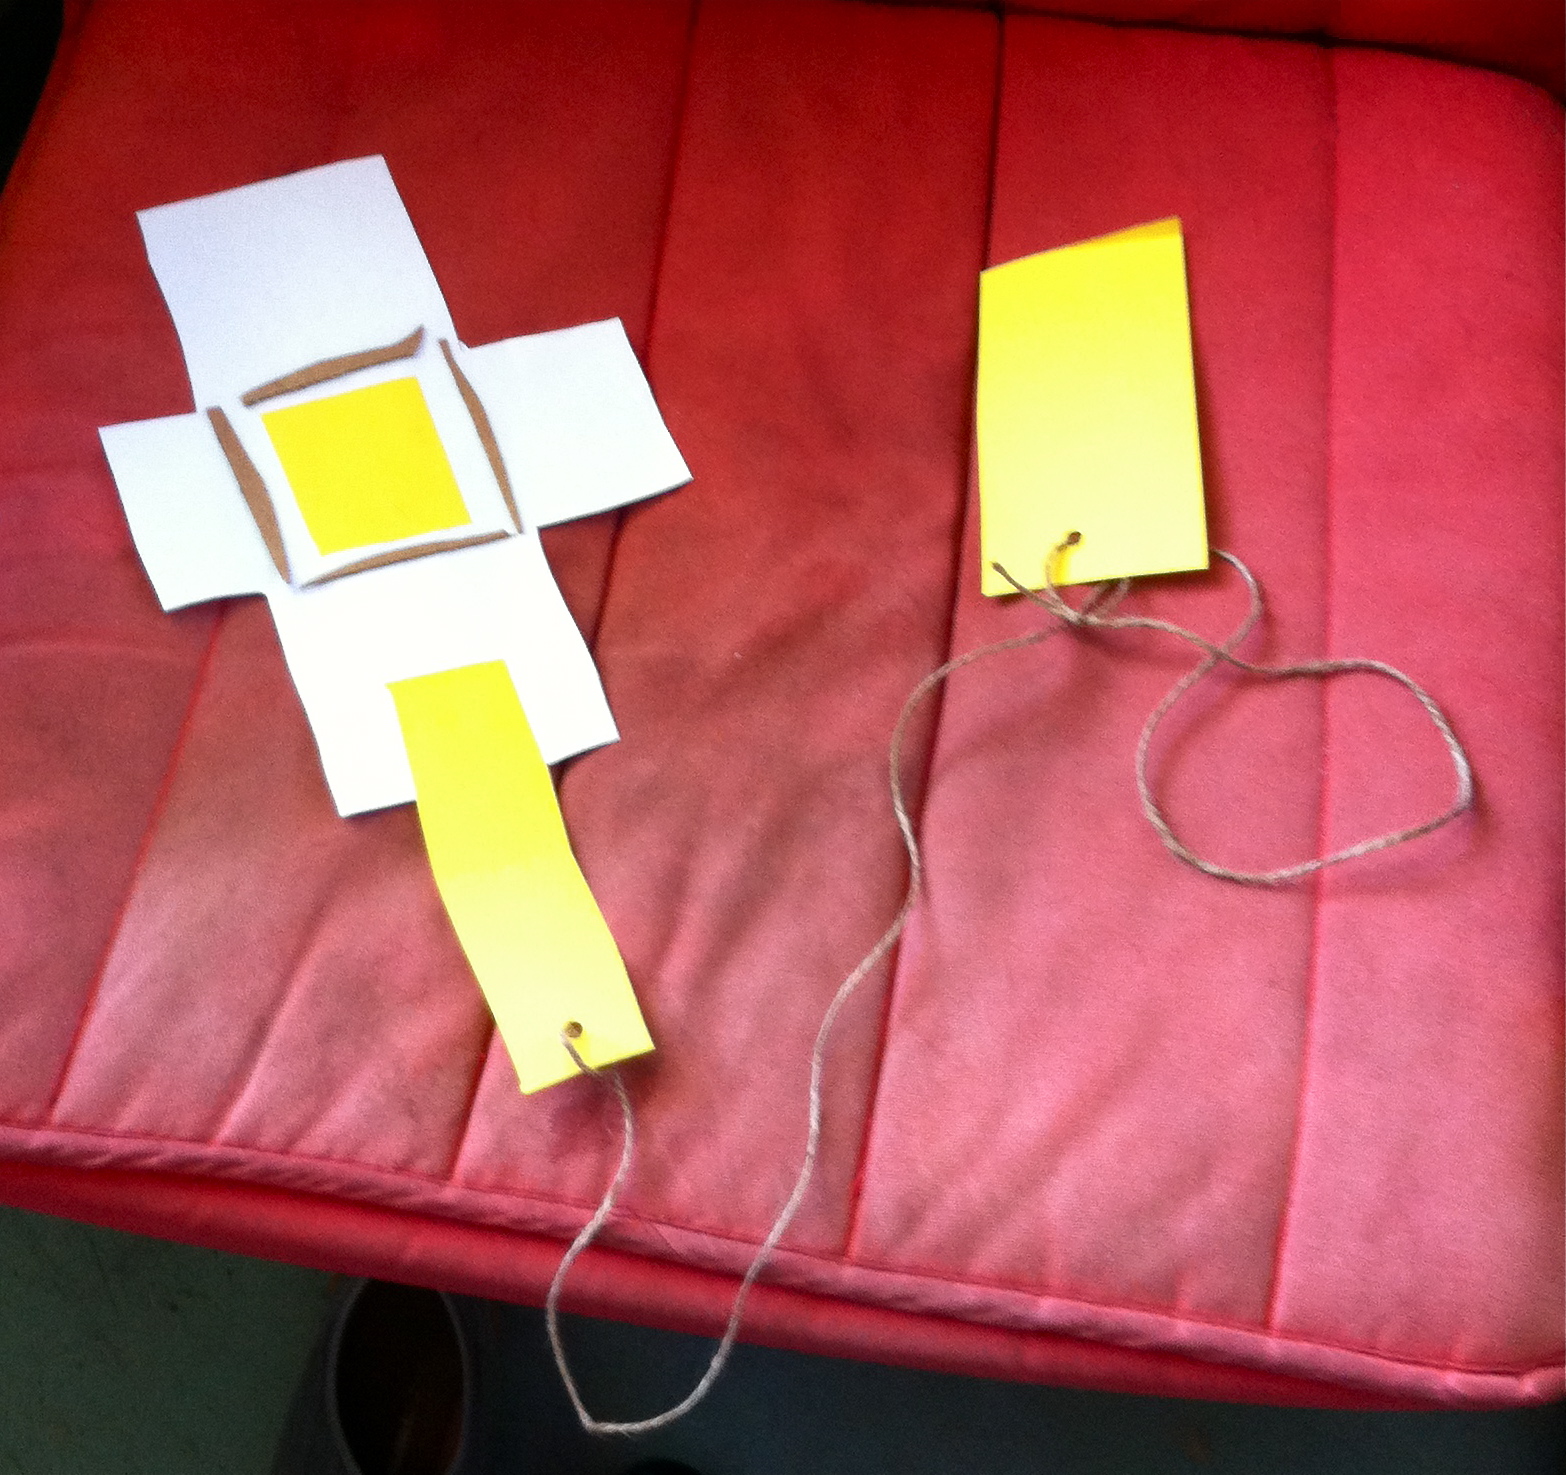
    We began at the ToyMaker3000– an automated toy machine that will create a personalized gyro-top souvenir for $5.  We figured this would become quite crowded later in the day and we thoroughly enjoyed having it to ourselves first thing in the morning.  The  assembly of the gyro-top was fascinating to watch and it was even more fun to play with the toy later that day.

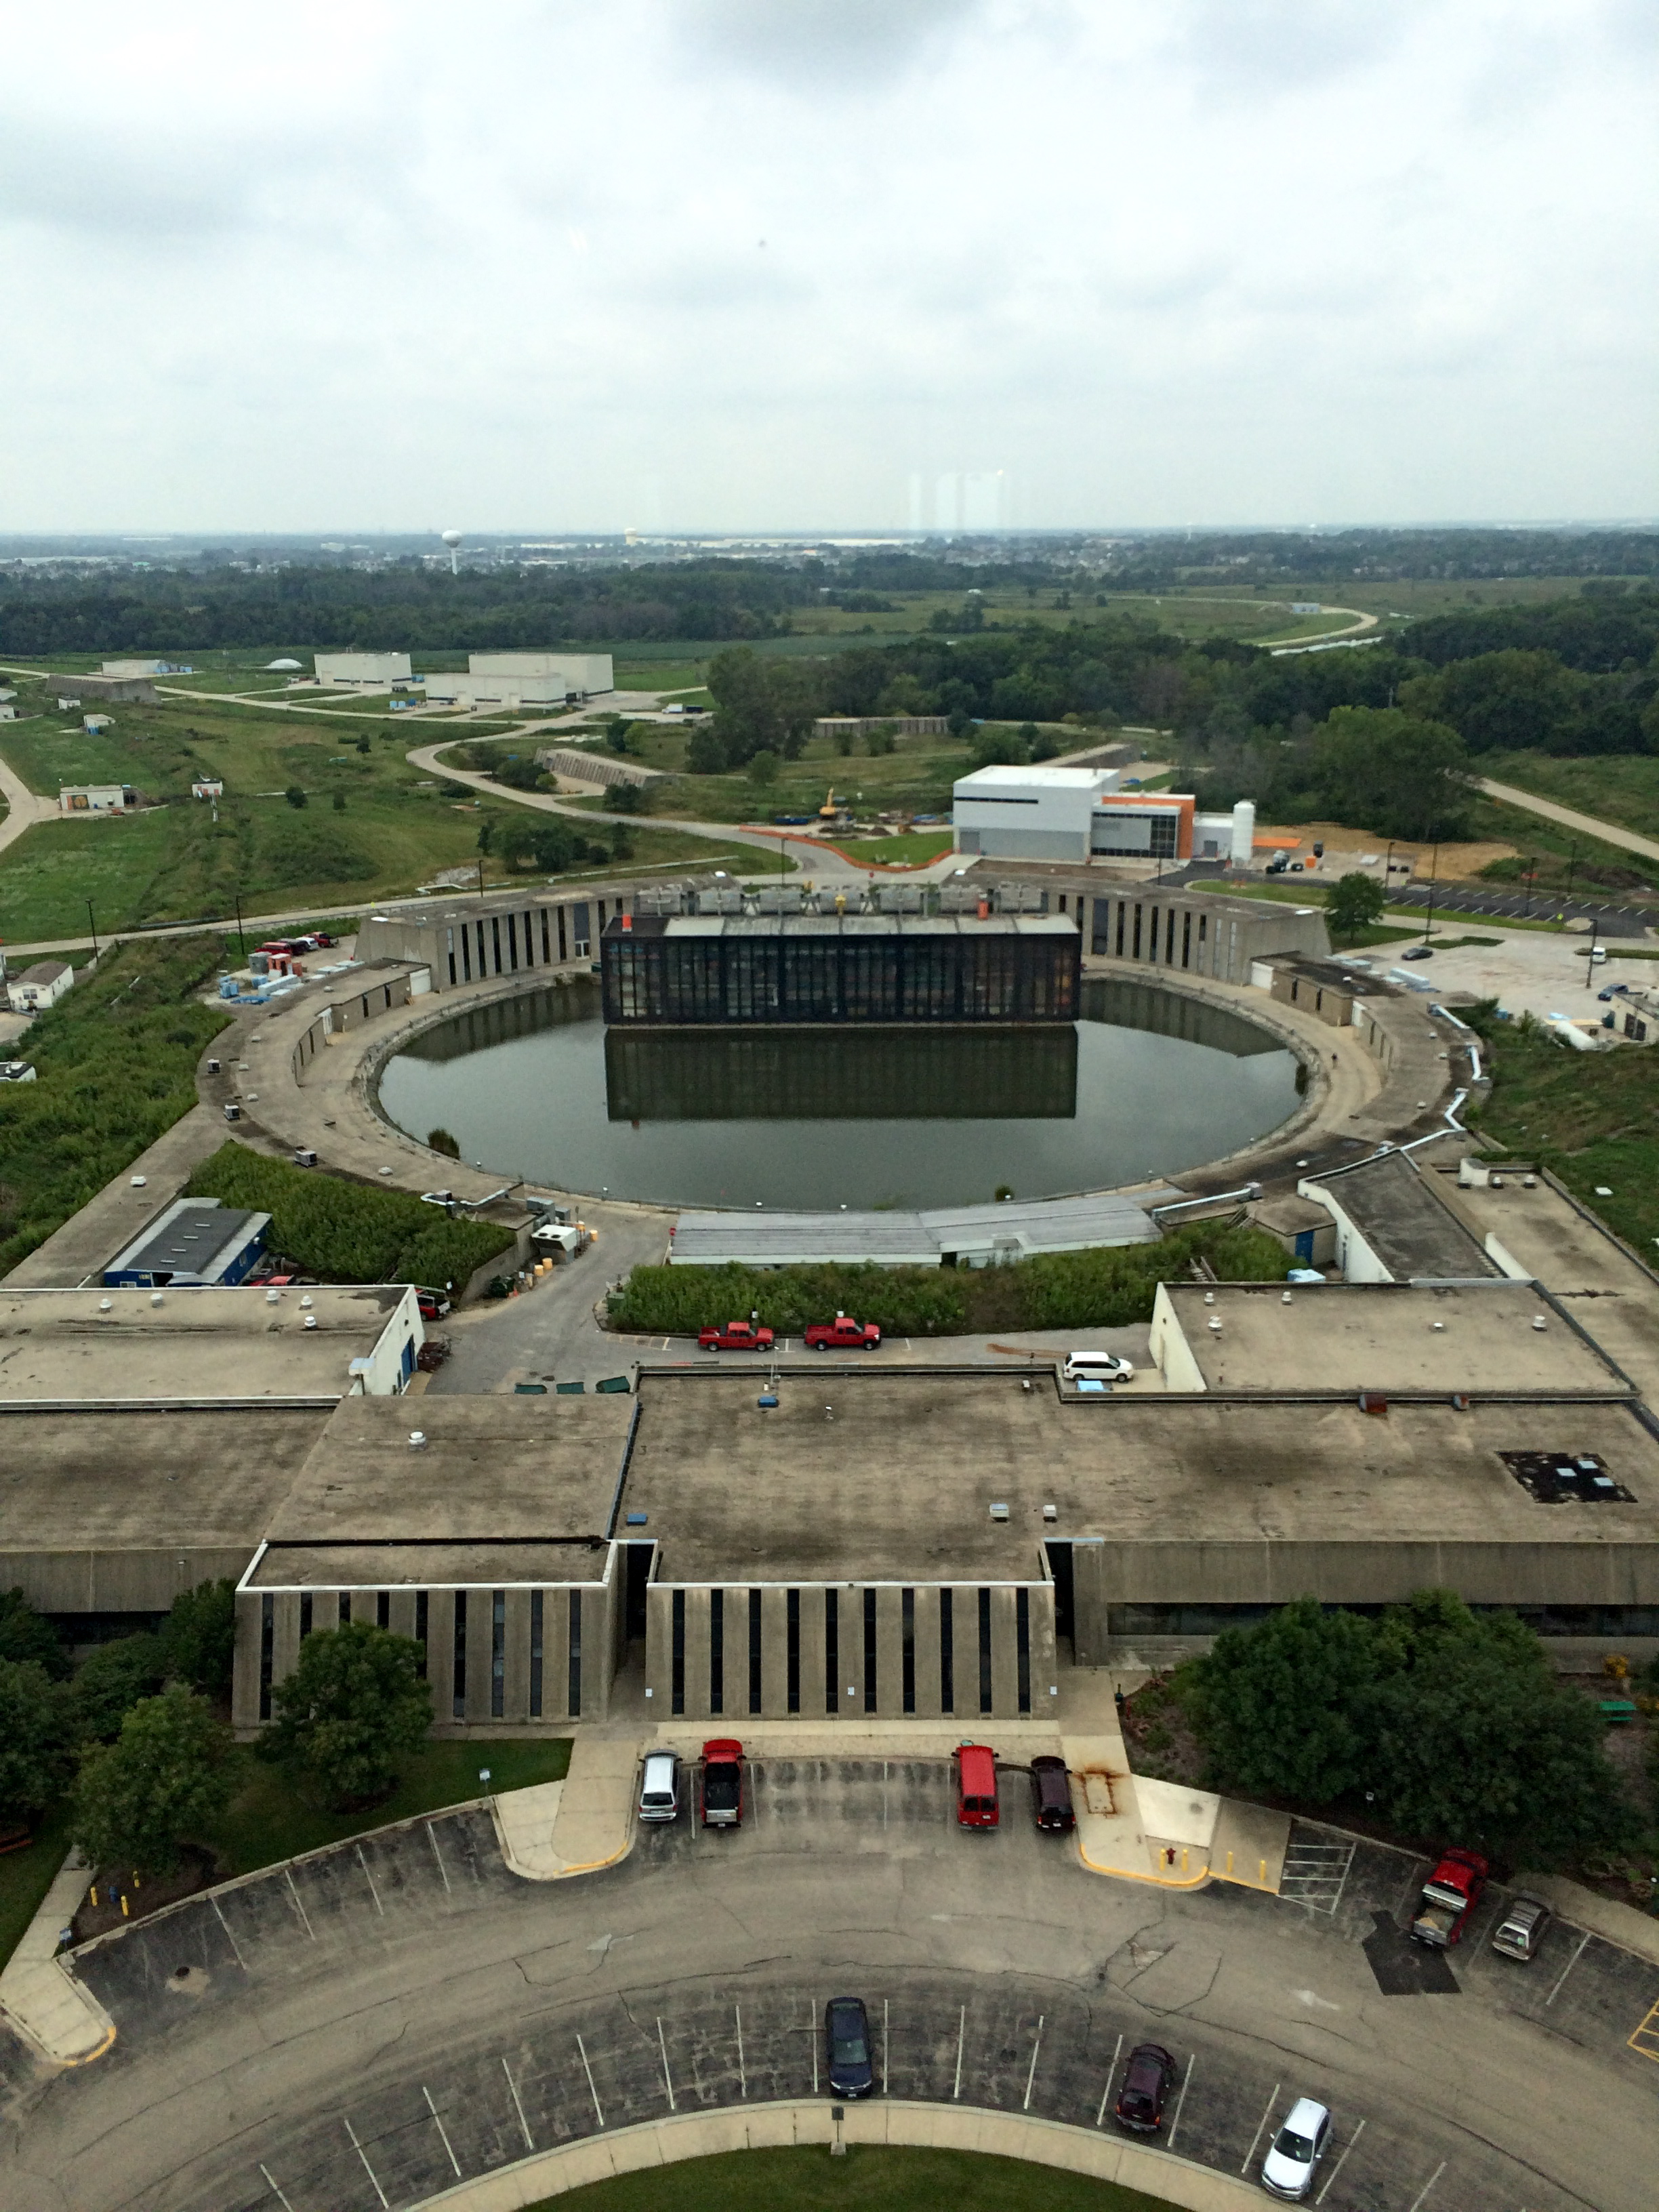
    Tip3:  We absolutely recommend you get a free map from one of the information kiosks!  There is a ridiculous amount to experience, spread out over 4 levels.  You’ll need a map to guide you from one exhibit to another.

    We took a break midday for a meal from the MSI food cafe.  The choices were plentiful but pricey.  We highly recommend you pack your own food.  In good weather, you can eat on the lovely lawns surrounding the museum.

    After lunch, we saw a few more exhibits.  We also visited the gift shop.  There are not a ton of lower price point items and in retrospect, we recommend purchasing the gyro-top and skipping the gift shop.  We then we headed home, exhausted but happy.


  2. True Colors

    October 17, 2014 by admin

    IMG_2420You probably remember your basic art skills- combining primary (red, yellow, blue) colors produce the secondary (orange, green, purple) colors.  And if you combine further, you can produce a whole spectrum of shades and hues.

    Certainly many children’s books and television shows discuss or demonstrate this art fact.

    But the best way to learn is to dive right into it– discover for yourself!

    Bluey learned how colors combine when working on a recent painting project.  And you can recreate this scenario quite easily.

    He was painting a small wooden sailboat and given only the three Primary colors.  In addition, we gave him a small palette (aka plastic container lid) to dab out extra paint.  Sure enough, he mixed two colors on top of each other and discovered that they combine to make orange.  IMG_2417

    This lead to a whole series of experiments about color mixing, and he learned color facts in a way that no TV or book could ever show him.

    So next time you have a small project to paint- don’t get out the whole paint set.  Just provide the primary colors and let your young artist discover the color wheel!


  3. Summerfield Zoo

    September 14, 2014 by admin

    Do you ever have those trips where on the way home, everyone starts asking: “When can we go back there?”  We love those moments.

    We recently had an experience like this at a zoo not far from Madison- the Summerfield Zoo.IMG_2197

    The Summerfield Zoo is located in the outskirts of Belvidere.  This family-owned zoo offers refuge to rescued exotic animals, along with a collection of wonderful farm animals.

    We were impressed by the large variety of critters- from hyenas to alligators to several types of large cats and more!  Many of the animals are housed in a large barn-type structure, with windows looking in on each animal’s stall.  Some of them, like the fennic fox, were extremely interactive with us.  Others were mostly sleeping (or ignoring) the people coming through.  We loved getting to see so many animals up close, many of which we had never viewed before.

    Outside the barn there are many small enclosures with even more critters, as well as big fields with the herd animals on display.  Meeting reindeer, horses, and donkeys was a lot of fun.  Most of the animals ouside were very friendly and eager for human interaction.IMG_2213

    But the highlight of the day was the Animal Encounter.  At this event, guests gather at a small semi-circle of chairs while the zoo handlers bring out an assortment of smaller animals.  We were even allowed to pet some of these furry friends!  Most of these animals were babies, and watching them play and eat was a real treat.  The animals shown in the encounters change regularly, so you never know what critter you’ll get to see.

    IMG_2247

    A porcupine loving his sweet potato.


    We had a great time at the Summerfield Zoo and are eager to return.  Knowing that the entry fee is used to support all these rescued animals makes it even easier to plan our next trip.


  4. Particle Man

    September 3, 2014 by admin

    Molecule ExperimentThrough the combined effects of the Magic School Bus, Comic Books, and an existing interest in science, Bluey recently has been asking a lot of questions about molecules and atoms.  So we’ve been helping him out with a homeschool unit on particle physics.

    We are not physicists by trade, so how can we teach our young son about molecules?  We followed a multi-pronged path including books, videos, field trips and experiments.

    We pulled some of our science books off the shelf, and picked some more up at the library to read up on molecules with our son.  Surprisingly few books geared for five year olds deal with topics of molecular and sub-atomic physics.  But we worked with what we could find- mostly encyclopedia-style books, and science books aimed at much older readers.

    Videos were an easier hit.  Punching ‘kid science’ and molecules into a search bar reveals a number of educational videos.  Some were cute animated films showing the structure of matter, others were short clips from professors explaining complicated topics in a few minutes.

    Our trips to science museums and the US Department of Energy projects at the FermiLab helped put a real world spin on this sometimes esoteric subject.   Through hands-on play, and seeing giant high-energy projects up close, our Bluey was able to experience the science he has learned at home in practice.  IMG_7399

    A day after our trip to the FermiLab, Bluey said “We could make our own particle accelerator, but it would take a lot of time.”  Yes.  Yes it would.

    Instead, following a cue from one of the videos we watched, Bluey recreated a tabletop experiment showing that warm molecules move faster than cold ones.  In true scientist form, he did the experiment twice.  In the first round, the two waters were too close to each other in temperature out of the tap.  So he tried it again with boiling water and near frozen water.

    His first molecule experiment was a great success!  We’re sure there will be follow up on this topic.  And that’s what homeschool is about for us- following your bliss in whatever direction it takes you and learning along the way.


  5. FermiLab

    August 31, 2014 by admin

    This TRFamily loves an off the beaten path adventure.  When we heard about FermiLab in Aurora, IL, we knew it was right up our alley!  We packed some snacks and the roadtrip car bags and headed out.IMG_7381

    The FermiLab (Fermi National Accelerator Laboratory) is a US Department of Energy facility and home to a large underground particle accelerator and several other high energy and physics experiements.

    Finding the lab was easy- it’s right off the main road going north out of Aurora.  We checked in at the guard post and were a little surprised to find that we would be free to explore the campus-like grounds (if we followed their rules:  only certain areas and certain floors).  We headed first to the Wilson Building- a fifteen story office tower that dominates the landscape and over looks the main accelerator.

    IMG_7390The 15th floor of the Wilson Building offers views of the campus along with many explanatory models of the science projects being done at the lab.  We loved looking out at the full view of the grounds and all the many outbuildings associated with different projects.  The property hosts a herd of bison on the grounds, but on the hot day we visited they were all seeking shelter out of view.

    Next we visited the hands-on Lederman Science Center.  This small building houses dozens of activities and experiments for families to show some of the work being done at the Fermilab. Most of the activities educated, in various different ways, how molecules and atoms work.  Everyone found a favorite activity there- from simulated particle collisions, to working remote trucks, to cosmic ray showers.IMG_7394

    There is more to the lab that we didn’t explore, including a dog park and a history display showing what the area looked like before the FermiLab moved in.  A family with older kids and/or more time available could spend most of the day exploring these grounds.

    It was definitely one of our stranger trips.  But we thoroughly enjoyed our time at Fermilab.


  6. Your Museum Of Natural History

    August 27, 2014 by admin

    IMG_2160We have a growing collection of sticks, rocks, feathers and other items collected on our various wanders.  We could say it’s just the kids, but TRMom and TRDad are just as likely as anyone to spot a cool something and pick it up for inspection.  We’ve started to dub our ever-growing collection “The Museum.”  And like any other museum, it offers learning opportunities to those who pause to check it out.

    Primarily located on a window sill on our back porch, the Museum houses many natural wonders, which our chief curator Bluey will gladly interpret.  There’s a bird skull from the parking lot of his swim class, the honey comb we found on the bike path.  We have many cool rocks from various parts of the country, and feathers from many birds- especially birds of prey and turkeys, both of which live in our neighborhood.

    IMG_2159Recently, we found a part of a mammal’s lower mandible on our way to the library.  This triggered a full-on investigation about what animal it may have come from.  Bluey offered his own hypotheses, and disproved several contenders by examining animals we had on hand: the cats and the dog.  An internet call-out to our friends who are animal experts and outdoorsy types offered a number of leads.

    We finally decided to head to a nearby state park to compare our sample with their small display of various skeletons.  It has been a great investigation.  We have thoroughly enjoyed all the related conversations about what foods the animal might have eaten, and how it came to be in our neighborhood.

    All from our Museum collection.

    So we encourage you to let your kiddoes bring home their finds.  And to keep them, study them and learn from them.  Start your own museum.


  7. Oh my gosh! It’s Oshkosh.

    August 13, 2014 by admin

    IMG_7107

    Looking for an inexpensive day trip in the Fox Cities region of Wisconsin?  Then we highly recommend that you check out the Oshkosh Public Museum (OPM).

    IMG_7112The OPM is housed within the historic Sawyer home, which was built by a local lumber baron in 1908.  Along with many museum displays of life around the Lake Winnebago region and various art works,  you can explore some of the homes original interior design.  One of the very special exhibitions is the Apostles Clock which still chimes on the top of every hour, lights up, and begins a not-to-be missed mechanical parade.

    We were very impressed with the number of interactive displays within OPM.  There are some much larger, and well endowed, museums that don’t seem to grasp the positive impact of allowing guests to get hands-on with history.  But OPM understands.  They offer up everything from a scavenger hunt with a prize if completed to a grandma’s attic filled with toys, dress up clothes, and trunks that play music when opened.  We were lucky enough to visit while they hosted a temporary interactive exhibit on parasites!

    Even OPM’s gift shop is better than many we’ve seen.  Along with expensive home decor pieces and books, it offered numerous items for under $5 (even choices under $1), so every family member can get a keepsake to remember their trip.

    The museum also displays numerous xeroxed news articles and original source works regarding OshKosh’s participation in national events, available for free perusal to all guests in the basement level of the museum.

    Admission is free (kids under 6 get in for no charge) if you are a member of ASTC and can fit within the weird confines of those exacerbating distance rules.  Parking is plentiful, restrooms are clean and have changing stations, and the grounds of the museum are worth exploring.


  8. If You Build It, They Will Come

    July 20, 2014 by admin

    IMG_6783

    We recently embarked on a day trip to the Myrick Hixon Ecopark located in La Crosse, Wisconsin.  Just over two hours from our home in Madison, it was a very easy  drive.

    The Ecopark is nestled within a much larger park with access to hiking, biking tails, and a dream park play structure.  The Ecopark has a large welcoming center IMG_6761with live animals, building blocks, arts & crafts, reading areas, snack tables, a small gift shop, and clean restrooms.

    Tip:  At the moment, the Ecopark is free of charge.  But there are rumors there will be an admittance fee once construction is completed.

    We quickly made our way outside to explore the Ecopark’s playscapes.  Many of these areas are still under construction.  But each playscape is partially erected and completely open to the public.  There is more than enough to make the trip worthwhile as it stands now.

    We were drawn to the forest scramble and Bluey and Plum immediately began the climb up the ropes to the first level of the tree house structure.  We had a great time crossing the bridge and enjoying the views from the tipy top.

    IMG_6775Then, we made our way to the prairie mystery.  Even though we had fun following the paths and finding our way through the growing grasses, it was definitely a playscape that will improve as it evolves.  There isn’t much to a maze that offers direct sight of all the paths,  the entry, and exit.

    Finally, we visited the wild water.  Bluey and Plum really loved this area.  You can manipulate metal dams and use rocks and mud to try and change the flow of the water.  A gentle mist emits from a large standing spray feature, which keeps you IMG_6790cool as you explore.

    Tip2: If you’re like us and get there early, you may have to activate the water in the wild water playscape area. Just press the blue post at the top of the river.

    We ended our adventure playing at the dream park.  Then we had a quick return to the Ecopark welcome center to use their restroom to wash up, and we were on our way home.

    Next visit, we’ll bring a picnic lunch (there are picnic tables everywhere) and our bikes to make it a full day exploration!


  9. Naming The Animals

    June 25, 2014 by admin

    Stumpy

    Stumpy

    “Oh look! There’s Twinkletoes!”

    “Hi there, Dr. Bunnington!”

    “I saw Stumpy today”

    You’ll hear conversations like this on a daily basis at our house. Many of the wild animals that roam our yard and neighborhood have names we’ve given them based on behaviors or physical characteristics.

    This tradition evolved entirely by accident, as we noticed that the same critters were visiting our yard repeatedly. As our kids named the animals, we were all able to more easily create an emotional connection to their well- being.

    We became friends with a red squirrel that we named Jasper- a loud, playful critter who came several times daily to see what treats we might have tossed his way. Shimmer, his larger grey squirrel friend, came as well. Every day.  We now know Stumpy, our neighborhood squirrel friend that has somehow lost his tail.  And we enjoy our visits with a lovely bunny that we’ve named, Dr. Bunnington.

    Jasper

    Jasper

    Our conversations with the kiddoes about ecology and habitat destruction caused by nearby developments aren’t affecting abstract random wildlife. These discussions concern and affect Our Squirrels! Our Bunnies!  Cars speeding down the road aren’t just driving too fast- they might hurt our animal friends.  We have learned that Stumpy, the Tailless Squirrel, has to cross the street to get to our yard as we’ve seen where he nests.  So road safety became a bigger deal to our kids.

    From a very young age, Plum and Bluey have spoken out for the animals.  And we think their passion is due, in part, to the relationships that have developed by giving their backyard animal friends names.  This deeper connection to nature helps Plum and Bluey understand how human actions can change the whole environment.

    And we think that this is a very important lesson.


  10. Kite Maker

    June 4, 2014 by admin

    After watching an episode of Fetch! with Ruff Ruffman recently, Bluey was inspired to make his very own kite. We didn’t have the same materials as the show, but that didn’t stop us!

    Tip: All you need is some paper, glue, string, structure support (cardboard, pipe cleaners, sticks), and imagination!

    IMG_6270Bluey had a shape in mind (based on a circuit board he removed from an old printer), so we traced it out on construction paper. He wanted a certain embellishment in the middle of his kite. And after a gentle reminder about the importance of a stiff support piece for the kite to remain intact in the wind, we were ready to cut out our design.

    We had a spool of twine for the string. Bluey used a hole-punch for decorated tags that he wanted to dangle from the tail. He was very proud of the knots he made to secure the paper to the tail string. We glued the tail onto the kite and we were ready to test it!

    Bluey’s little kite caught the wind and fluttered about. It was a fantastic first attempt. And constructing a kite was a learning moment to discuss in simple ways the science of lift, gravity, and drag (wind).  Bluey read further about these forces in his book How Things Work, and began thinking about how to modify his design.

    We also took advantage of this kite activity to fly our store-bought kite, so Bluey could really see these scientific principles at work.IMG_1883

    If you make your own kite, be sure to send us a picture. We’d love to see the range of creativity among our readers!